Lab Reports
Vault Owners can create a Lab Locations and Sites Report from the Administrative side of Vault in order to view which Lab Locations are being used by which Sites. If you’re not a Vault Owner, you must contact Services to create reports for Labs.
How to Create a Lab Locations & Sites Report
- Navigate to Admin > Business Admin > Configuration > Report Types.
- Click + Create in the top right corner of the page.
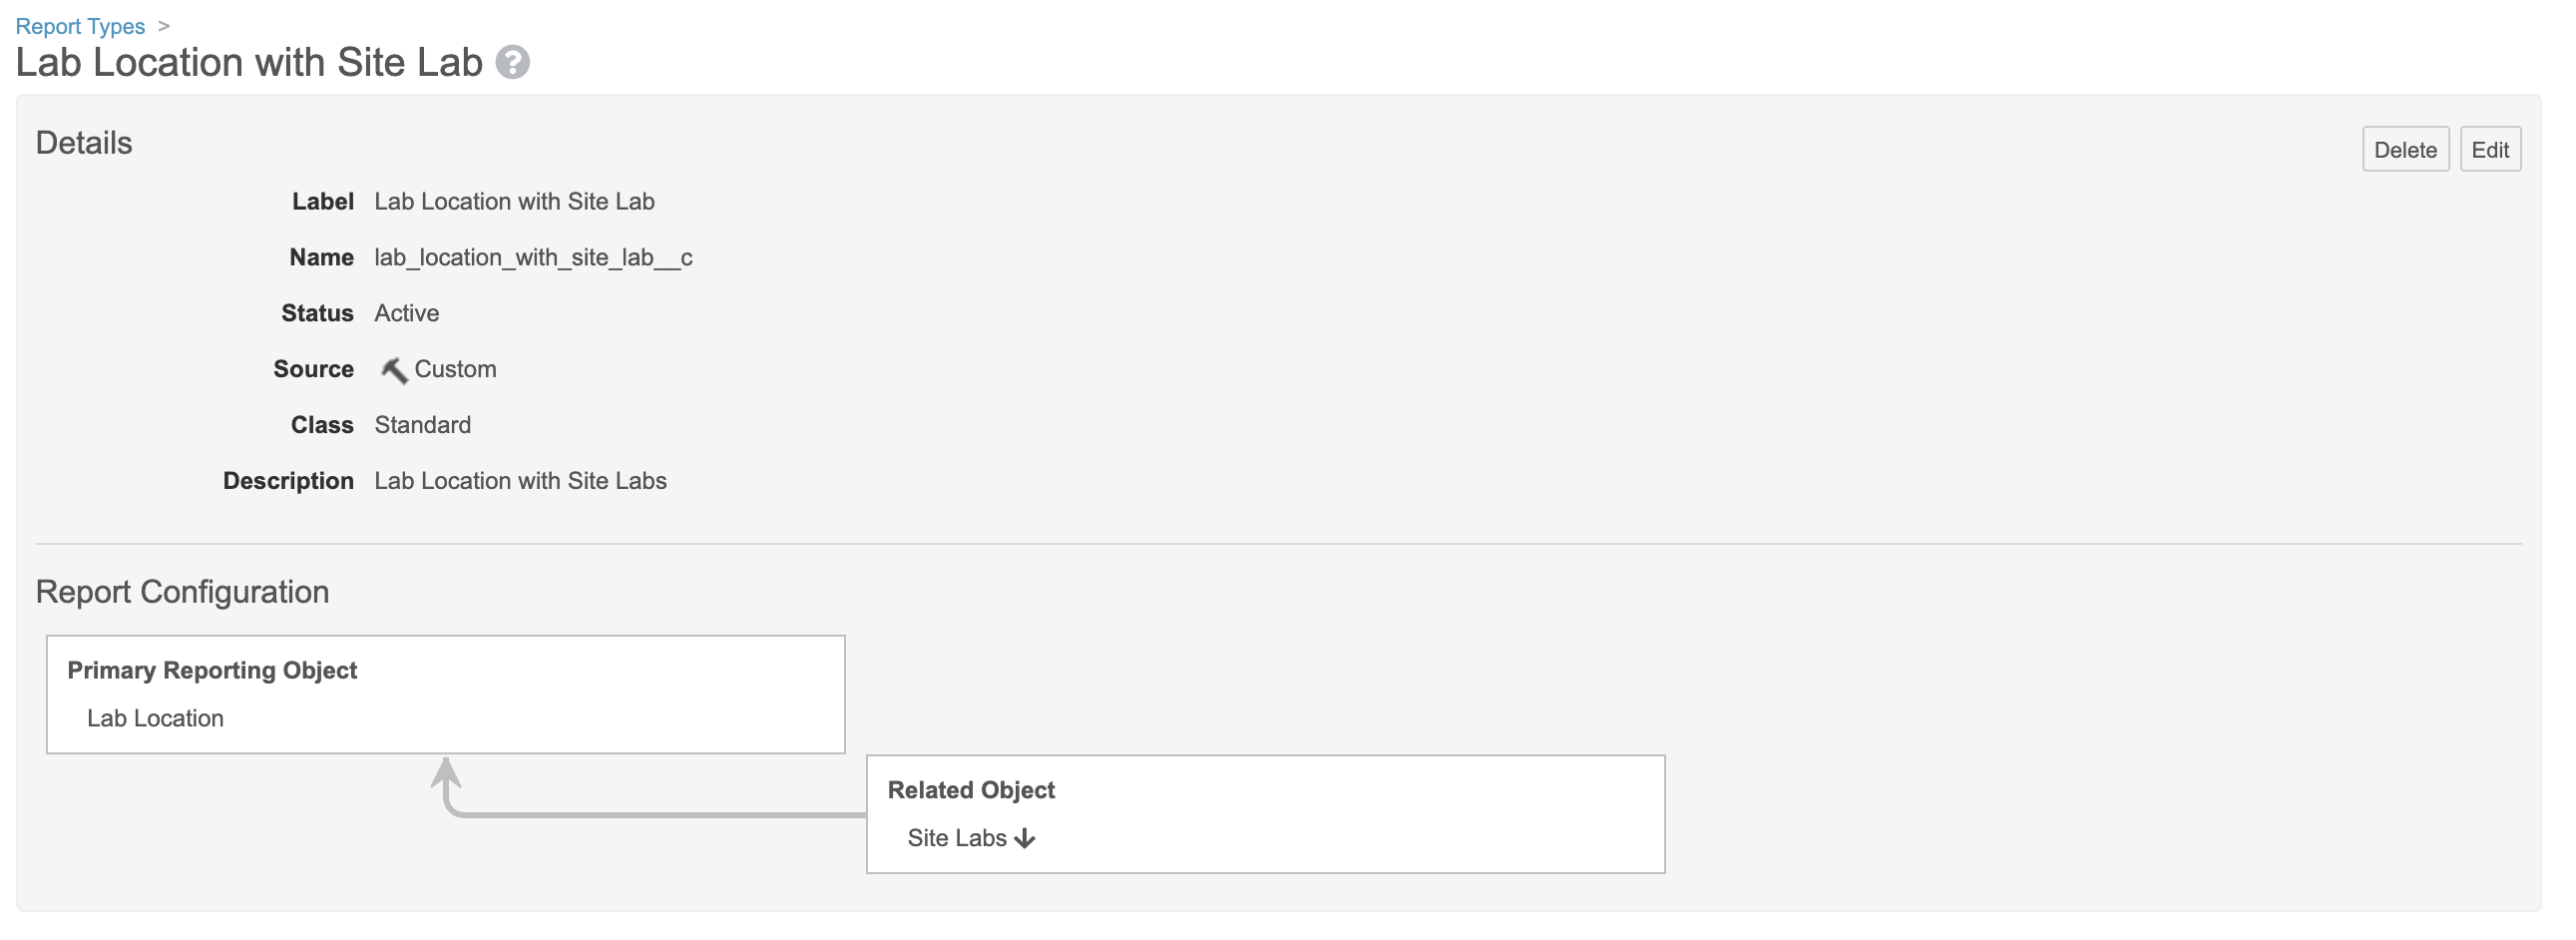
- In the Report Configuration section, select “Lab Location” as the Primary Reporting Object for your report. The Details fields will automatically populate once a Reporting Object has been selected.
- Click + Add Related Object in the Primary Reporting Object box and select “Site Labs” from the dropdown menu.
- Click Save.
Once the report has been configured in Business Admin, you can finish creating your report in the Reports tab.
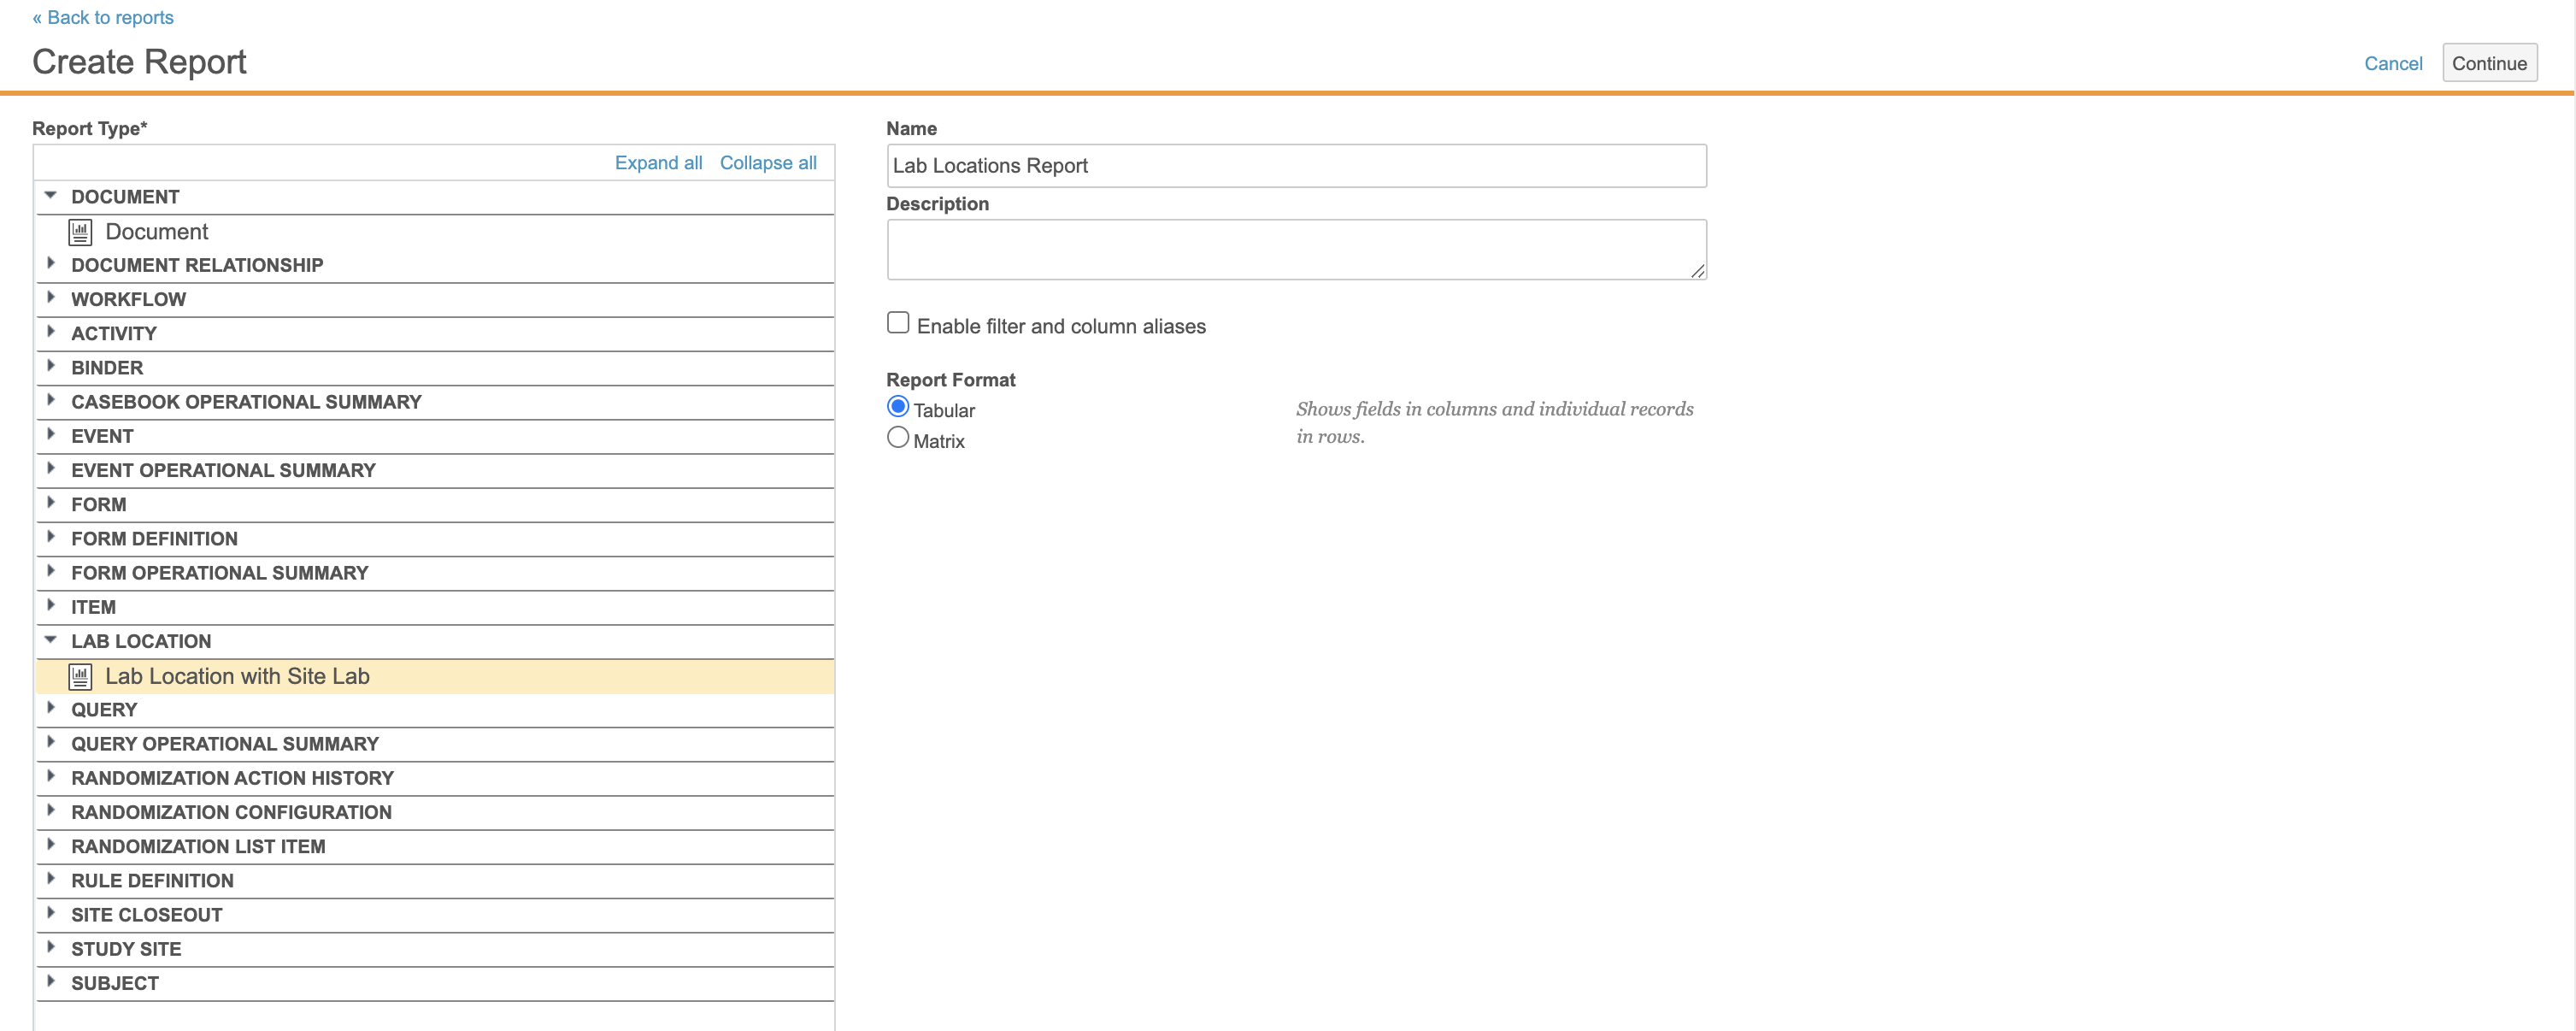
- Navigate to Reports and click the + Create button below the All Reports heading.
- From the Report Type menu, select Lab Location with Site Lab.
- Click Continue.
- In the Lab Location subsection at the bottom of the page, click into the dropdown menu and select Lab ID.
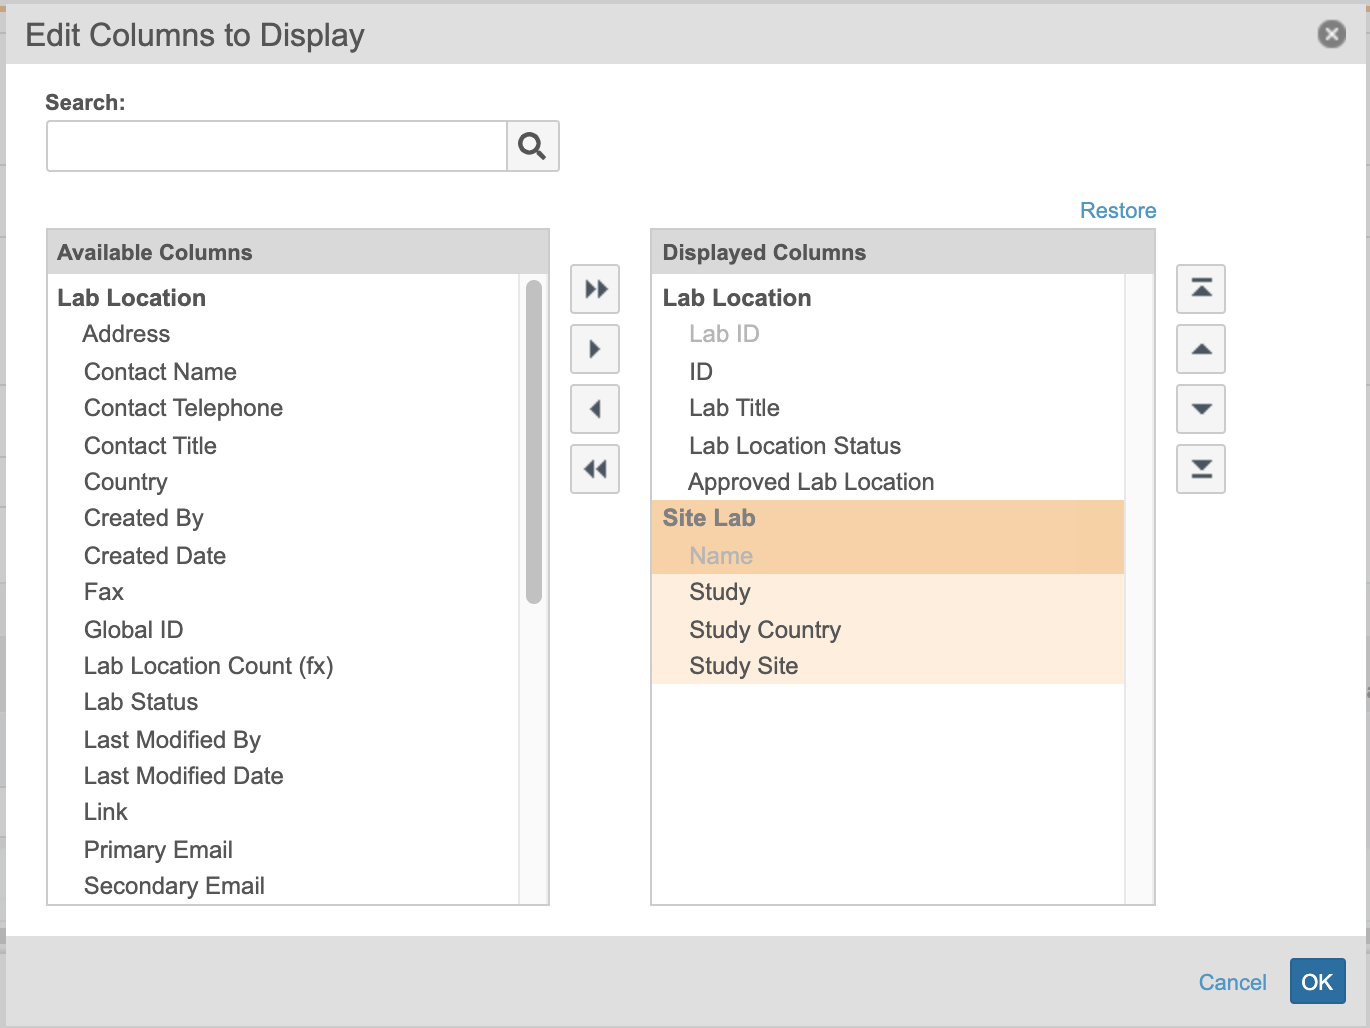
- Select Edit Columns to the right and add ID, Lab ID, Lab Location Status, and Approved Lab Location to your Lab Location Displayed Columns and Study, Study Country, and Study Site to your Site Lab Displayed Columns.
- Click Save at the top right of the page. To run your report, click Run.
How to Create an Analyte and Study Report
This report shows you which studies are using which analyte.
To create the report:
- Navigate to Admin > Business Admin > Configuration > Report Types.
- Click + Create in the top right corner of the page.
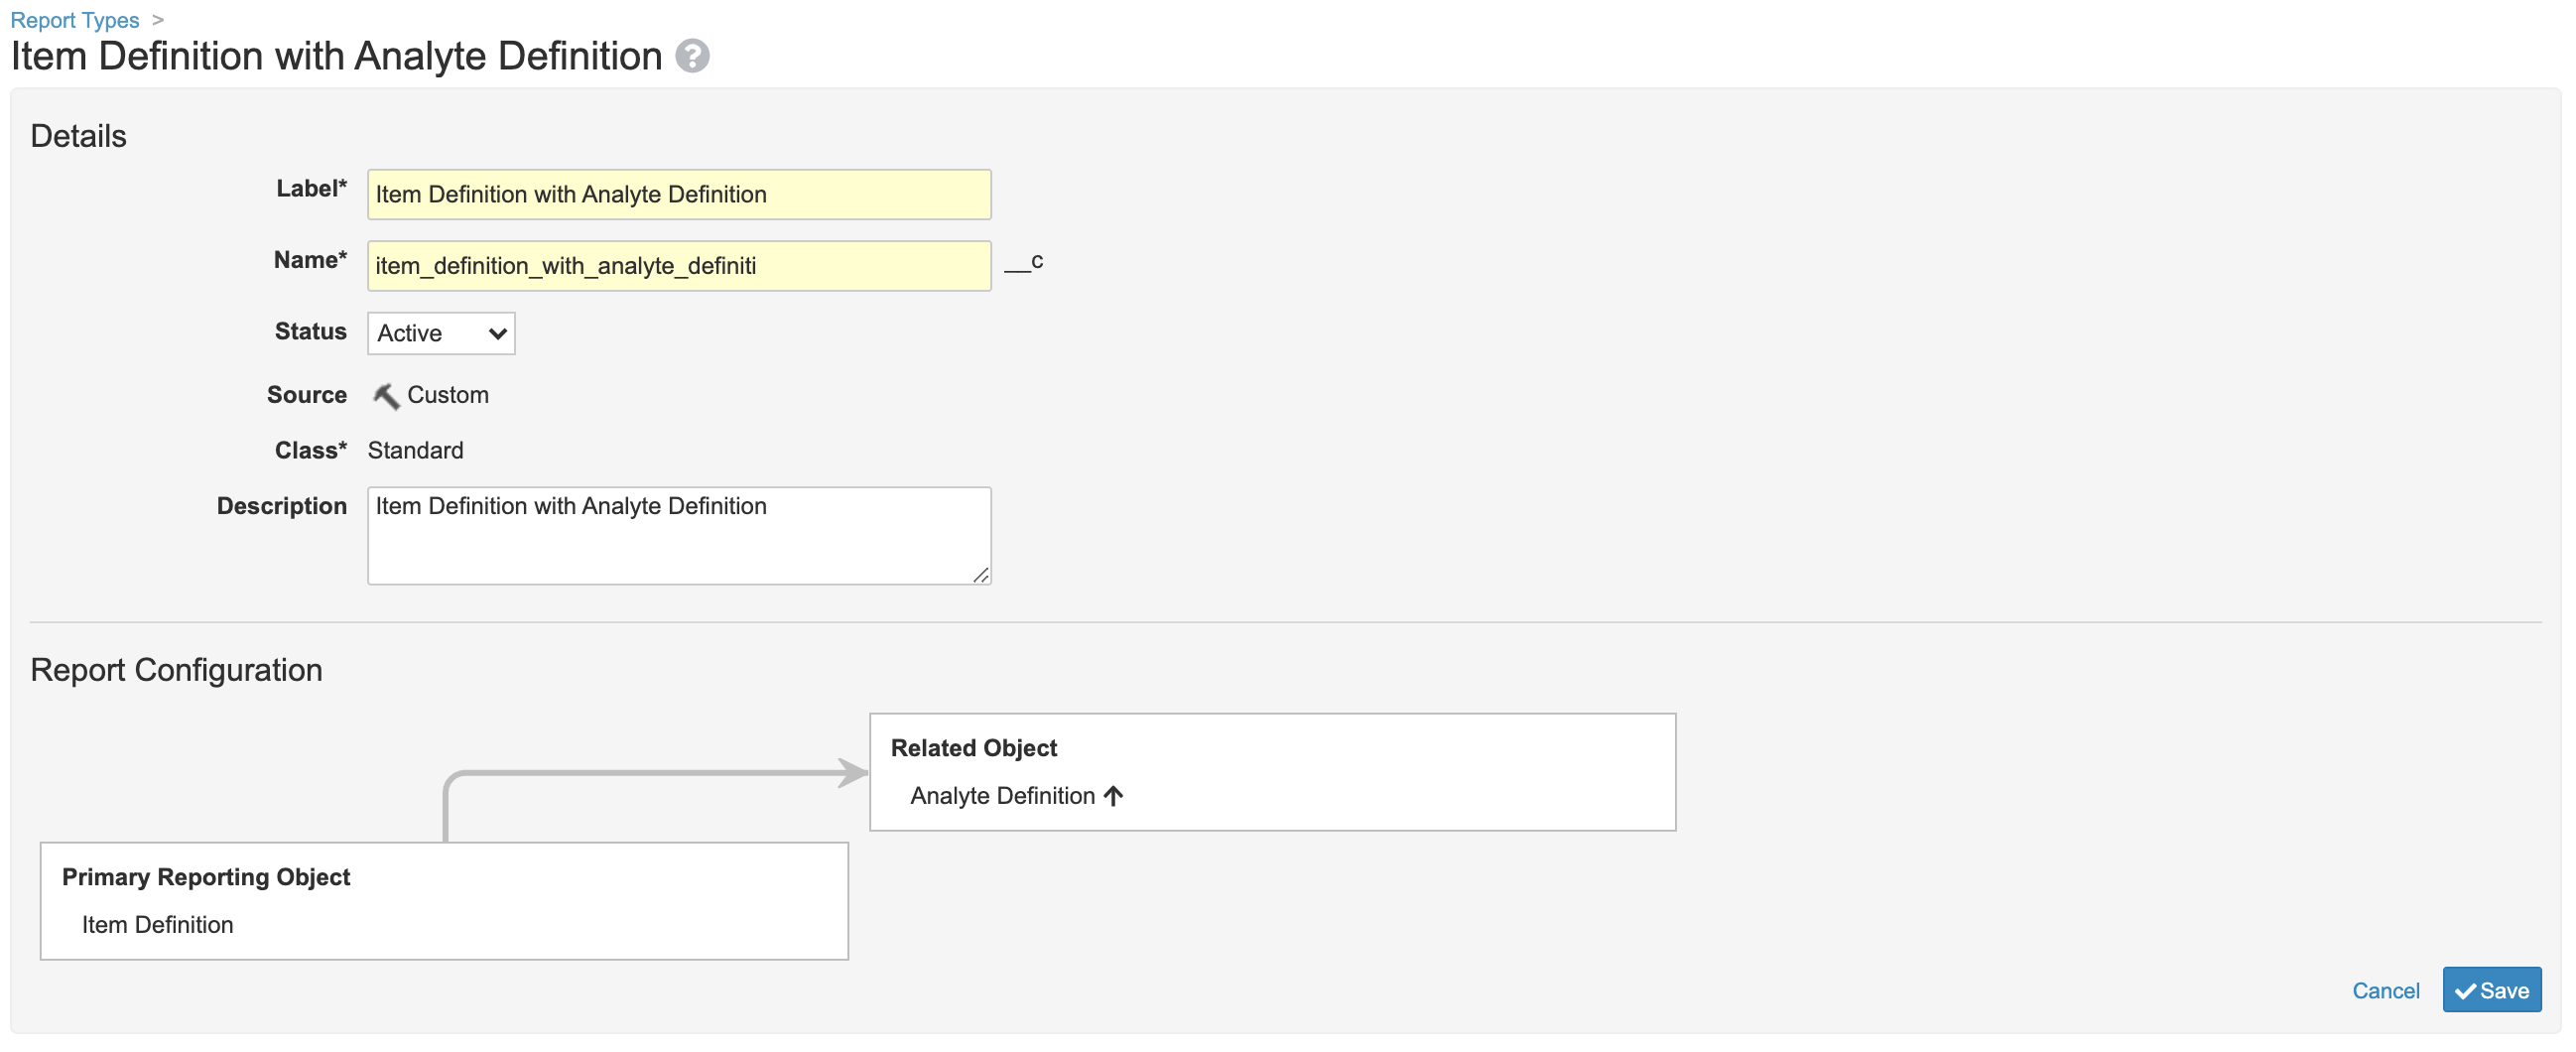
- In the Report Configuration section, select “Item Definition” as the Primary Reporting Object for your report. The fields in the Details section will automatically populate once a Reporting Object has been selected.
- Click + Add Related Object in the Primary Reporting Object box and select “Analyte Definition” from the dropdown menu.
- Click Save.
Once the report has been configured in Business Admin, you can finish creating your report in the Reports tab.
- Navigate to Reports and click the + Create button below the All Reports heading.
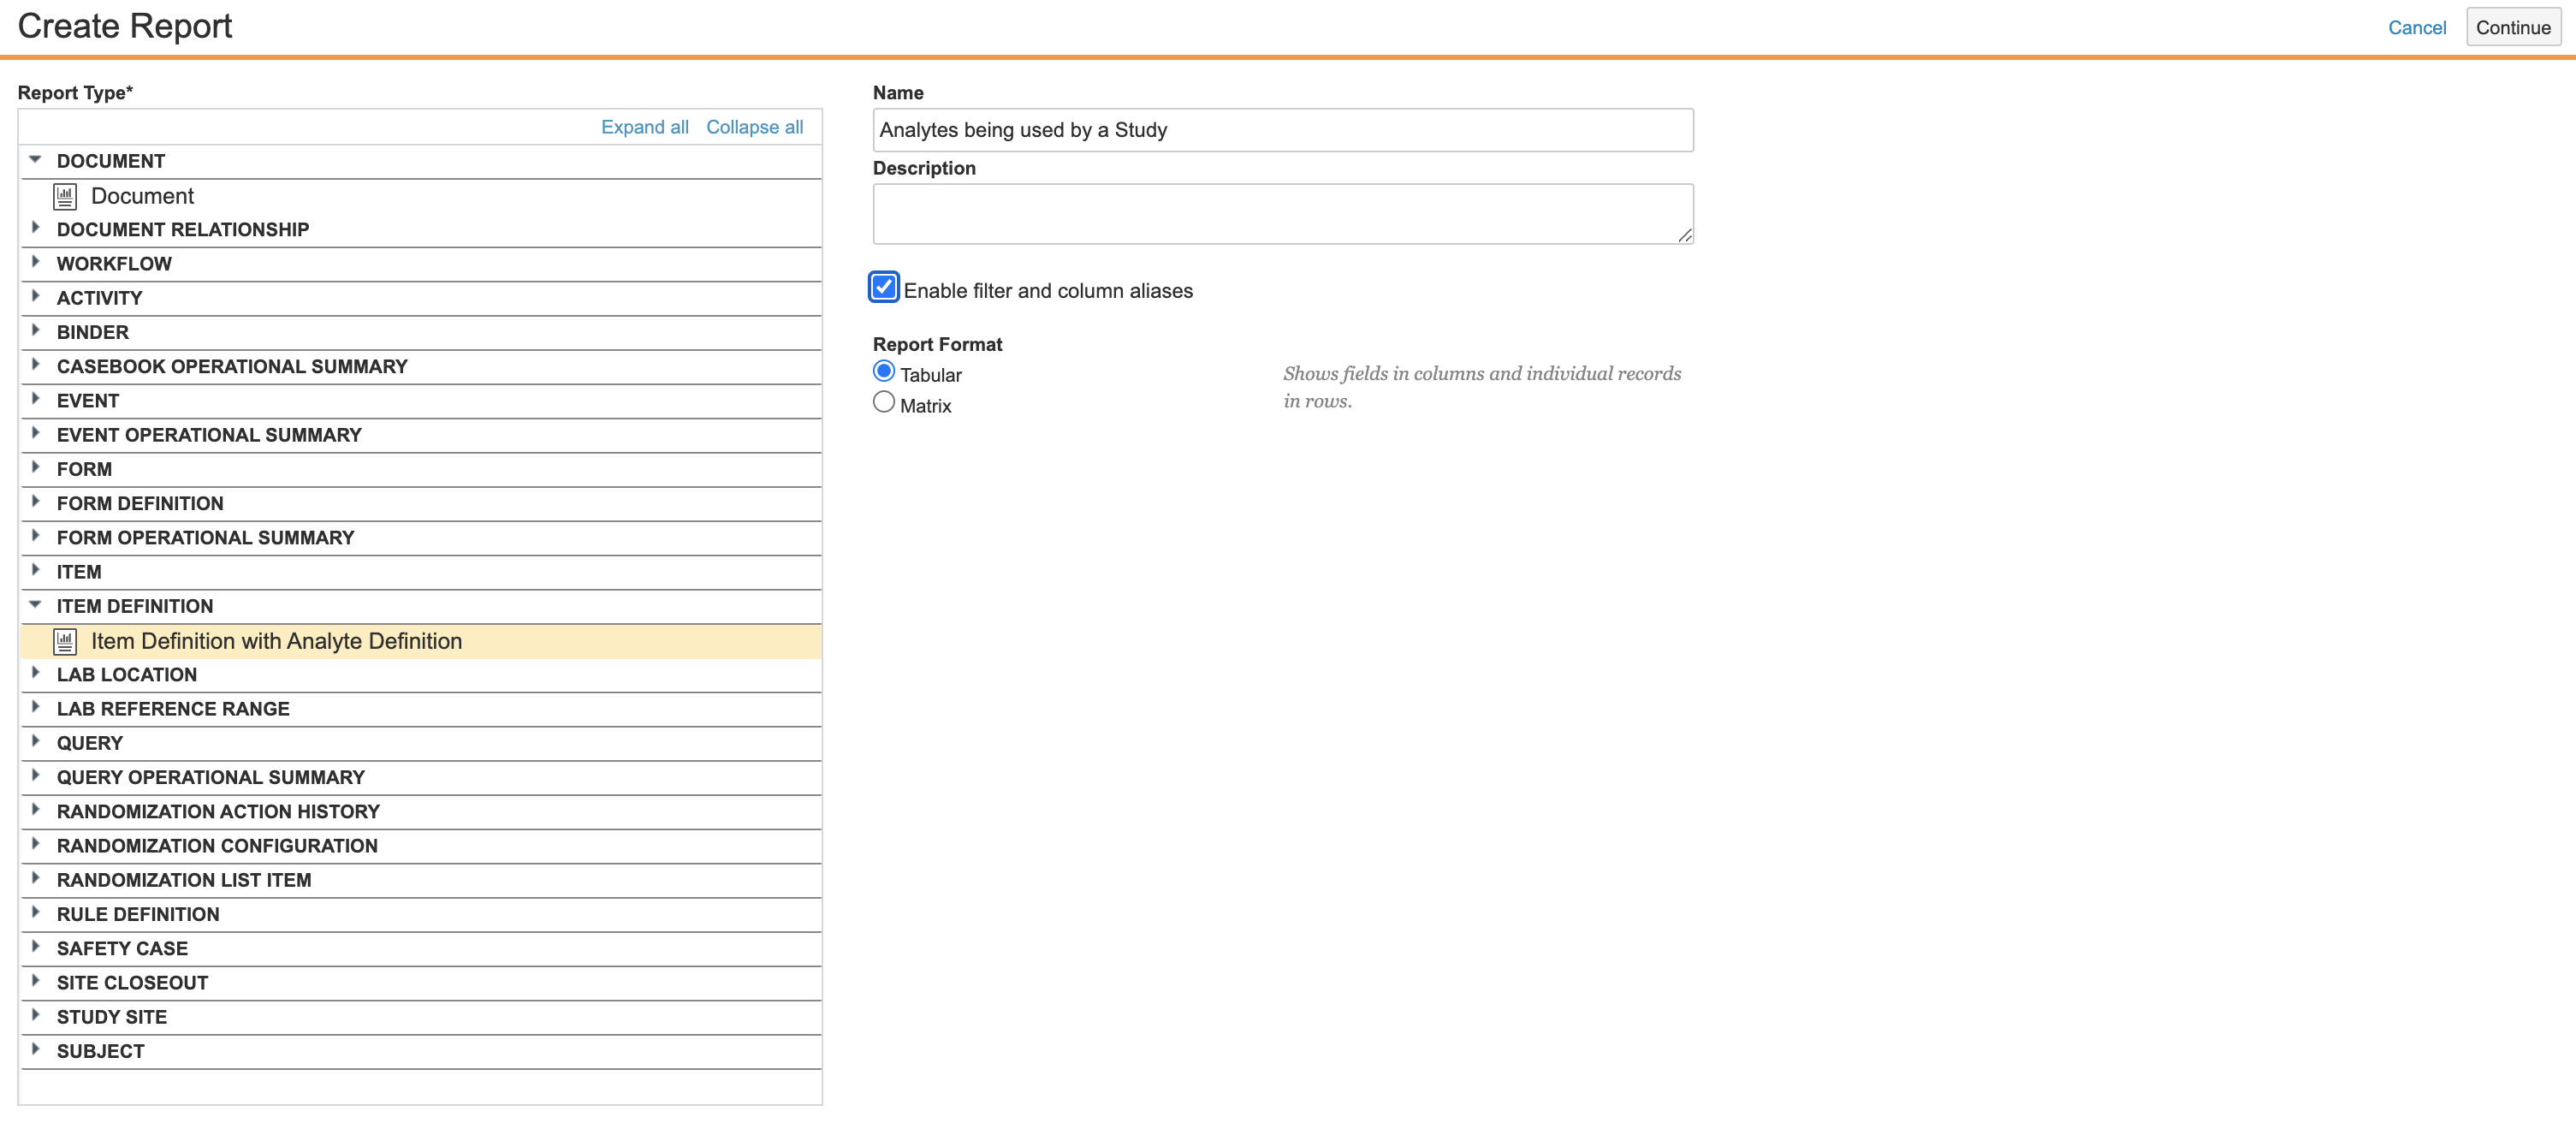
- From the Report Type menu, select Item Definition with Analyte Definition.
-
Name your report and check the “Enable filter and column aliases” box.
- Click Continue.
-
In the Filters subsection, set the dropdowns to Item Definition > Item Type Equals Lab.

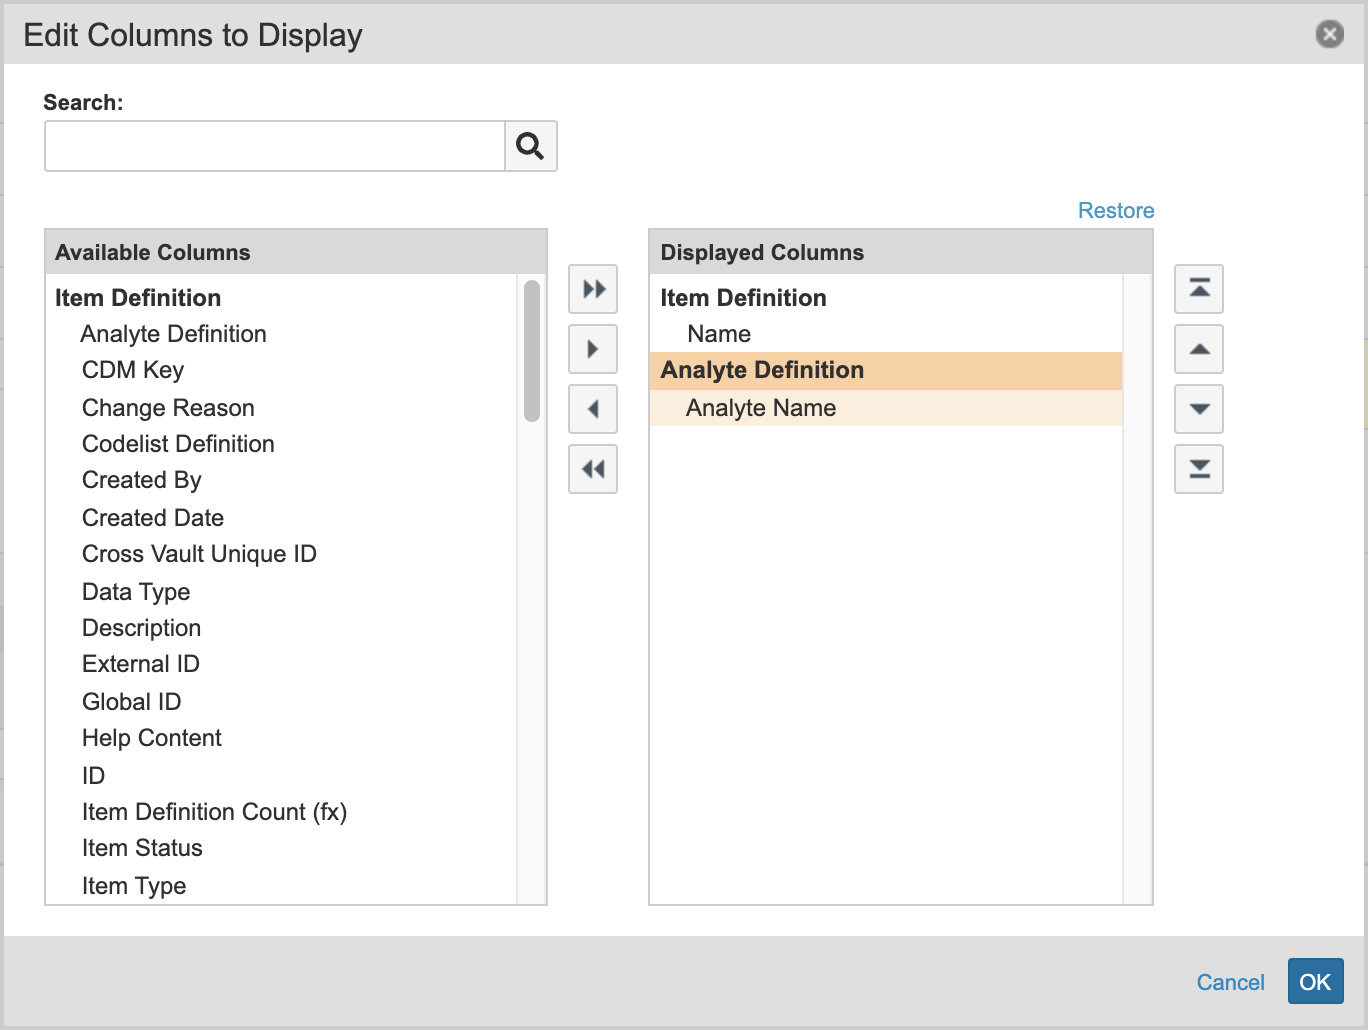
- Select Edit Columns and add Name and Study to your Item Definition displayed columns and Analyte Name to your Analyte Definition displayed columns.
- Click Save at the top right of the page. To run your report, click Run.
How to Create an Analyte/Normals and Lab Location Report
This report shows you which Lab Locations are using which analytes and normal ranges.
To create the report:
- Navigate to Admin > Business Admin > Configuration > Report Types.
- Click + Create in the top right corner of the page.
- In the Report Configuration section, select “Lab Reference Range” as the Primary Reporting Object for your report. The fields in the Details section will automatically populate once a Reporting Object has been selected.
- Click + Add Related Object in the Primary Reporting Object box and select “Lab Location” from the dropdown menu.
- Click Save.
Once the report has been configured in Business Admin, you can finish creating your report in the Reports tab.
- Navigate to Reports and click the + Create button below the All Reports heading.
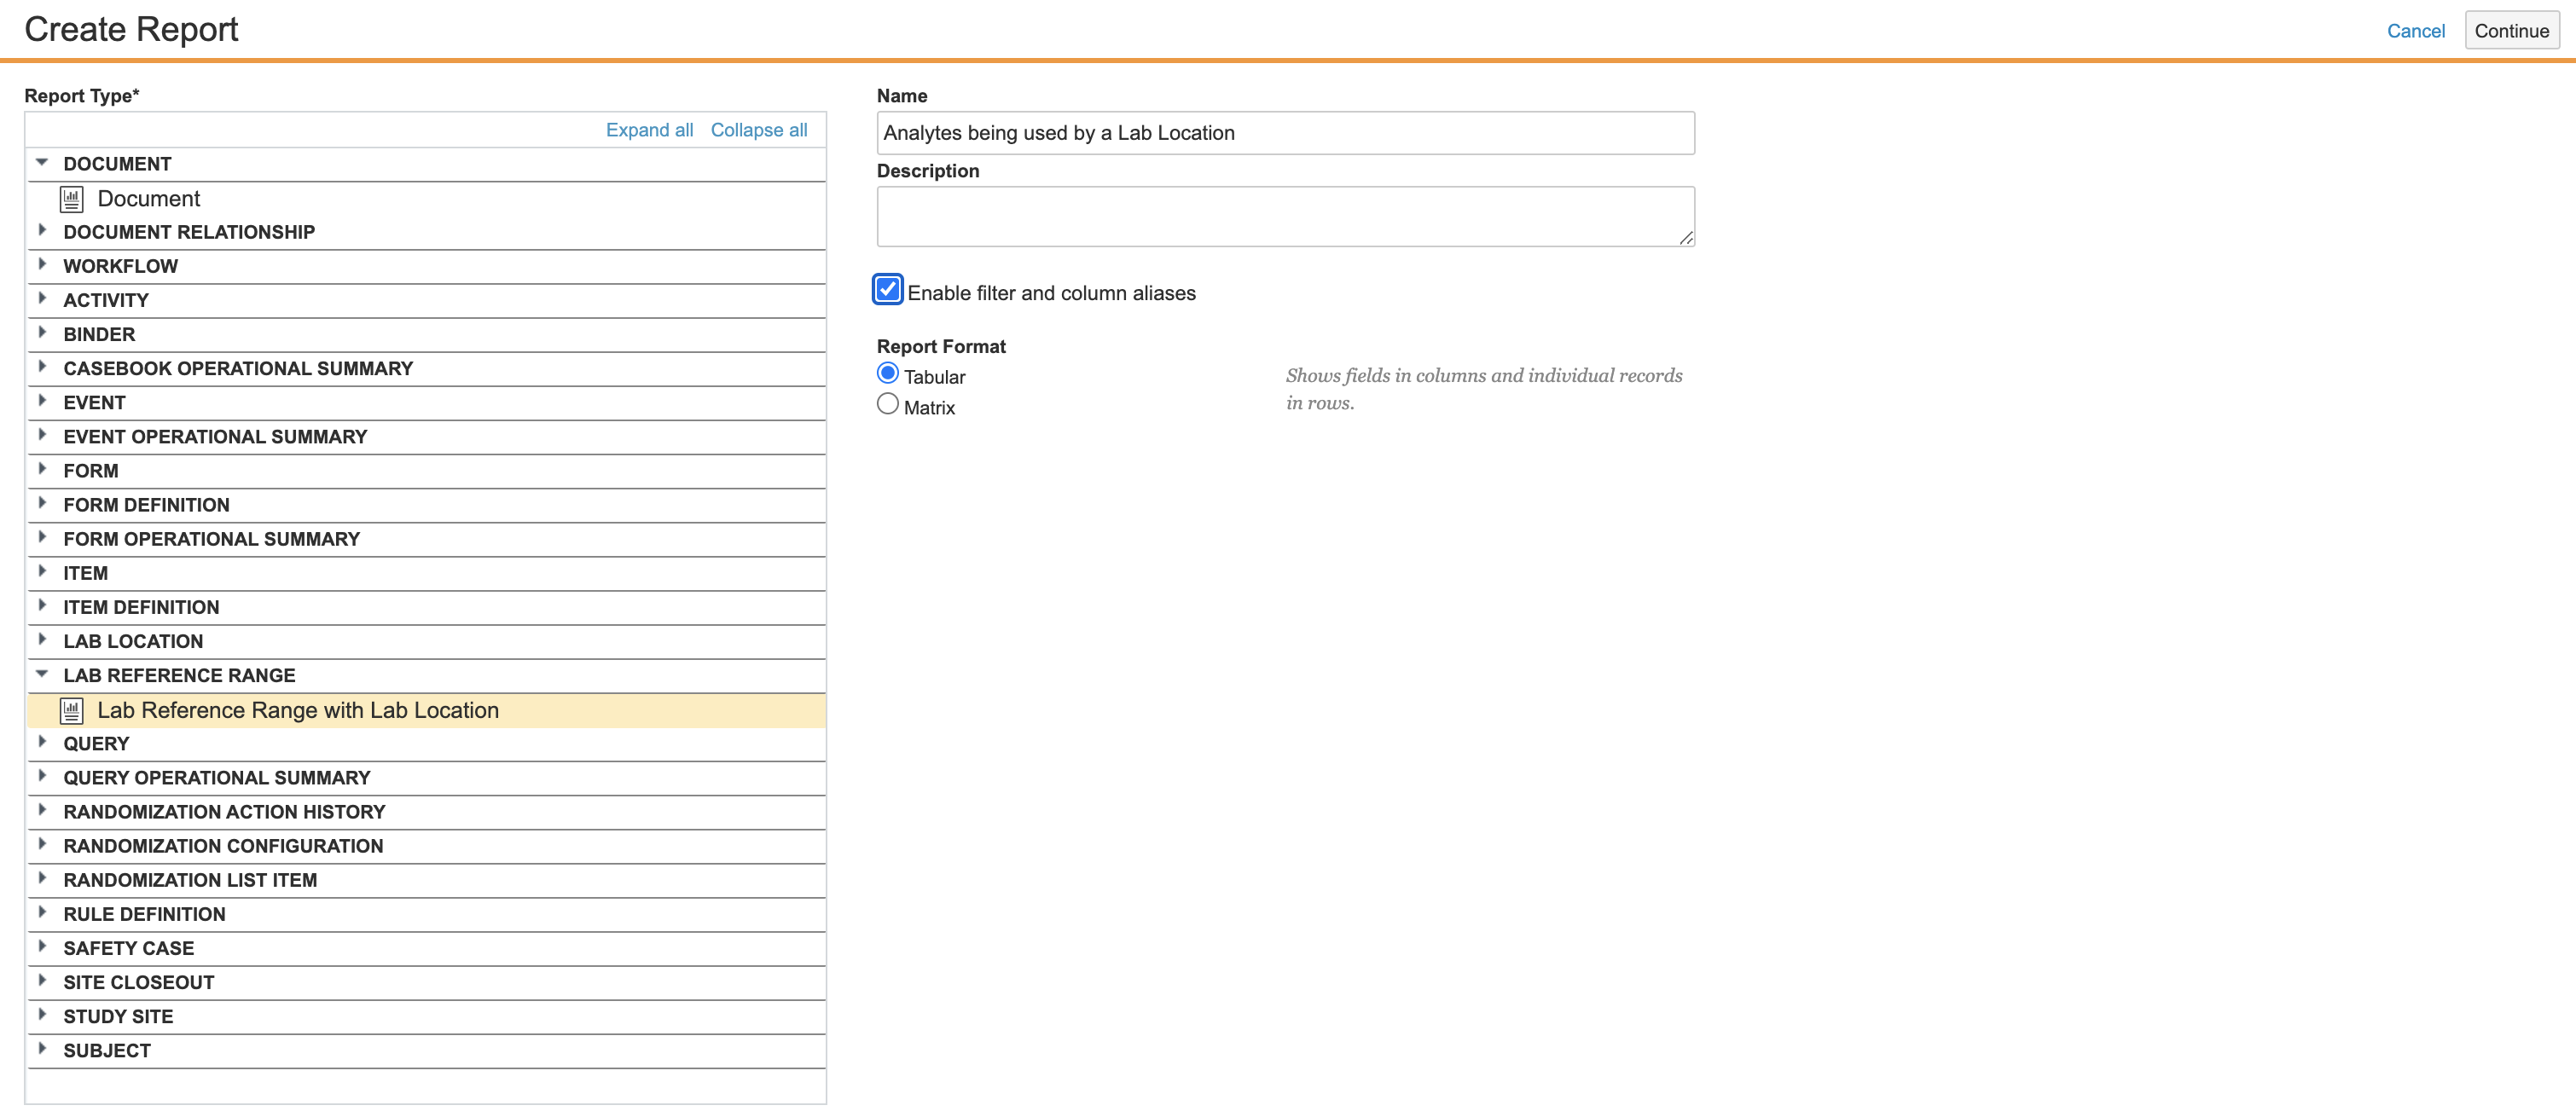
- From the Report Type menu, select Lab Reference Range with Lab Location.
-
Name your report and check the “Enable filter and column aliases” box.
- Click Continue.
- In the Lab Location subsection at the bottom of the page, click into the Group Rows By dropdown menu and select Lab Reference Range > Analyte Definition.
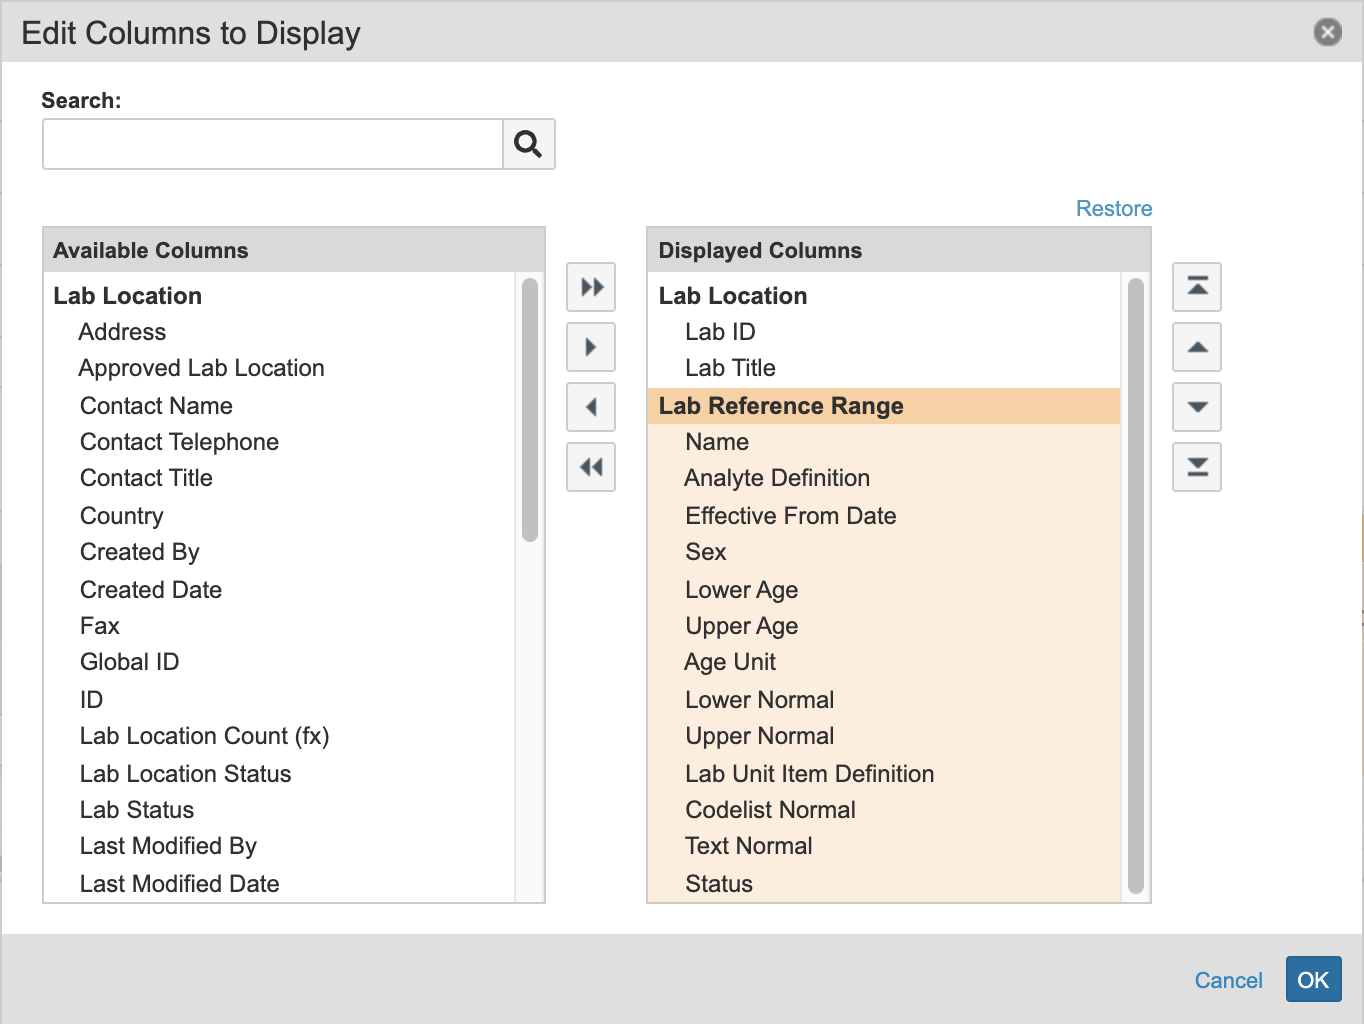
- Select Edit Columns and add Lab ID and Lab Title to your Lab Location displayed columns and Name, Analyte Definition, Effective From Date, Sex, Lower Age, Upper Age, Age Unit, Lower Normal, Upper Normal, Lab Unit Item Definition, Codelist Normal, Text Normal, and Status to your Lab Reference Range displayed columns.
- Click Save at the top right of the page. To run your report, click Run.
For more information on reports, See Creating & Editing Reports.
