Enabling Forms for Coding
You can easily identify coding Forms and configure them in Studio for clinical coders to code form data within Veeva Coder.
Prerequisites
Before you can enable a form for coding, you must first create a Form Definition for the form, as well as the item groups and items, and build the form in Studio > Schedule.
Users with the standard CDMS Study Designer study role can perform the actions described above by default. If your organization uses user-defined Study Roles, your study role must provide the following permissions:
| Type | Permission Label | Controls |
|---|---|---|
| Standard Tab | Studio Tab | Ability to access the Studio tab |
| Functional Permission | Manage Coding Lists | Ability to create, edit, import, and export Synonym Lists and Do Not Autocode Lists in Coder Tools |
If your Study contains restricted data, you must have the Restricted Data Access permission to view it.
Learn more about Study Roles.
Accessing Studio
To access the Studio study design and configuration area, click the Studio tab in the primary navigation bar.
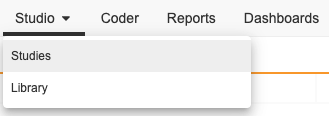
Once you click the Studio tab, you have the option to open either Studies, a listing of Studies in your vault, or Library.

From the My Studies page, you can click a Study Master to open the Study Instances page. Then, you can click a Study Instance to open Studio for that instance.
Configure a Form for Coding
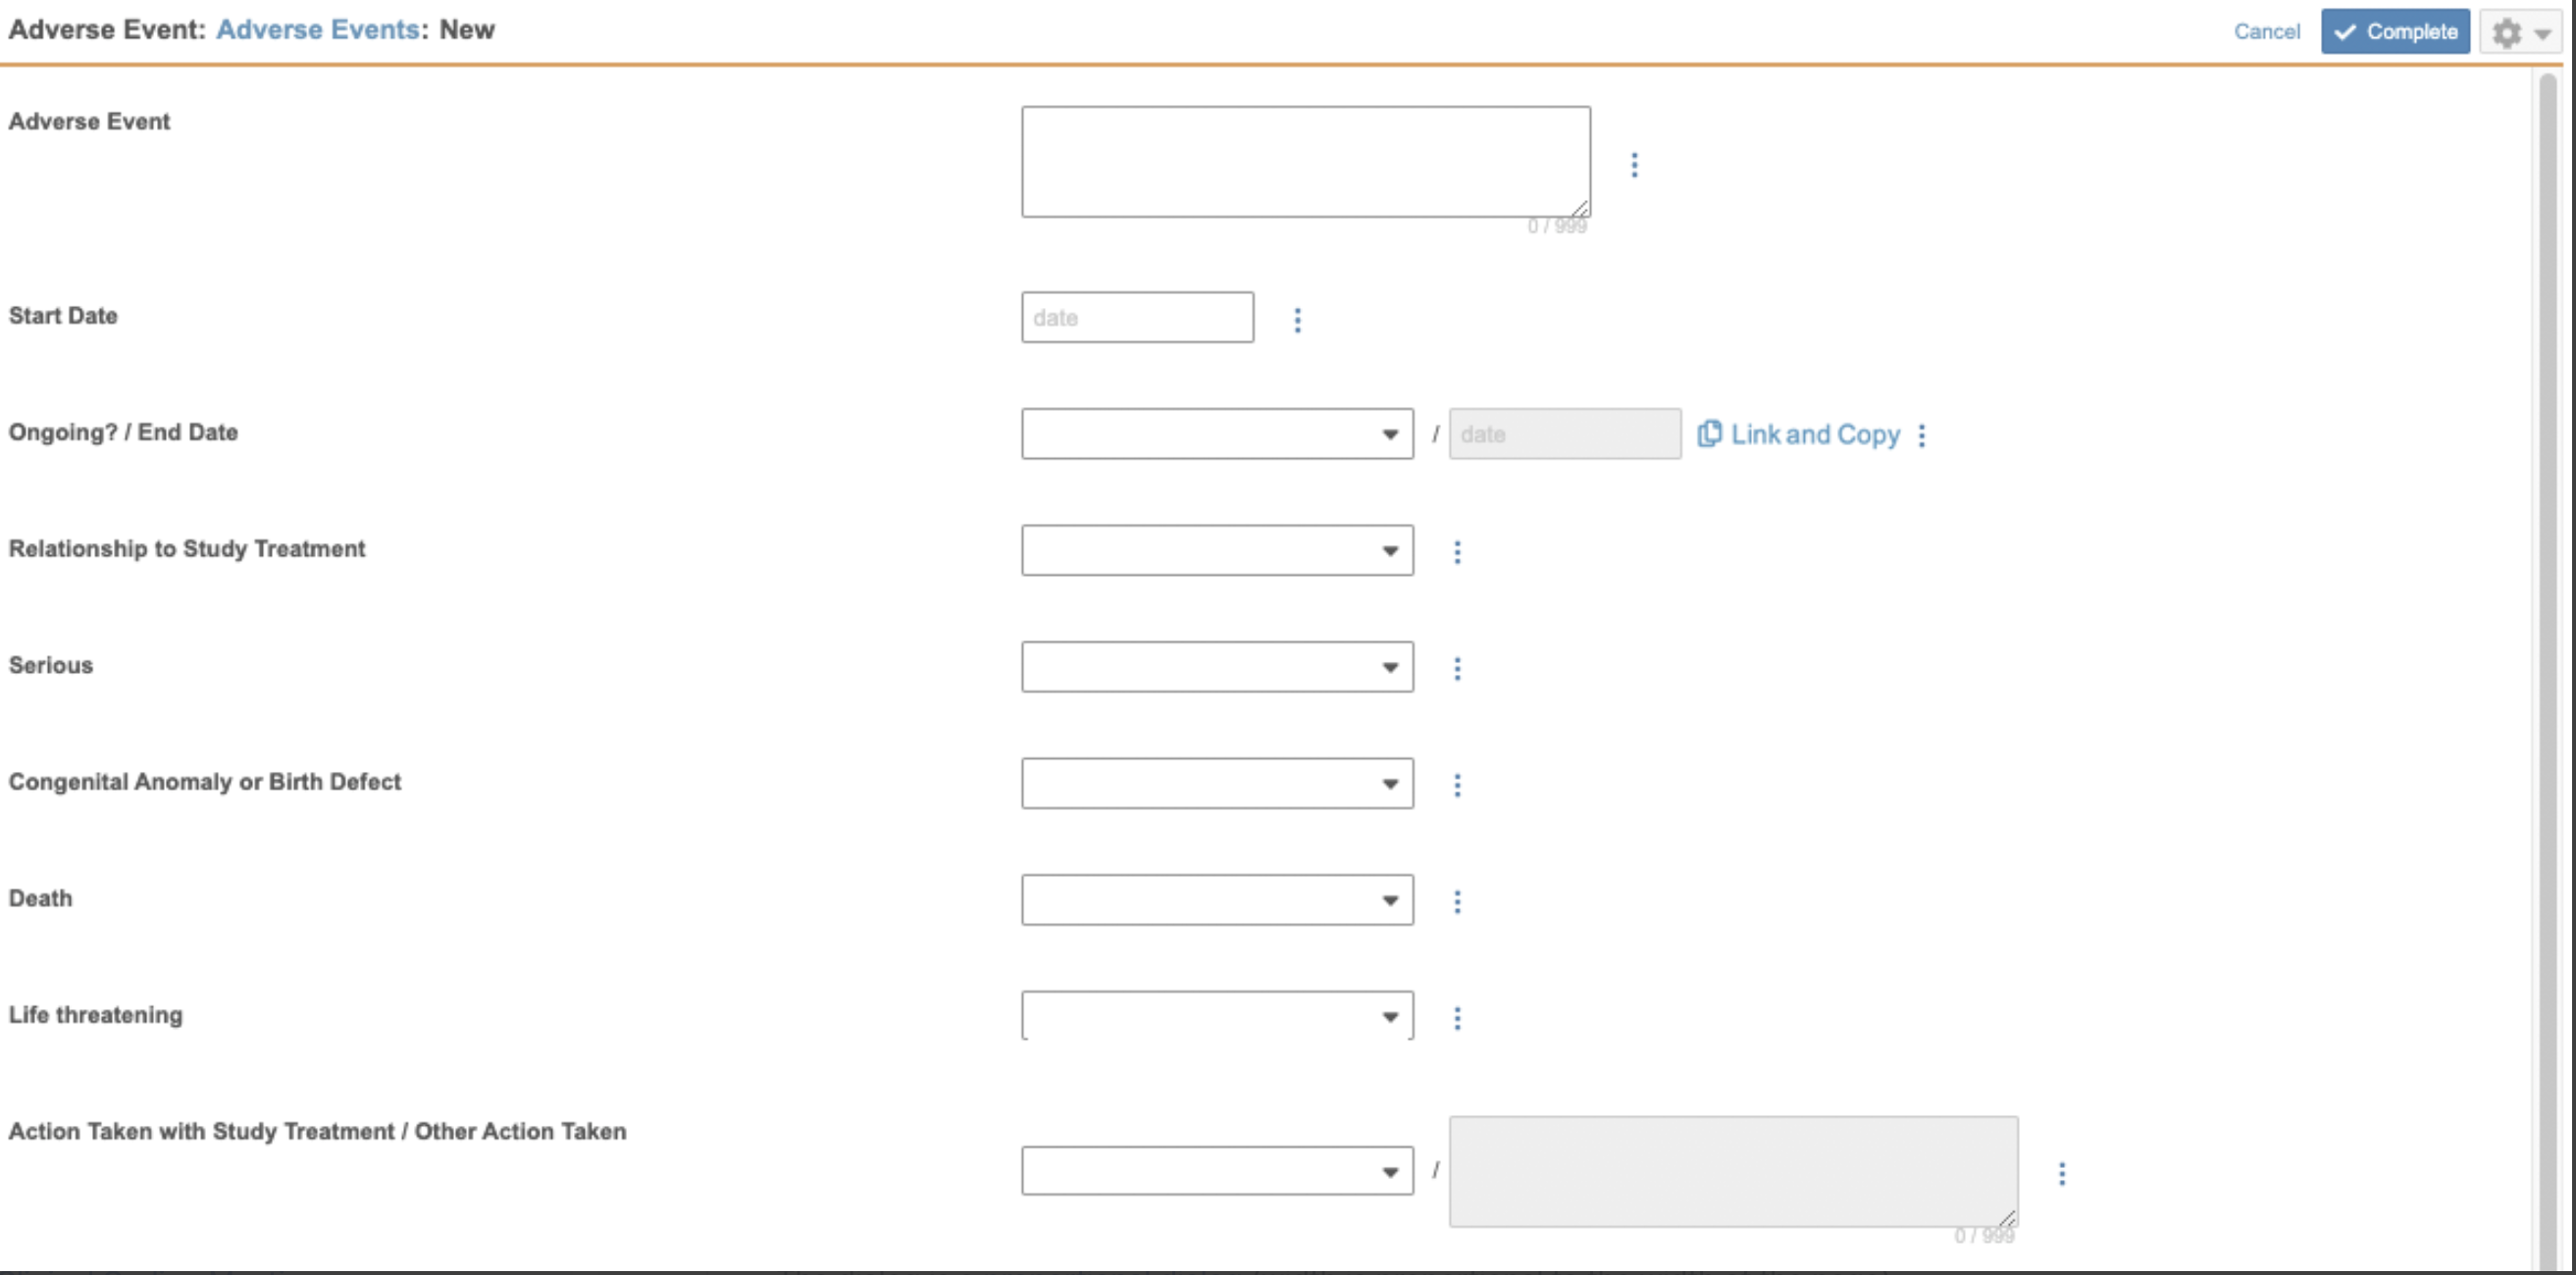
To enable a Form for coding, you must assign a Form Type, a Dictionary Release, a Synonym List, a Do Not Autocode List, and a Verbatim Item. You can then also assign Related Items and make selections for Coding Method, and choose whether or not you’d like to copy an Indication from a Form Link.
Once Code Requests exist for a Form, Vault locks the coding configuration for that assigned Dictionary Release. You can no longer edit that selection. If you need to update the configuration, you can contact Veeva Services. They can work with you to update the configuration and existing Code Requests. See details below.
Cross-Form Derivation Not Supported for Coding Items: If a Derived Item is used as a reference value for a Code Request and the Item is derived from source values on a different Form, you must resubmit the target Form to display the updated value in the Code Request. Learn more about cross-form derivations.
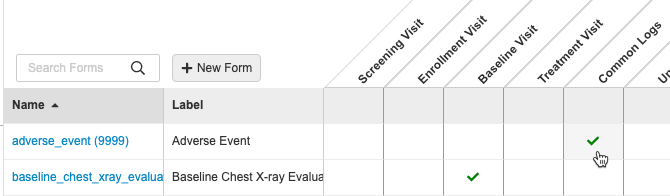
- Navigate to your Study in Studio > Schedule.
- Open the Form’s Properties panel:
-
If you’re using the Time & Events Editor, click the Checkmark () or, if your form is dynamic, the Bolt () for the Form in the Event column to open the form’s Properties panel.
-
If you’re using the Drag & Drop Editor, click the Form in Design View to open the form’s Properties panel.
-
- In the Coding Configuration section, click Edit. Vault opens the Coding Configuration dialog.
- Select a Form Type. See details about these options below.
- If you selected Other for Form Type, name that type in Form Type Other.
- Select a Verbatim Item.
- The remaining configuration in this dialog is optional. See details about Related Items below.
- Click Save.
Verbatim Item Selection: When selecting the Verbatim Item, the Verbatim Item dropdown only shows Item labels and not Item names. If your Form contains Items that have duplicate labels with your intended verbatim Item, ensure you are selecting the correct Item for coding. If you are not sure whether you have selected the correct Item, you need to test out the configuration and confirm what information is being pulled into Veeva Coder.
Copy Indication from Linked Form
When configuring a ConMed form for coding, you have the option to copy an Indication from a linked form. This feature allows you to link form records and use an entered Adverse Event symptom or Medical History condition as the Indication value on a Concomitant Medication form.
Note that to perform this configuration, you must have already created the Form Link in Studio > Form Links.
You can’t configure a restricted (blinded) Form for use with Veeva Coder. A restricted form is a Form Definition that has the Restricted property selected.
To copy an indication from a link:
- In the Coding Configuration dialog, fill out the required fields and select Code with Indication under Coding Method.
- Click + Add Link under Copy Indication from Link and select the link to indicate which Form to copy from and the specific item to copy and paste into the Indication item field.
- Click Save.
Indication item must be a Text field to configure Form Linking.
What Data Entry Users See
In the Data Entry tab, users can link a form instance and copy the linked form’s configured item into the indication item by clicking the Link and Copy button shown in the below screenshot.
This will open the Link and Copy dialog, where users can choose which forms to link and copy from.
Users must have at least one Link and Copy definition saved in a Form’s Coding Configuration to Link and Copy in the Data Entry tab.
Edit or Delete Coding Configuration with Existing Code Requests
When you make changes to your form configuration while your study is in execution (and there are existing Code Requests), Vault applies your configuration changes right away. You can update or remove the Coding Configuration for your form. Changes to the Coding Configuration of a Form are versionless, so you do not need to create a new casebook version to apply them. Learn more about versioned and versionless changes here.
Vault does not allow you to update the Dictionary Release when there are existing requests without performing additional steps. If you need to switch to an earlier version, or switch dictionary type (MedDRA to WHODrug or vice versa), you can work with Veeva Services to make a mid-stream change.
If you need to update to a newer version of the dictionary, your organization’s coding administrator should upversion from Coder Tools.
Edit a Form’s Coding Configuration
To edit the Coding Configuration of a Form in a Study that is in production:
- Navigate to your Study in Studio > Schedule.
- Open the Form’s Properties panel:
- If you’re using the Time & Events Editor, click the Checkmark () or, if your form is dynamic, the Bolt () for the Form in the Event column to open the form’s Properties panel.
- If you’re using the Drag & Drop Editor, click the Form in Design View to open the form’s Properties panel.
- In the Coding Configuration section, click Edit. Vault opens the Coding Configuration dialog.
- Make your changes to the Coding Configuration.
- Click Save.
- To apply the change to the study in production, a user with access to the EDC Tools tab and the Manage Deployments permission, such as a user with the standard CDMS Deployment Administrator study role, must deploy the new study build to UAT and Production.
Delete a Form’s Coding Configuration
To delete the Coding Configuration of a Form in a Study that is in production:
- Navigate to your Study in Studio > Schedule.
- Open the Form’s Properties panel:
- If you’re using the Time & Events Editor, click the Checkmark () or, if your form is dynamic, the Bolt () for the Form in the Event column to open the form’s Properties panel.
- If you’re using the Drag & Drop Editor, click the Form in Design View to open the form’s Properties panel.
- In the Coding Configuration section, click Edit. Vault opens the Coding Configuration dialog.
- Click Delete. The Coding Configuration is deleted from the Form.
- To apply the change to the study in production, a user with access to the EDC Tools tab and the Manage Deployments permission, such as a user with the standard CDMS Deployment Administrator study role, must deploy the new study build to UAT and Production.
Deleting Inactive Code Requests: Deleting the Coding Configuration of a Form in a Study that is in production does not delete the related Code Requests, it only marks them as inactive and prevents them from being displayed in the Code Requests Listing and elsewhere in the UI. To delete the inactive Code Requests after the new Study build containing the Form with the deleted Coding Configuration has been deployed, the Study Administrator or a user with the Manage Jobs permission must run the Delete Inactive Code Requests job from EDC Tools > Jobs.
Form Types
Which dictionary type applies to your Form depends on the Form Type you selected.
If you selected Concomitant Medication (CM), WHODrug B3 and C3 dictionary versions are available for selection in Dictionary Release. If you selected Adverse Event (AE) or Medical History (MH), MedDRA dictionary versions are available for selection in Dictionary Release.
If you selected Other, you can choose from any available dictionary version. Which dictionary type you choose (WHODrug or MedDRA) informs which options are available to you for Related Items.
Add Related Items
You can configure data collection Items on your Form to display their values in the Code Request Properties panel. Coders can then look at those values as a reference when making coding decisions.
You can define which Items display and their order from the Related Items section of the Coding Configuration dialog. Any Items that you add here display in the Code Request Properties panel. If you remove a Related Item, it no longer displays in that panel.
Based on your selection for Form Type, Vault automatically adds a set of Related Item rows. You can then select Items to pair to the Type in each row.
Add a Related Item
To add a Related Item:
- In the Coding Configuration dialog, click Add Related Item.
- Select an Item. The options here are all data collection Items on the Form you’re editing.
- Select a Type. Note that the available Types are limited by the Form Type.
- If you selected Other for Type, enter a name for the type in the If Type Other field.
- Click Save.
Reorder Related Items
The order of the Related Items in the Coding Configuration dialog determines the order in which those Items display in the Code Request Properties panel. You can change this order at any time.
To reorder Related Items:
- Locate the Related Item you want to move in the Coding Configuration dialog.
- Click and drag a Related Item into a different position in the list.
- Repeat steps 1 and 2 until finished.
- Click Save.
Delete a Related Item
You can delete Related Items to remove them from the coding configuration.
This action does not remove the Item from the Form or delete the Item Definition record.
To delete a Related Item:
- Locate the Related Item you want to delete in the Coding Configuration dialog.
- Click Delete (X). Vault deletes the Related Item configuration.
- Click Save.