Creating Custom Listings
Workbench uses data listings to generate complex clinical data reports across a study. You can create a CQL query to return the clinical data you want to review, view the results, and save that query as a custom listing. You can also assign a category to a custom listing to categorize it according to your organization’s business practices. You can choose to share their listing with others in your organization, or mark it as a private listing.
Availability: Clinical DataBase (CDB) is only available to CDB license holders. Contact your Veeva Services representative for details.
Accessing Listings
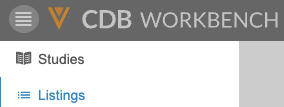
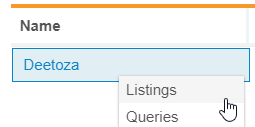
First, select your Study from the Studies page. Then, open the Listings page either from the Navigation Drawer () or the Study menu.
|
|
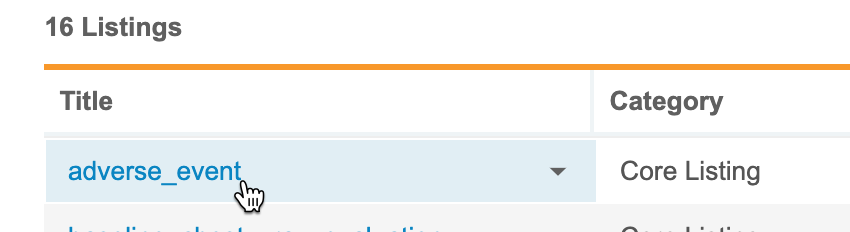
Workbench divides your study listings into four groups. To view listings in a certain group, click to open the appropriate tab.

- Review: These are custom listings that are Review Enabled. These listings allow you to review incoming data and identify any issues. Learn more about reviewing data.
- Core: Workbench automatically creates a Core Listing for each Form in your study as they are imported into the system.
- Public: These are all custom listings, which are not review enabled, that you have permission to view. These include your own listings marked as public and any public listings from other users in your study. Workbench displays custom listings that are review enabled in the Review group.
- Private: These are all custom listings that you created and marked as private.
Click on a listing’s Title to open it.
You can access Export Listings (including System Listings) from Export > Definitions.
Creating a Custom Listing
- Navigate to your Study in Workbench.
- From the Create New menu, select Listing.
- Drag and drop Properties from Available Properties to Selected Properties to add them to your listing. You can drag a group of properties, or click Expand to choose individual properties.
- Click Remove () to remove a property from your listing.
- Click Items in the left-hand Listing Builder menu.
- Drag and drop Forms from Available Properties to Selected Properties to add them to your listing. You can drag an entire Form, or click Expand to choose individual Items on that Form.
- Click Remove () to remove an item from your listing.
- Click Arrange in the left-hand Listing Builder menu.
- Drag and drop properties, forms, and items to reorder them.
- To add Views to your listing, click Views and repeat steps 7 through 9.
- Click Rows in the left-hand Listing Builder menu.
- Select a Row Structure:
- By Subject: This option attempts to display data from multiple forms across events in a single row for the subject, independent of the study schedule, and displays all data where subjects match across events. Any selected schedule-related fields, such as Event Date or Event Name are set to null in the listing.
- By Schedule: This option displays form data from different events on separate rows. We recommend this option if schedule-related fields are required. This is the default option for all core listings.
- Click Columns in the left-hand Listing Builder menu.
- Select a Column Structure:
- Wide (Side by Site): With this option, each column represents a single unique item or item property.
- Stacked (Union): With this option, each column can contain multiple items or item properties stacked together, where the user can include up to five (5) items and/or item properties per column.
- Click Aliases in the left-hand Listing Builder menu.
- Enter a Column Alias for any columns that you want to use non-default headers.
- Click Sort & Filter in the left-hand Listing Builder menu.
- Use the Sort & Filter menu to apply sort orders and filters to any columns.
- Optional: Click Preview to preview your listing. This opens a preview of your listing in a new window.
- Click Validate and Save.
- Enter a Title for your listing. Note that this Title must be unique within your Study.
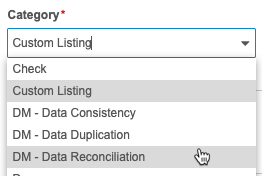
- Select a Category for your listing. These Categories are defined by an administrator and may restrict other users from performing certain actions on the listing.
-
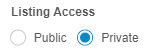
Optional: By default, your listing is private, meaning that only you can see it. To create a public listing, select Public for Listing Access. Public listings are visible to anyone with access to Workbench and your Study. Otherwise, leave this set to Private.
- Optional: Select Enabled for Review to enable this listing for review. Otherwise, leave this set to Disabled to create a regular public or private listing.
- Enter a Description.
- Click Save. Workbench saves your custom listing and opens it.
Listing Builder: Selecting Items and Properties
Last Updated: 23R3
This video demonstrates how to select Items and Properties when building a listing, check, or view in the Listing Builder.
Listing Builder: Setting Listing Structure
Last Updated: 23R3
This video demonstrates how to set listing structure in the Listing Builder.
Listing Builder: Validations
Last Updated: 23R3
This video reviews validations in the Listing Builder.
Creating a Custom Listing with CQL
To create a custom listing with the CQL Editor:
- Navigate to your Study in Workbench.
- Open the Listings page from either the Study menu or the Navigation Drawer ().
- Choose a Core Listing, or an existing custom listing, to start from.
- Click that listing’s Title to open it.
- Click CQL Editor.
- Edit the CQL query to show the desired data in the listing.
- Click Apply.
- Review the listing. If needed, edit the CQL query again and reapply until you’re satisfied with the data shown in the listing.
-
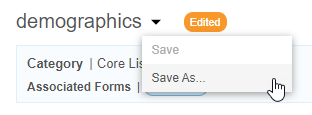
From the Listing Menu, choose Save As.
- Enter a Title for your listing. Note that this Title must be unique within your Study.
-
Select a Category for your listing. These Categories are defined by an administrator and may restrict other users from performing certain actions on the listing.
-
Optional: By default, your listing is private, meaning that only you can see it. To create a public listing, select Public for Listing Access. Public listings are visible to anyone with access to Workbench and your Study. Otherwise, leave this set to Private.
- Optional: Select Enabled for Review to enable this listing for review. Otherwise, leave this set to Disabled to create a regular public or private listing.
- Enter a Description.
- Click Save. Workbench saves your custom listing and opens it.
Copy a Single Listing into a Study
You can copy a single Listing Definition into another Study.
To copy a Listing:
- Open the Listing that you want to copy.
-
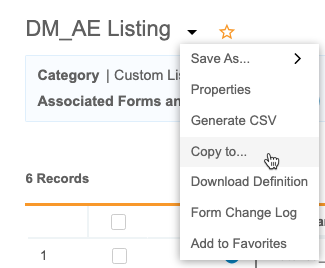
From the Listing () menu, select Copy to.
- In the Copy to Study dialog, select a Study.
- Click Copy.
- In the Save Listing As dialog, modify the properties as needed.
- Click Save.
If there are any study design differences between the two Studies, CDB may mark your listing as invalid. Use the CQL Editor or the Listing Builder to revise the listing until all errors are resolved and the listing is valid.
Editing a Custom Listing
If you created your listing in the Listing Builder, you can edit it with the Listing Builder or by modifying its CQL statement in the CQL Editor. Otherwise, you can only edit the listing’s CQL or its properties.
To modify a listing in the Listing Builder:
- Navigate to your Study in Workbench.
- Open the Listings page from either the Study menu or the Navigation Drawer.
- Locate the listing you want to edit.
- Click the listing’s Title to open it.
- Click Modify.
- Make your changes.
- Optional: Click Preview to preview your listing. This opens a preview of your listing in a new window.
- Click Validate and Save.
To edit a custom listing’s CQL query:
- Navigate to your Study in Workbench.
- Open the Listings page from either the Study menu or the Navigation Drawer.
- Locate the listing you want to edit.
- Click the listing’s Title to open it.
- Click CQL Editor.
- Edit the CQL query.
- From the Listings menu, select Save.
To edit a custom listing’s properties:
- Navigate to your Study in Workbench.
- Open the Listings page from either the Study menu or the Navigation Drawer.
- Locate the listing you want to edit.
- Click the listing’s Title to open it.
- Click the Arrow () to open the Listing menu.
- Select Properties.
- In the Properties dialog, click Edit.
- Make your changes.
- Click Save.
Invalid Listings: You can’t edit the properties of a listing that is invalid. To edit the properties, update the listing’s CQL statement so that it is valid.
Listing Builder: Modify Listings
Last Updated: 23R3
This video demonstrates how to modify existing listings with the Listing Builder.
Deleting a Custom Listing
You can delete custom listings that you created. Note that you can’t delete Core Listings, or any custom listings that another user created.
To delete a custom listing:
- Navigate to your Study in Workbench.
- Open the Listings page from either the Study menu or the Navigation Drawer ().
- Locate the listing you want to delete.
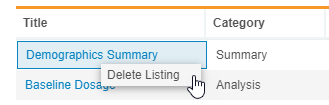
- Hover over the Title of that listing to show the Listing Menu.
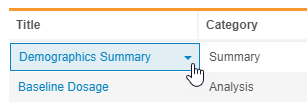
- Click the Arrow () to open the Listing menu.
- Select Delete Listing.
- Workbench deletes your custom listing. If your listing was the only one in its category, Workbench also deletes the category.
Example Custom Listings
The examples below are custom listings for Verteo Pharma’s Deetoza study.
Note that these examples use a fictional study, Deetoza. To recreate any examples in your own study, update any references to Items, Item Groups, Forms, and Events to point to definitions that exist in your own study.
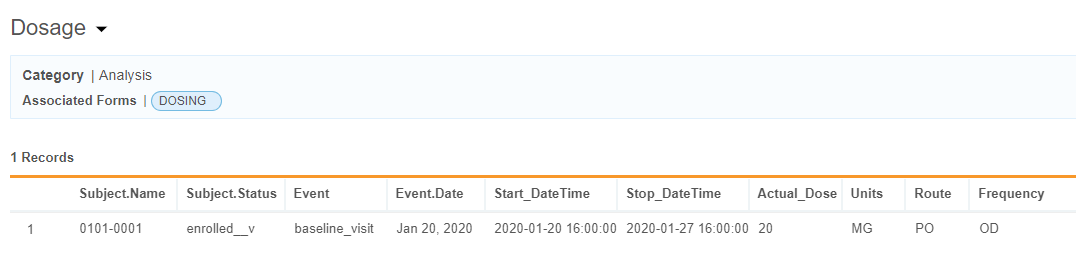
Example: Dosage
The example listing below is “Dosage”. This listing shows the following items from the Dosing form: Actual Dose, Units, Route, and Frequency. Because the Deetoza study reuses one Dosing form definition for each Treatment Visit event, the listing also shows the Name of the event and the Event Date. This means that the listing includes a row for each treatment visit completed by each subject.
This listing excludes any forms not in the Submitted status or any forms within an Event marked as Did Not Occur.
This example listing is in the Analysis category. Verteo Pharma categorizes any listings used for analysis with this category.
The Dosage custom listing uses the following CQL query:
select @HDR.Subject, @HDR.Event.Name as Event, @HDR.Event.Date, dosing.start_date_and_time as Start_DateTime, dosing.stop_date_and_time as Stop_DateTime, dosing.actual_dose as Actual_Dose, dosing.dose_units as Units, dosing.dose_route as Route, dosing.dose_frequency as Frequency
from EDC.Dosing
where @Form.Status = 'submitted__v' or @HDR.Event.Status IN ('did_not_occur__v')
This query uses aliases (as) to shorten column names. Learn more about aliases in the CQL Reference.
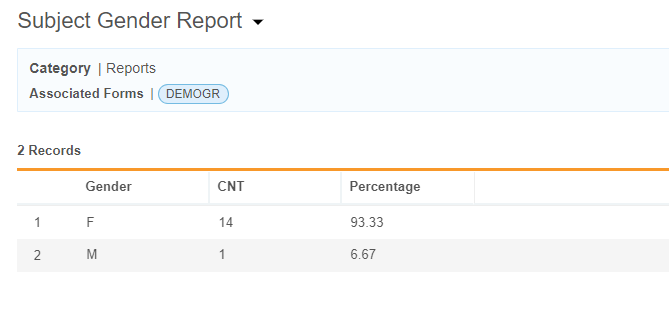
Example: Subject Gender Report
The example listing below is “Subject Gender Report”. This listing shows the percentage of Subjects by gender, based on the Subject Gender (subject_gender) item from the Demographics form. The query uses the Round() and Count() functions and arithmetic operators to calculate the percentage of the total number of Subjects that make up each gender.
This Subject Gender Report listing uses the Reports category. Verteo Pharma categorizes any listings meant for reporting within this category.
This listing excludes any Subjects with their Demographics form not in the Submitted status or any within a Screening event marked as Did Not Occur.
The Subject Gender Report custom listing uses the following CQL query:
select `subject_gender` as Gender, Count(@HDR.Subject.Name) as CNT,
(Round(Count(@HDR.Subject.Name)/(Select Count(@HDR.Subject.Name) from EDC.demographics ttl_subj)*100,2)) as Percentage
from EDC.demographics
where @Form.Status = 'submitted__v' or @HDR.Event.Status in ('did_not_occur__v')
group by `subject_gender`
order by Percentage desc
Download a Listing Definition
You can download the Listing Definition (CQL statement) as a text (.txt) file. CDB names the file “Vault ID-Study ID <Listing Name> Definition datetime.txt”.
To download the Listing Definition:
- Open the Listing that you want to download.
-
From the Listing () menu, select Download Definition.
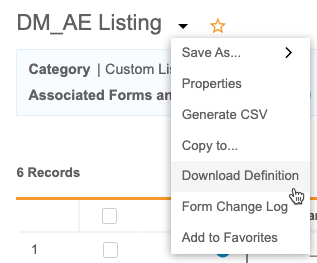
- Save the file and open it in your preferred text editor.
Copy a Single Listing into a Study
You can copy a single Listing Definition into another Study.
To copy a Listing:
- Open the Listing that you want to copy.
-
From the Listing () menu, select Copy to.
- In the Copy to Study dialog, select a Study.
- Click Copy.
- In the Save Listing As dialog, modify the properties as needed.
- Click Save.
If there are any study design differences between the two Studies, CDB may mark your listing as invalid. Use the CQL Editor or the Listing Builder to revise the CQL statement until all errors are resolved and the listing is valid.
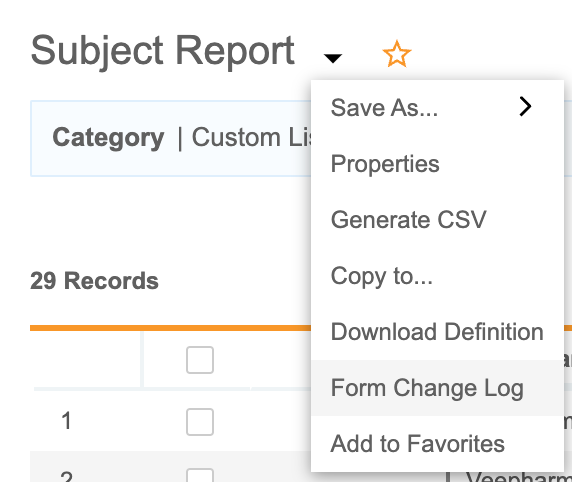
Form Change Log
You can download the Form Change Log for a Listing to review historical changes to the forms referenced.
To download the Form Change Log:
- Navigate to the Listing that you want to review.
-
From the Listing menu (), select Form Change Log.
- Workbench begins a job to create the log file. When finished, Workbench shows a notification with a link to download the log in the bottom-left corner of the screen. You can click this link to download.