Automating Queries & Protocol Deviations with Checks
CDB includes Checks, which help automate the cleaning process, monitor it, and adjust it as necessary, enabling data managers to focus on discrepancies that truly need detailed review. Checks, like rules in Veeva EDC, automate the cleaning process for the most repeatable discrepancies. Each Check can generate queries on form Items or Event Dates that meet the check’s criteria. The check can automatically close queries once the associated data no longer meets the check’s criteria. Checks can also create Protocol Deviations on Subjects, Events, Forms, and Items.
Prerequisites
Users with the standard CDMS Data Manager and CDMS Lead Data Manager study roles can perform the actions described below by default. If your organization uses user-defined Study Roles, your role must grant the following permissions:
| Type | Permission Label | Controls |
|---|---|---|
| Standard Tab | Workbench Tab | Ability to access and use the Data Workbench application, via the Workbench tab |
| Functional Permission | ||
| Functional Permission | ||
| Functional Permission | Browse View | Ability to access the Views tab within Workbench and browse Views. Ability to save a View as a Check |
| Functional Permission | Create Listing | Ability to create private listings (includes public listings, export listings, and check listings when combined with the Public Access permission) |
| Functional Permission | Modify Listing | Ability to edit the CQL statement and properties of private listings (includes public listings, export listings, and check listings when combined with the Public Access permission) |
| Functional Permission | Delete Listing | Ability to delete a public listing or check |
| Functional Permission | Public Access | Ability to create or modify a public listing, when combined with the Create Listing and Modify Listing permissions |
| Functional Permission | Generate CSV | Ability to generate a CSV for a listing, view, or check |
| Functional Permission | Edit CQL | Ability to edit the CQL statement for a listing in the CQL Editor |
| Functional Permission | Manage Deployments | Ability to create and manage study Environments and deploy Studies from EDC Tools, manage and deploy vault-level configuration from Tools > System Tools, manage and deploy listings, checks, and views in CDB, and enter License Keys |
If your Study contains restricted data, you must have the Restricted Data Access permission to view it.
Learn more about Study Roles.
Accessing Checks
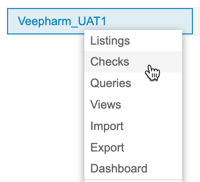
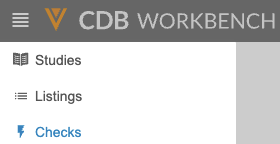
You can access the Checks page from either the Study menu () on the Studies page or from the Navigation Drawer() after you’ve selected a Study.
|
|
This opens the Checks page. This page has two (2) tabs: flash_on Automated and edit_square Undefined.

Automated lists Checks that have an automated query action defined. Undefined lists Checks that don’t yet have an automated query action defined.
Checks List Columns
The Checks page has a list of all Checks for a Study. This list has the following columns:
| Column | Description |
|---|---|
| Title | The Title of the check. |
| Action | The Item or Event Date that the query action runs against. |
| Last Run | The date and time the check was last run. |
| Run Status | The status of the check’s most recent run. |
| Category | The Category assigned to the check. |
| Objective | The Objective of the check. |
| Source | The Sources referenced by the check’s CQL statement. |
| Created | The date and time the check was created. |
| Created By | The user name of the user who created the check. |
| Modified | The date and time the check was last modified. |
| Modified By | The user name of the user who last modified the check. |
| Last Uploaded | The date and time the Study was last imported into CDB. |
| Latest Download | The link () to download the last generated CSV of the check listing. |
| Forms | This column lists each Form referenced by the check. |
| Views | This column lists each View referenced by the check. If the check doesn’t reference any Views, this column is blank. |
How to Open a Check
From either tab within the Checks page, you can click a check’s Title to open the Check.
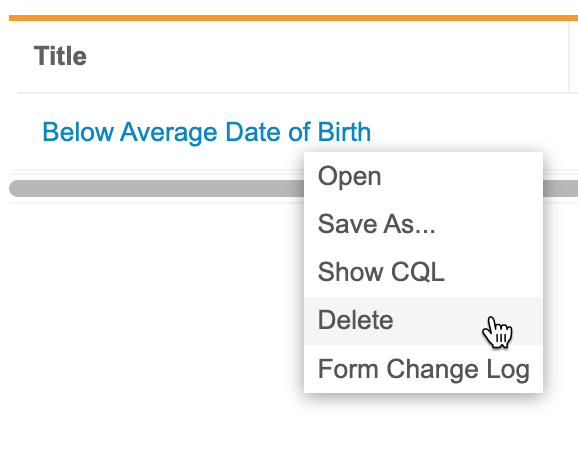
You can also open a Check from the Check menu:
- Navigate to Checks for your Study.
- Locate the Check that you want to open in the list.
-
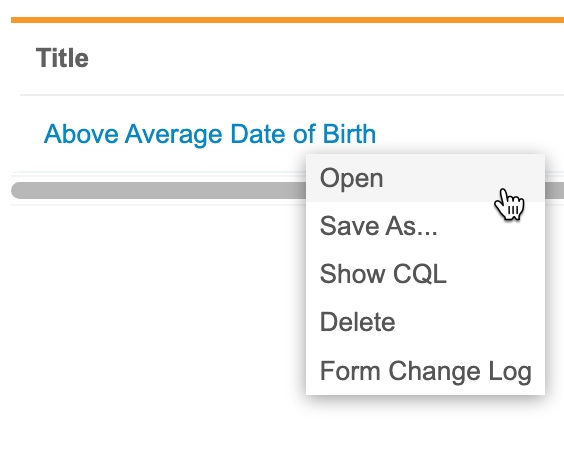
Hover over the Title to show the Check menu ().
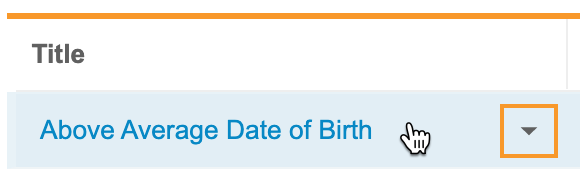
- From the Check menu, select Open.
Search for a Check
You can search for a specific check, using the Title, Category, Objective, Description, and Source columns. This search uses “contains”.
To search:
- Navigate to your Study in Workbench.
-
In the top navigation bar, click Search ().

-
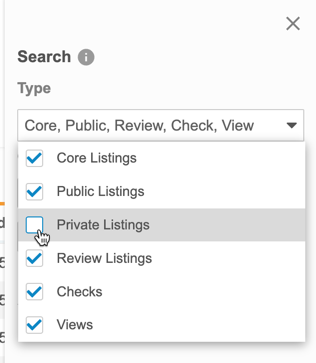
By default, Workbench searches across all object types. You can select and clear checkboxes in the Type drop-down to change which objects Workbench is searching.
- Select the Column to search. The default is Title.
- Enter your Search Text.
- Click Search or press Enter to search.
- Click the check Title in the Results section to open it.
Workbench shows your search results in the Results section of the Search panel.
Click Close () to close the Search panel.
Sort & Filter
You can sort and filter the Checks page by the following columns:
If a column already has a sort or filter applied, Workbench shows the Sort icon ( for ascending or for descending) and the Filter icon (filter_list). You can click these in the Column Header to edit the sort or filter. You can also sort and filter columns that don’t already have a sort and filter.
How to Sort
To sort the Checks page:
- Navigate to the Checks page for your Study.
- Locate the column you want to sort by.
- In that column, hover to show the Sort & Filter button.
- Click Sort & Filter (filter_list).
- Click to expand Sort by.
- Select Ascending or Descending for the sort order.
How to Filter
To filter the Checks page:
- Navigate to the Checks page for your Study.
- Locate the column you want to sort by.
- In that column, hover to show the Sort & Filter button.
- Click Sort & Filter (filter_list).
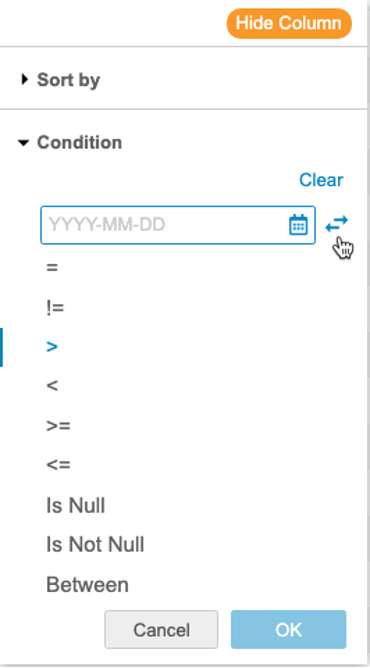
- Click to expand Condition.
- Select an Operator. Workbench uses the entered Value and chosen Operator to compare the values within the column. Learn more about the available comparison operators in the CQL Reference.
- If required, enter a Value compare values against. Note that you can only use a static value and not a function. For dates, use the YYYY-MM-DD format or use the calendar picker.
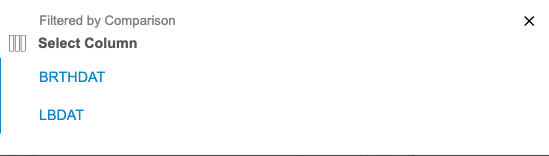
- You can also filter by comparisons. After selecting an Operator, click Compare. Then, you can select from the available columns.
- Click OK.
How to Reset a Filter
To reset (remove) a filter from a column, open the Sort & Filter menu and click Clear.
Hide Check Columns
You can hide and show columns as needed without removing them from your check using the Hide Columns option.
This setting persists across the object and Study until you unhide the columns.
CDB represents hidden columns with an orange, dotted line. CDB shows one dotted line for each set of hidden columns (columns next to each other that are all hidden).
To hide a column:
- Navigate to your check.
- Hover over the Column Header to show the Sort & Filter menu (filter_list).
-
Click Hide Column.

- CDB hides the column. Hidden columns are indicated by a dotted orange line. Click Unhide Columns to show all hidden columns.
To hide or show multiple columns:
- Navigate to your check.
-
From the Actions menu (), select Hide Columns.
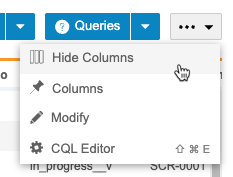
-
In the Show/Hide Columns dialog, you can select columns to show. To hide a column, clear the column’s checkbox. You can click Select All and Clear to select or clear all column checkboxes at once.
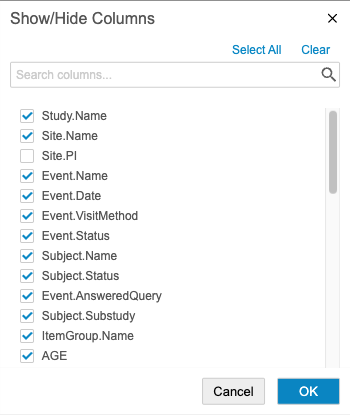
- When finished, click OK.
Show the CQL for a Check
To show the CQL for a check:
- Navigate to Checks for your Study.
- Locate the Check that you want to view in the list.
- Hover over the Title to show the Check menu ().
-
From the Check menu, select Show CQL.
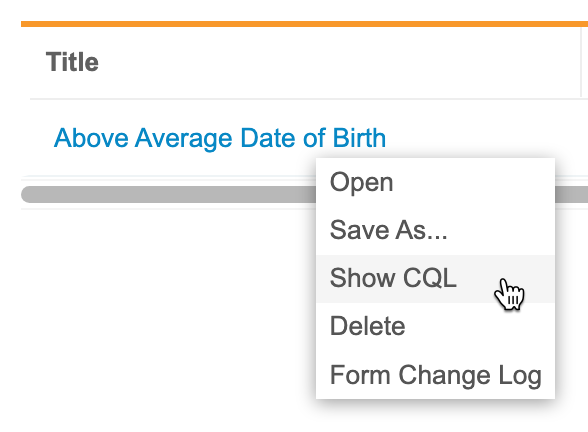
- CDB opens the CQL statement in a new dialog. When finished, click Close ().
Favorite Checks
You can mark checks as favorites to easily access them later from the Favorites menu.
To mark a check as a favorite:
- Navigate to the check that you want to favorite.
-
Click Add to Favorites ().

- You can now access it from the Favorites menu ().
To remove it from your favorites, click Remove from Favorites (), or click Remove () for it in the Favorites menu.

To access your favorites, click to open the Favorites menu () in the top navigation bar after selecting a Study.

You can click the linked Object Name to open that check.
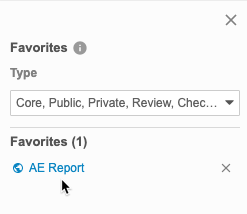
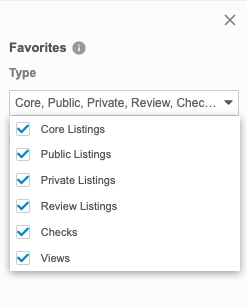
You can filter the list of objects by type.
Create a Check
- Navigate to your Study in Workbench.
- From the Create New menu, select Check.
- Drag and drop Properties from Available Properties to Selected Properties to add them to your check. You can drag a group of properties, or click Expand to choose individual properties.
- Click Remove () to remove a property from your check.
- Click Items in the left-hand Listing Builder menu.
- Drag and drop Forms from Available Properties to Selected Properties to add them to your check. You can drag an entire Form, or click Expand to choose individual Items on that Form.
- Click Remove () to remove an item from your check.
- Click Arrange in the left-hand Listing Builder menu.
- Drag and drop properties, forms, and items to reorder them.
- Click Rows in the left-hand Listing Builder menu.
- Select a Row Structure:
- By Subject: This option attempts to display data from multiple forms across events in a single row for the subject, independent of the study schedule, and displays all data where subjects match across events. Any selected schedule-related fields, such as Event Date or Event Name are set to null in the listing.
- By Schedule: This option displays form data from different events on separate rows. We recommend this option if schedule-related fields are required. This is the default option for all core listings.
- Click Columns in the left-hand Listing Builder menu.
- Select a Column Structure:
- Wide (Side by Site): With this option, each column represents a single unique item or item property.
- Stacked (Union): With this option, each column can contain multiple items or item properties stacked together, where the user can include up to five (5) items and/or item properties per column.
- Click Aliases in the left-hand Listing Builder menu.
- Enter a Column Alias for any columns that you want to use non-default headers.
- Click Sort & Filter in the left-hand Listing Builder menu.
- Use the Sort & Filter menu to apply sort orders and filters to any columns.
- Optional: Click Preview to preview your check.
- Click Validate and Save.
- Enter a Title for your check. Note that this Title must be unique within your Study.
- Enter a Short Title.
-
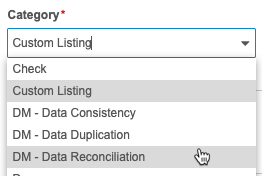
Select a Category for your check. The default category is Check. These Categories are defined by an administrator and may restrict other users from performing certain actions on the check.
- Enter a Description.
- Enter an Objective.
- Click Save. Workbench saves your check and opens it.
Create a Check from an Existing Listing, View, or Check
You create Checks by saving a listing, view, or another check as a Check. That listing’s CQL statement is used as the criteria for which records to capture and open queries against.
To create a check:
- Navigate to the Listing or View that you want to use to create your check.
-
From the Listing or View menu (), select Save As > Check.

- Enter a Title.
- Enter a Short Title.
-
Select a Category. The default category is Check. These Categories are defined by an administrator and may restrict other users from performing certain actions on the check.
- Optional: Enter an Objective and Description.
- Click Save.
Copy Checks with Save As
You can also create a Check based on another check using Save As. This doesn’t copy the query action. So, this is useful when you want to use the same check CQL to open queries against multiple items or event dates.
To create a Check based on another check:
- Navigate to Checks for your Study.
- Locate the Check you want to copy in the list.
- From the Check menu, select Save As.
- Update the Properties to the values you want for the new Check.
- Click Save.
Edit a Check
You can edit Checks. When you save your changes, if a row no longer meets the check’s criteria, CDB will close the queries associated with that row. See below for details about editing the query action associated with the check.
If you created your check in the Listing Builder, you can edit it with the Listing Builder or by modifying its CQL statement in the CQL Editor. Otherwise, you can only edit the check’s CQL or its properties.
To modify a check in the Listing Builder:
- Navigate to your Study in Workbench.
- Open the Checks page from either the Study menu or the Navigation Drawer.
- Locate the listing you want to edit.
- Click the listing’s Title to open it.
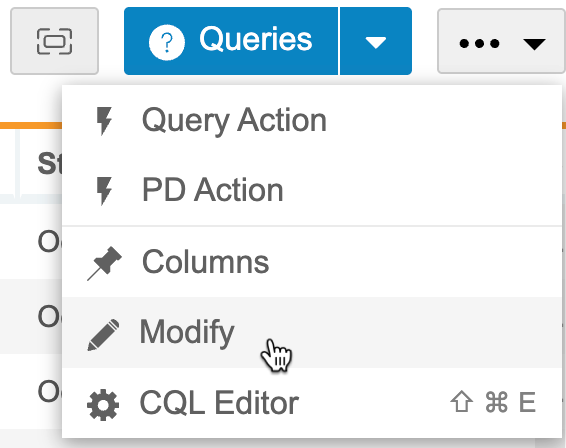
-
From the Actions menu (), select Modify.
- Make your changes.
- Optional: Click Preview to preview your listing. This opens a preview of your listing in a new window.
- Click Validate and Save.
To edit the check’s properties:
- Navigate to Checks for your Study.
- Click the Title of the check you want to edit to open it.
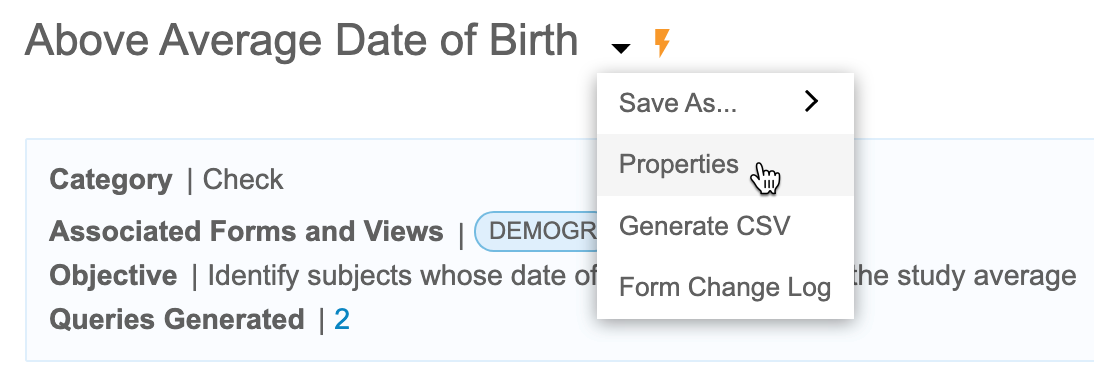
-
From the Check menu, select Properties.
- Make the required changes.
- Click Save.
To edit the check’s CQL statement:
- Navigate to Checks for your Study.
- Click the Title of the check you want to edit to open it.
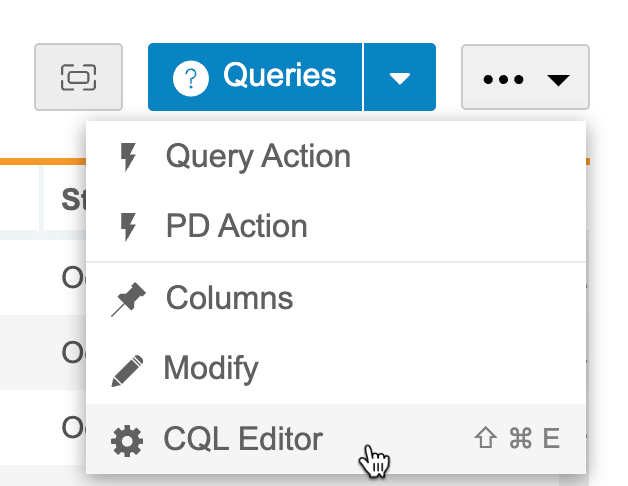
-
From the Actions menu, select CQL Editor.
- Make the required changes.
- Click Apply.
Delete a Check
You can delete checks, but note that doing so closes all outstanding queries created by the check.
To delete a Check:
- Navigate to Checks for your Study.
- Locate the Check you want to delete in the list.
- Hover over the Title to show the Check menu.
-
From the Check menu, select Delete.
-
Enter a Reason for deleting the Check. CDB records this in the deletion log for the Study.
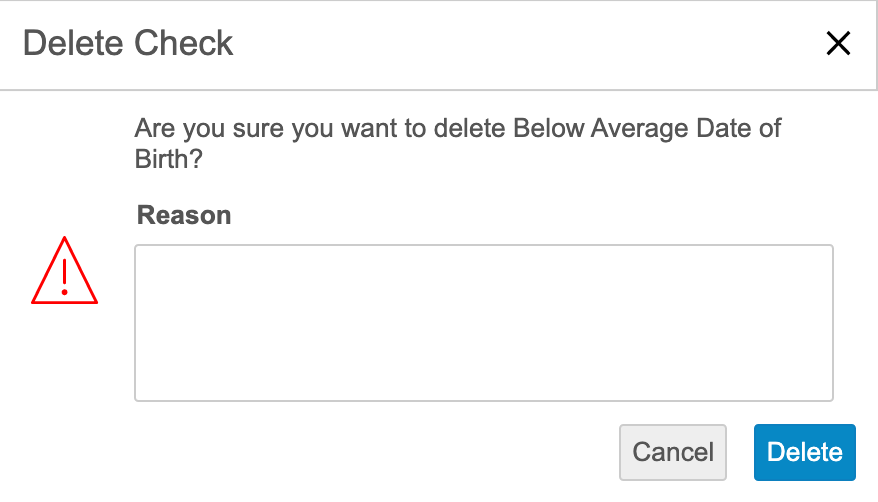
- Click Delete.
Once you click Delete, CDB begins closing all queries created by the check that aren’t closed.
Generate a CSV
You can download a check’s results as a CSV for offline review or use in an external system. When Workbench exports check results, it includes all data shown in the check, according to the currently applied CQL statement.
To generate a CSV file of your check:
- Open the check.
-
From the Check menu (), select Generate CSV.
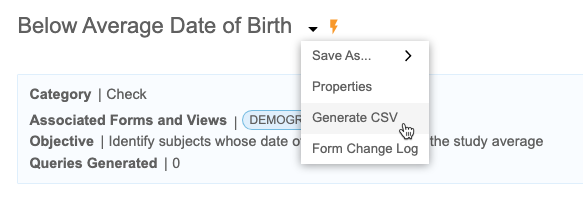
- Workbench begins a job to create the CSV file. When finished, Workbench shows a notification with a link to download the CSV in the bottom-left corner of the screen. You can click this link to download the CSV file.
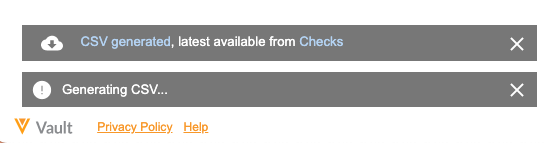
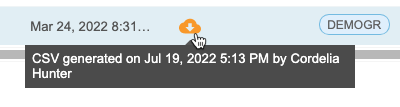
Once any user generates a CSV for a check, Workbench shows a download link for that CSV in the Latest Download column of the Checks page. Click the Download icon () to download the CSV file.
Automating Queries
A check will open a query on a chosen Item or Event Date.
When Do Checks Run
CDB runs the check once you save, and then upon deployment. CDB will continue to run the check either hourly when new data is present in imports from EDC or once per 12 hours when no new data is present in imports from EDC.
Quick Queries
A quick query is a standardized message that can be used by data managers when creating queries. Quick queries simplify the querying process by offering a streamlined option to confirm data values as entered while still allowing for custom messages. When configuring a Check Query Action, you can configure the Check to be a Confirm Value type and include dynamic values from other fields as part of the generated Query Messages.
Add an Automated Query Action
To add an automated query action to a Check:
- Navigate to Checks > Undefined for your Study.
- Click the Title of the Check to open it.
-
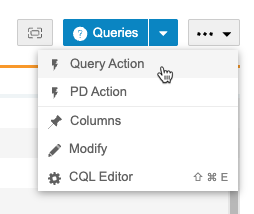
From the Actions menu (), select Automated Query Action.
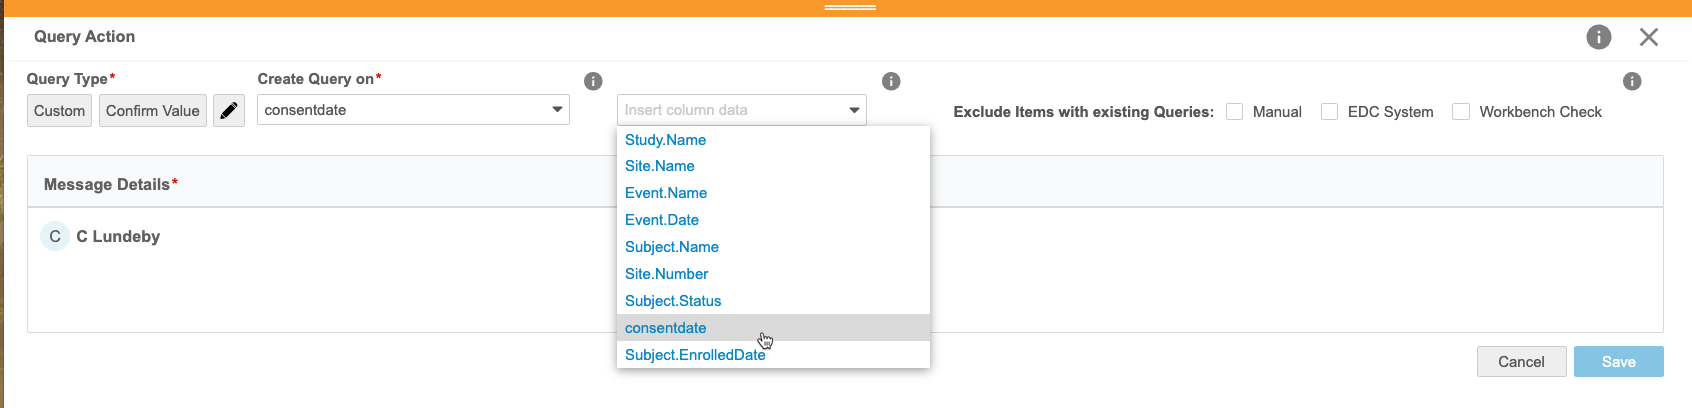
- Select an Item or Event Date for Create Query on.
- For Exclude Items with Existing Queries, select from Manual, EDC System, and Workbench Check. You can select one, two, or all three. If you don’t select one of these checkboxes, CDB will open a query regardless of any existing queries.
- Enter a Query Message. This is will be used as the query message text.
-
You can include column values in your query message. Select a Column from the Insert column data drop-down menu to insert a token for that column. When you or another user opens a query, Workbench will insert that column’s value in place of the token for the query message.
- Click Save.
Once you click save, CDB runs the check. After that initial run, CDB will run the check hourly and upon deployment.
Edit an Action
You can edit the query action associated with a Check.
To add an automated query action to a Check:
- Navigate to Checks > Undefined for your Study.
- Click the Title of the Check to open it.
-
From the Actions menu (), select Automated Query Action.
-
In the Query Action panel, click Edit.

- Make the required changes.
- Click Save.
Once you click save, CDB runs the check. Future runs of the check will only reference the currently defined action.
If you change the target object, queries on the original target object are automatically closed.
Delete an Action (Set as Undefined)
You can delete a query action by setting the target object as Not Defined, which moves the check into the Undefined page.
To delete an action:
- Navigate to Checks > Automated for your Study.
- Click the Title of the Check to open it.
-
From the Actions menu (), select Automated Query Actions.
-
In the Query Action panel, click Edit.
-
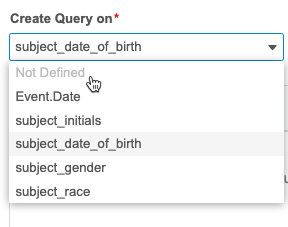
Select Not Defined for Create Query on.
- Click Save.
You can now add a new action to the check.
View Queries Created by a Check
You can view a query listing any Queries created by a Check. From the Query Actions panel, click any one of the query listing links near the top of the panel.

These links open a query listing filtered to only show queries created by the Check and in the given status (if you clicked one of the status links). Queries Generated shows all queries in all statuses created by the check.
Automating Protocol Deviations
A check will open a Protocol Deviation against a specified Subject, Event, Form, or Item.
When Do Checks Run
CDB runs the check once you save, and then CDB will continue to run the check upon deployment and hourly.
Add an Automated Protocol Deviation Action
To add an automated protocol deviation action to a Check:
- Navigate to Checks > Automated for your Study.
- Click the Title of the Check to open it.
-
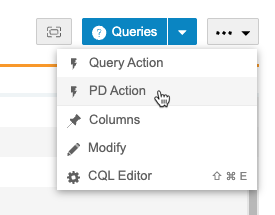
From the Actions menu (), select PD Action.
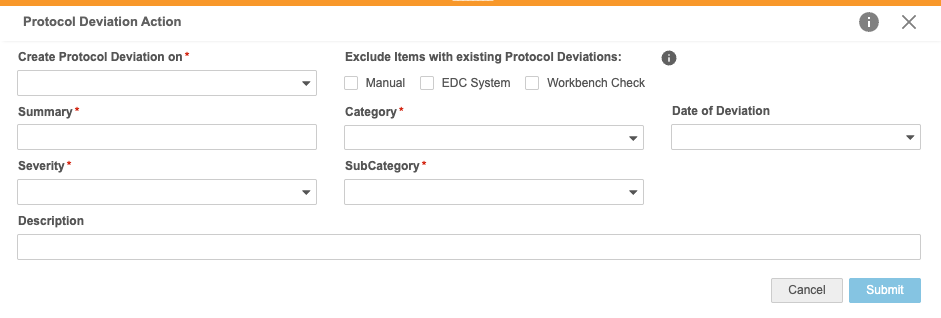
- In the Protocol Deviation Action panel, enter the details of your PD. This includes identifying which column to create the PD on.
- Create Protocol Deviation on: Select a column to create your PDs on.
- Exclude Items with existing Protocol Deviations: You can choose to not create the PD when there is an existing PD. Select Manual, EDC System, and/or Workbench Check to prevent PD creation when there’s already a PD from that source.
- Summary: Provide a summary explanation of your PDs.
- Category: Select the category for your PDs.
- Date of Derivation: Enter or select the Date of Derivation. This is the date that the derivations occurred.
- Severity: Select the severity of the PDs.
- SubCategory: Select the SubCategory of the PDs.
- Date Identified: Enter or select the Date Identified. This is the date that the derivations were identified (this may occur at or after the Date of Derivation).
- Description (Optional): Enter a description of your PD.
- When finished, click Submit.
Once you click submit, CDB runs the check. After that initial run, CDB will run the check hourly and upon deployment.
Edit an Action
You can edit the query action associated with a Check.
To add an automated query action to a Check:
- Navigate to Checks > Automated for your Study.
- Click the Title of the Check to open it.
-
From the Actions menu (), select PD Action.
- In the Protocol Deviation Action panel, click Edit.
- Make the required changes.
- Click Save.
Once you click save, CDB runs the check. Future runs of the check will only reference the currently defined action.
If you change the target object, protocol deviations on the original target object are automatically inactivated.
Delete an Action (Set as Undefined)
You can delete a query action by setting the target object as Not Defined, which moves the check into the Undefined page.
To delete an action:
- Navigate to Checks > Automated for your Study.
- Click the Title of the Check to open it.
-
From the Actions menu (), select PD Action.
- In the Protocol Deviation Action panel, click Edit.
- Select Not Defined for Create Protocol Deviation on.
- Click Save.
You can now add a new action to the check.
Viewing Protocol Deviations Created by Checks
You can view a PD listing of any PDs created by a Check. From the Protocol Deviation Actions panel, click any one of the query listing links near the top of the panel.
These links open a PD listing filtered to only show PDs created by the Check and in the given status (if you clicked one of the status links). PDs Generated shows all queries in all statuses created by the check.
Form Change Log
You can download the Form Change Log for a Check to review historical changes to the forms referenced by the Check.
To download the Form Change Log:
- Navigate to the Check that you want to review.
-
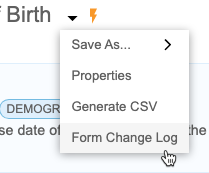
From the Check menu (), select Form Change Log.
- Workbench begins a job to create the log file. When finished, Workbench shows a notification with a link to download the log in the bottom-left corner of the screen. You can click this link to download.