Extracting Code Request Data
Coder users with EDC Tools permissions can initiate a Code Request Export job to export a CSV file detailing all Code Requests. Users can choose to export that file to an FTP destination, or simply download the file when the job is complete.
Seek the assistance of a SAS programmer if you wish to combine the Code Request Export file and a Data Export in order to review study and coding data together. The files can be joined together by using key value pairs, specifically Subject ID and Form Sequence, and in some cases Subject ID and Item Group Sequence.
Prerequisites
Users with the CDMS Clinical Coder Administrator and a security profile that provides access to EDC Tools are able to perform the actions described above by default. If your vault uses custom Application Roles, your role must have the following permissions:
| Type | Permission Label | Controls |
|---|---|---|
| Standard Tab | EDC Tools Tab | Ability to access the EDC Tools tab |
| Functional Permission | Manage Jobs | Ability to create, edit, and delete scheduled jobs |
If your Study contains restricted data, you must have the Restricted Data Access permission to view it.
Learn more about Study Roles.
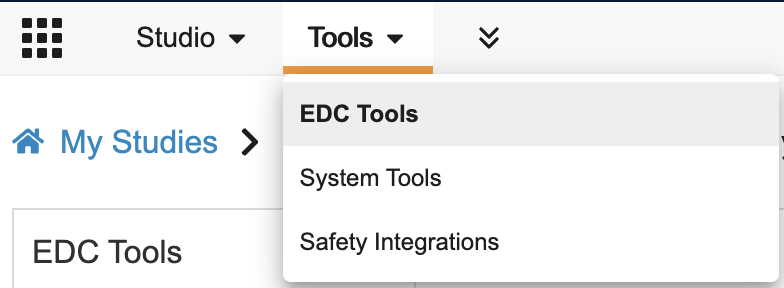
Accessing EDC Tools
To access the EDC Tools administration area, click the Tools tab in the primary navigation bar, and then click EDC Tools.
Create a Code Request Export Job
You can run or schedule a Code Request Export in the Job Schedule sub-tab of EDC Tools:
- Navigate to Tools> EDC Tools > Job Schedule for your Study.
- Click + New Job.
- Select Code Request Export for Type.
- Optional: Select an FTP connection. Note: a Connection must be configured to use this option.
-
Select a Frequency. To run the job just once after you click Save, choose Run Now. Otherwise, choose from the available scheduling options.
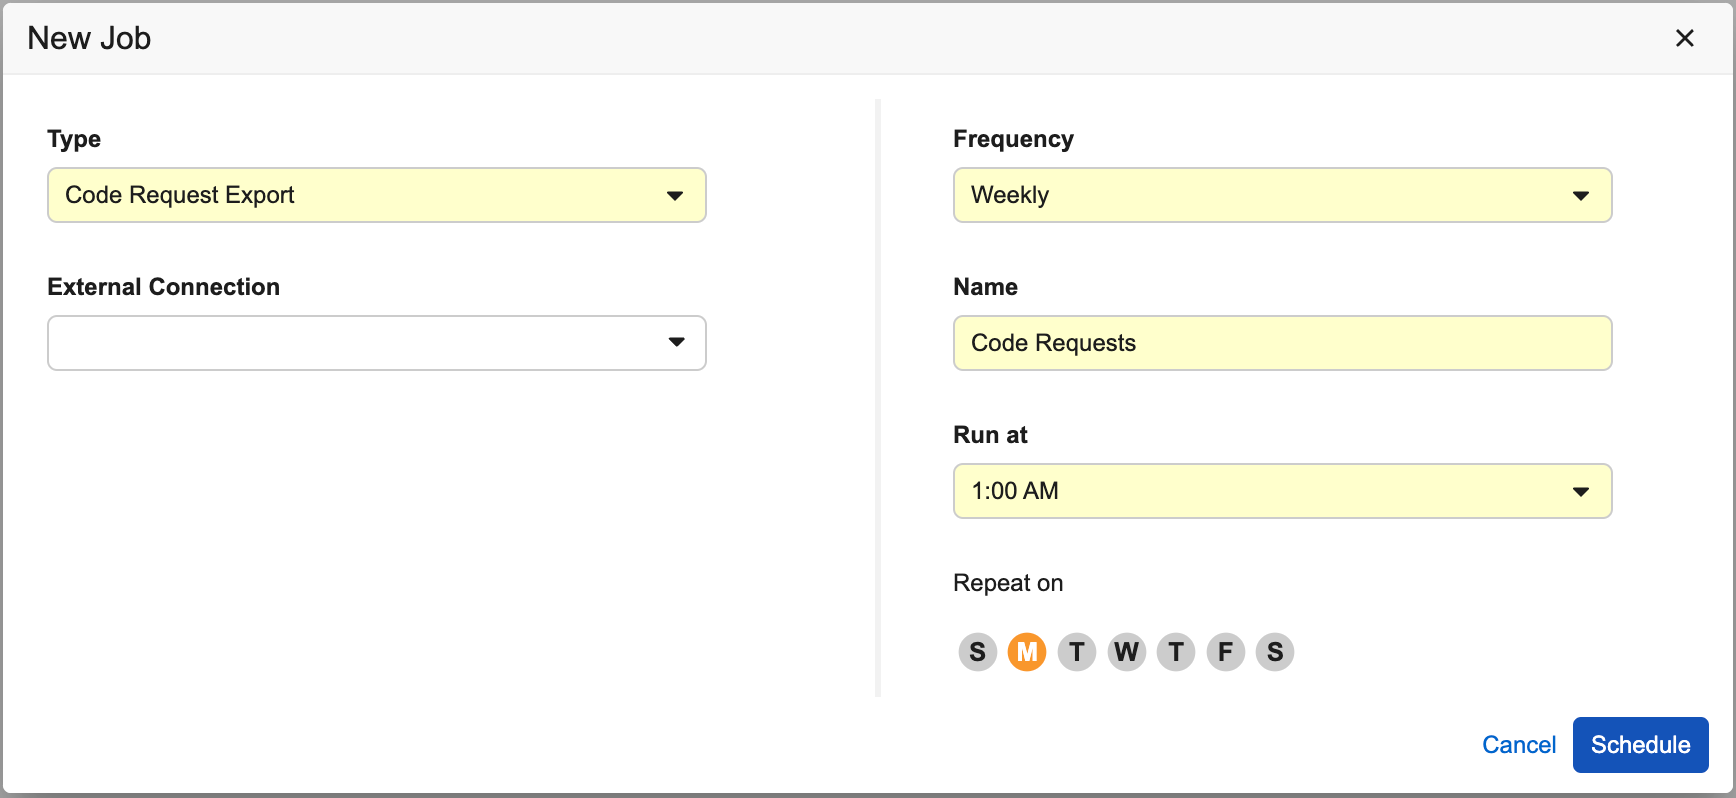
- Click Run Now or Schedule depending on the frequency you selected.
- If you select Run Now, the job will begin when you click Save. Scheduled jobs will be run at the configured time. Once the job is completed, Veeva EDC sends you an email notification with a link to download the job log and relevant output each time the job runs.
The CSV file produced will contain Site, Study, Form, and Code information for all Code Requests within the study.
You can also download the job log and output file from Jobs > Job History. Click Download () to begin a download.

Job Status
Veeva EDC displays the status of your job in EDC Tools > Jobs, along with other details about the job. You can click the Information () icon for additional details about a job.
| Status | Meaning |
|---|---|
| Queued | Another job of the same type is currently running. Veeva EDC will run this job when the previous job is completed. |
| In Progress | Veeva EDC is currently performing the job. |
| Failed | The job instance encountered one or more errors. |
| Completed | The job instance completed without errors. |
| Canceled | The job instance was canceled. |
Job Logs & Output Files
Veeva EDC provides a CSV job log file for each job. This log includes details about which objects were affected by the job and whether the job was successful on each object. When applicable, Veeva EDC also provides a link to the output files from a job.
To access these files, click Download () in either the Log or File column.