Managing Query & Listing Access by Source
For data providers, you can define their access to third party sources for answering queries from DQS > Admin > Users. Once given access, data providers can access select listings in DQS to answer queries associated with their specific data source.
Availability: Veeva DQS (formerly CDB) is only available to DQS license holders. Contact your Veeva Services representative for details.
Prerequisites
By default, Vault Owners or users with the standard CDMS User Administrator or CDMS Super User study roles can perform the actions described below. If your organization uses user-defined Study Roles, your role must grant the following permissions:
| Type | Permission Label | Controls |
|---|---|---|
| Standard Tab | Workbench Tab | Ability to access and use the Data Workbench application, via the Workbench tab |
| Functional Permission | View Admin | Ability to access the Admin page |
If your Study contains restricted data, you must have the Restricted Data Access permission to view it.
Learn more about Study Roles.
Access Levels
Typically, your data providers will be assigned the CDB Data Provider standard Study Role, or a custom Study Role based on it. This role grants the View Selected Listings, View Selected Query Listings, and Answer 3rd Party Queries permissions. With these permissions, the CDB Data Provider Role is only able to access the listing types selected from Admin > Users in the specified Sources. Users with the View All Listings and View All CDB Query Listings permissions are able to view all listings and query listings across sources.
For these users, you must assign them access to a Source and to the chosen Listing Types:
- Core Data Listings: Includes all Core Listings (those listings created by DQS during import, one listing per Form)
- Custom Listings: Includes all public Custom Listings
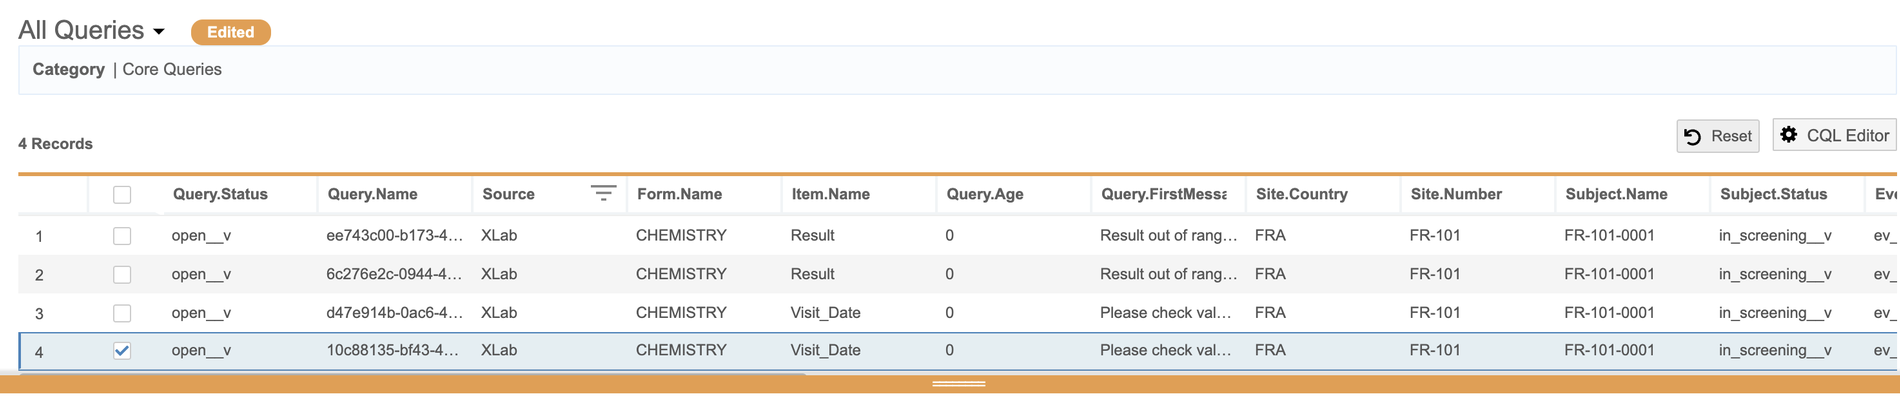
- Core Query Listings: Includes all core Query Listings (Closed Queries, Outstanding Queries, and Query Messages)
Data Provider Access
The CDB Data Provider role offers tailored navigation options and access to listings.
When navigating to a listing as a data provider, the Navigation Drawer displays the Studies, Listings, and Queries pages.
Inside a listing (data listings and query listings), data providers can only access the listing types and sources selected in Admin > Users. The data provider can not edit the source column of the listing, and filtering it returns only the source data defined on the Admin page.
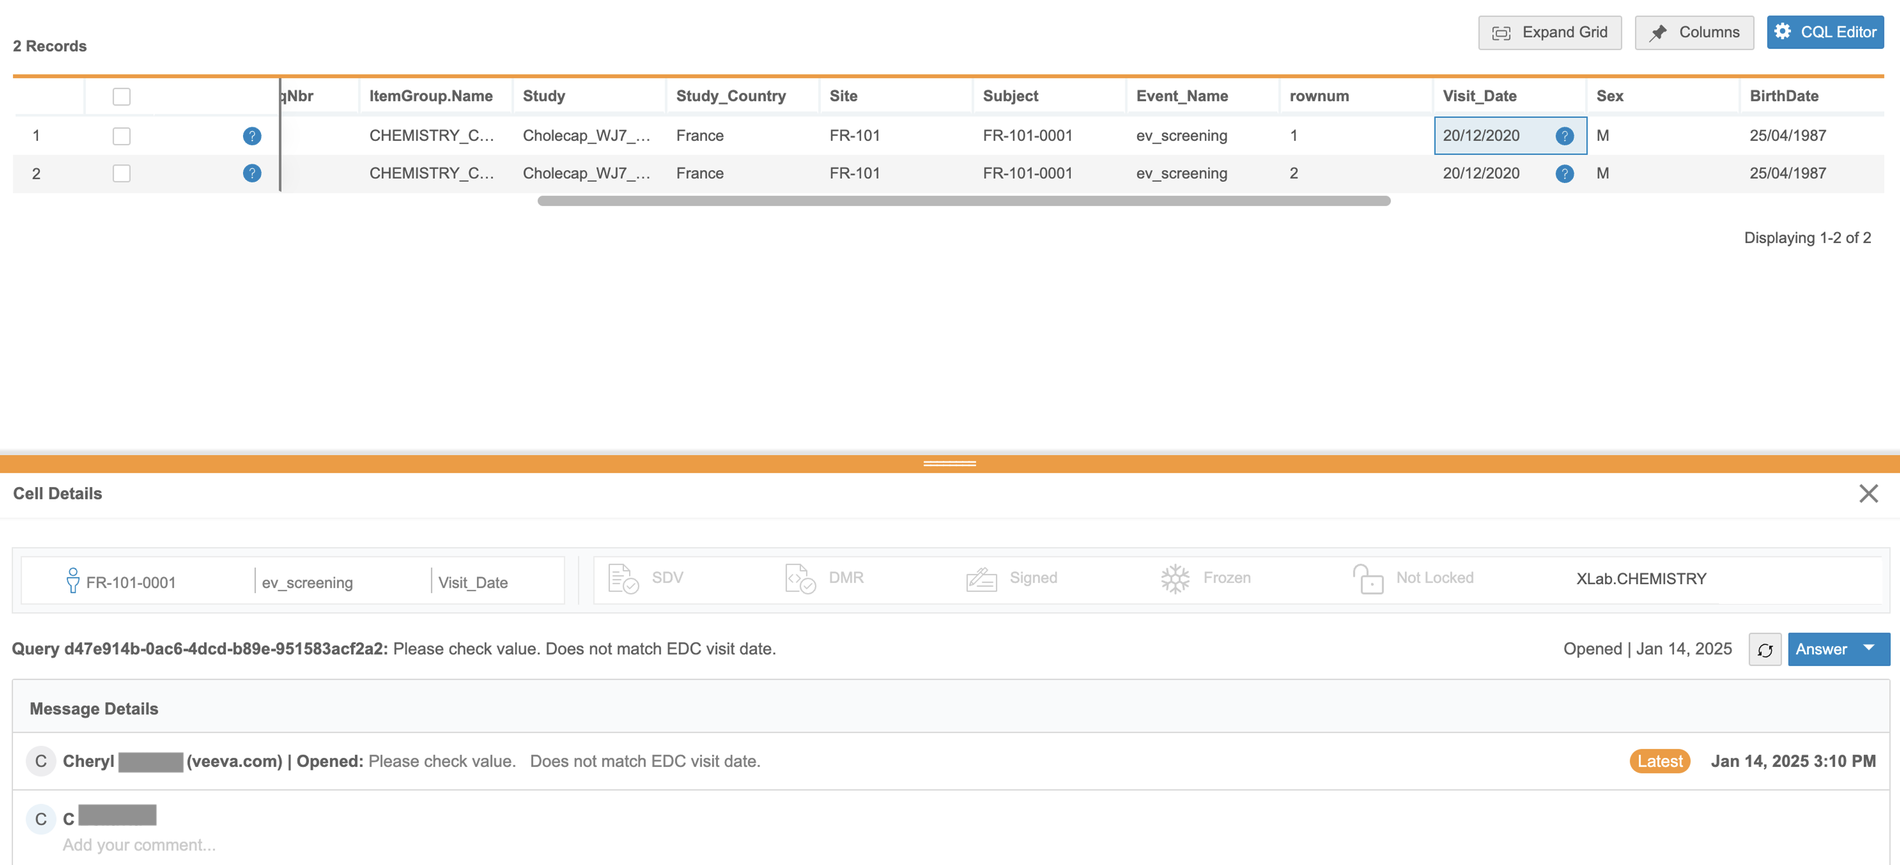
Data providers can enter comments and set the query status to Answered, which updates the status in the listing. They can not open or close queries.
Viewing Users
Accessing Users
You can access your Users from the Admin area of DQS. You can navigate to the Admin area from the Navigation Drawer (), after you select your Study, or the Study menu () on the Studies page.
|
|
Once you’ve entered the Admin area, DQS opens the User page by default.
This page includes the following columns:
| Column | Description |
|---|---|
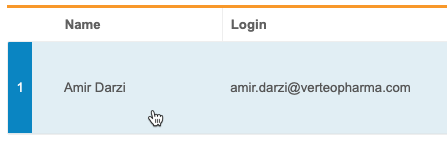
| Name | The first and last name of the User |
| Login | The user’s User Name |
| The user’s email address | |
| Role | The Study Roles assigned to this user. This lists their roles across all Studies they are assigned. |
| Access Level | The access level (permissions defined by the user’s Study Role) for this user: Selected Listings, Selected Query Listings |
| Listing Types | The Listing Types this user can access (defined in the Set Access panel) |
| Source Access | The Sources this user can access (defined in the Set Access panel) |
Sort & Filter
You can sort and filter the Users page by the following columns:
- Name
- Login
- Role
If a column already has a sort or filter applied, Workbench shows the Sort icon ( for ascending or for descending) and the Filter icon (filter_list). You can click these in the Column Header to edit the sort or filter. You can also sort and filter columns that don’t already have a sort and filter.
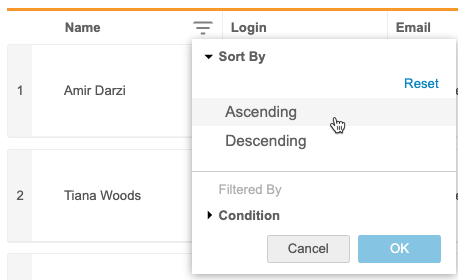
How to Sort
To sort the Users page:
- Locate the column you want to sort by.
- In that column, hover to show the Sort & Filter button.
- Click Sort & Filter (filter_list).
- Click to expand Sort by.
- Select Ascending or Descending for the sort order.
How to Filter
To filter the Users page:
- Locate the column you want to sort by.
- In that column, hover to show the Sort & Filter button.
- Click Sort & Filter (filter_list).
- Click to expand Condition.
- Select an Operator. Workbench uses the entered Value and chosen Operator to compare the values within the column. Learn more about the available comparison operators in the CQL Reference.
- If required, enter a Value compare values against. Note that you can only use a static value and not a function. For dates, use the YYYY-MM-DD format.
- Click OK.
How to Reset a Filter
To reset (remove) a filter from a column, open the Sort & Filter menu and click Clear.
Assign a User Access
To assign a user access:
- Navigate to Admin > User for your Study.
-
Click a user’s row to set their access. This opens the Set Access panel.
-
Select one or more Sources to assign access.
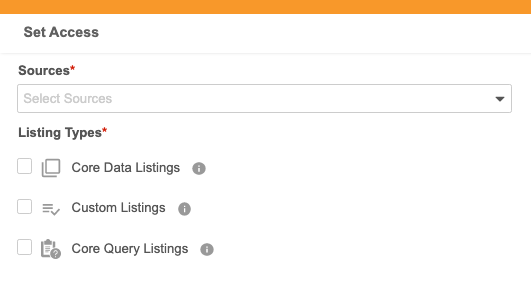
- Select Listing Types.
- Click Save.
Download the User Report
You can download the User Report, which is a CSV file of the Users table.
To download the user report:
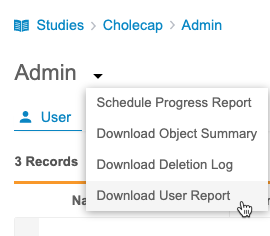
- Navigate to Admin > User for your Study.
-
From the Admin menu (), select Download User Report.
- Save the file and open it in your chosen editor.