Configuring Labs in Studio
In Studio, you can configure Lab Panels and Lab Forms that pull data from the Labs tab. Labels are pulled from the analyte library. Because of this, any changes made to these values must be made in the analyte library and will immediately be reflected in EDC, Studio Drag & Drop Editor, and any extracts.
Lab Sex Codelist & Item: If you plan to use the Labs module for existing studies, system-generated codelists and items will be created in Studio when the Labs module is enabled. The Labs module requires you to use the system-generated Lab Sex codelist (Lab_Sex) with the system-generated Lab Sex Item (LBSEX).
Lab Panels
You can create Lab Panels in Studio that automatically copy data, like Units and Codelists, from the Labs tab when the panel is saved. When you create a Lab Panel, the following items are automatically created: LBLOC, LBAGE, LBSEX, LBFEMALECYCLE, LBDTC, LBFAST. Do not create items with the same name as any of the automatically created items.
To create a Lab Panel:
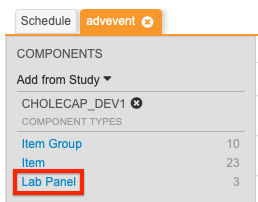
- Navigate to Studio > Lab Panels.
- Click + New Lab Panel.
-
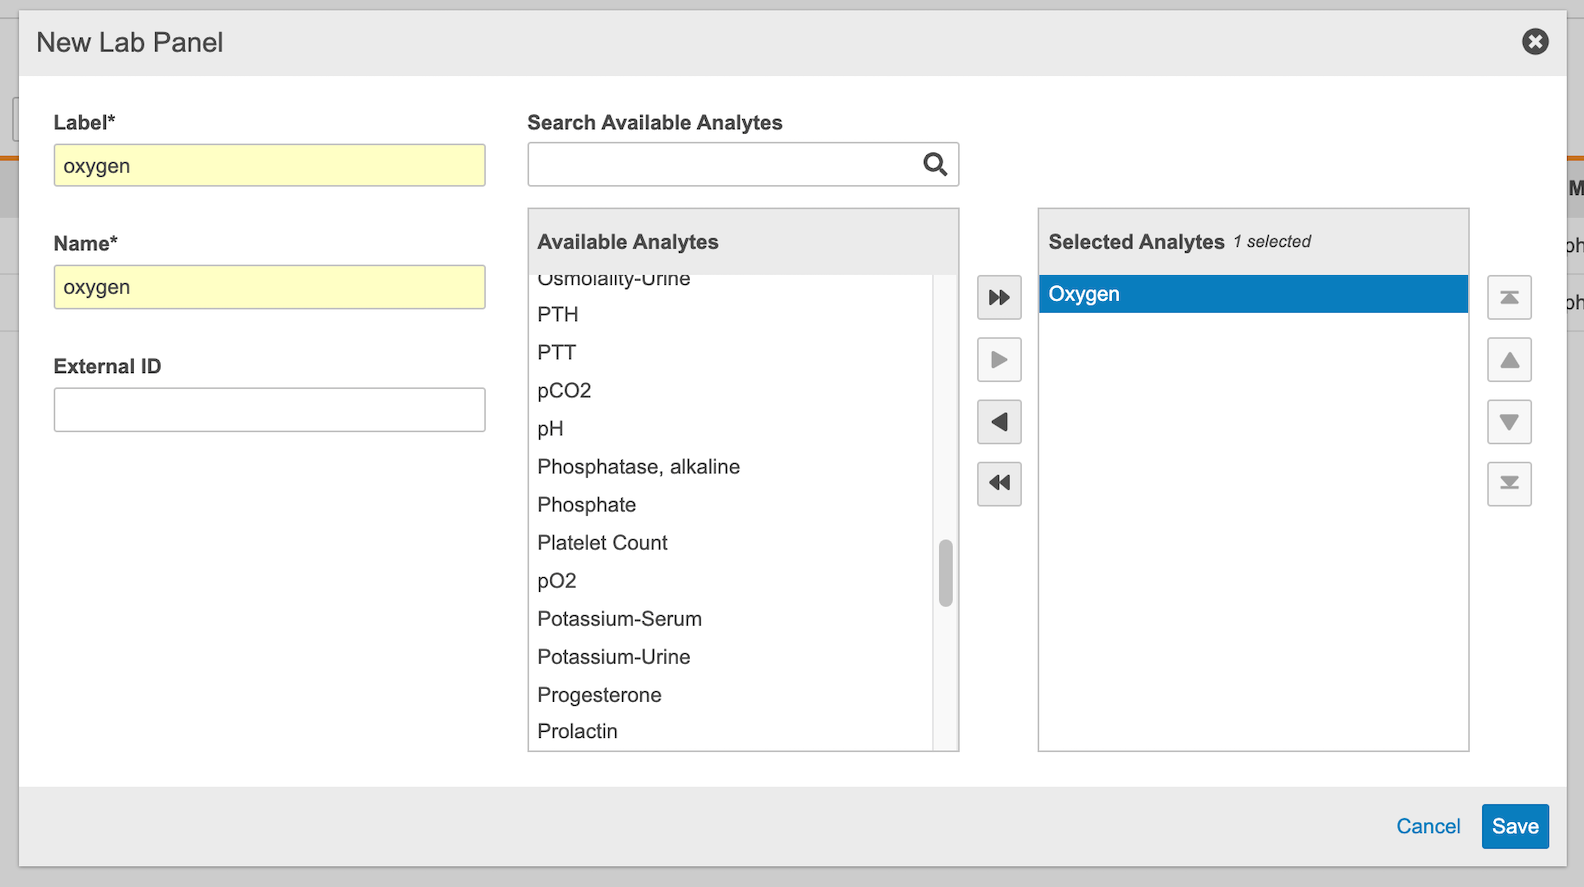
Fill out the required fields and select which analytes from the available analytes list you’d like to use for your panel. The Available Analytes list pulls from your Analyte Library in the Labs tab.
- Click Save.
To edit an existing Lab Panel, click on the Name column.
Changes made to Lab Units or Codelists in the Labs tab after a Lab Panel is created in Studio will be updated in Studio if an analyte using that Unit or Codelist is added to Studio.
To update existing Lab Panels, update the Units and Codelists in the Labs tab. To delete a Lab Panel, remove all analytes from the panel in Studio then delete.
Units and Codelists: In study-level Labs, Units and Codelists from the Labs module are copied into Studio when Lab Panels are saved. Do not manually add Lab Units in Studio in study-level or global labs.
Adding a Lab Panel to a Form
Once you’ve created Lab Panels in Studio, you can add them to a form and to the schedule.
To add a Lab Panel to a form:
- Navigate to Studio > Forms.
- Click on the name of the form you’d like to add a Lab Panel to. This will take you to Studio’s drag & drop editor.
-
Select Lab Panel from the list of Component Types.
- Click and drag your analyte(s) to the top of the grid to create a Lab Header and Lab Header Item Group. Creating a Lab Header adds Lab Items to the chosen Form (Analyte Name, Normal Ranges, etc.).
Lab Header Settings: The Lab Header Settings section will only appear for lab headers created after 25R2.
You can choose to include Fasting Status or Female Cycle in your form in the Lab Header Settings section of the Item Group properties panel for a Lab Header Item Group.

Selecting Yes will automatically trigger the addition of the system-generated LBFAST and LBFEMALECYCLE items to the Lab Header for the form. These items will also be included in Extracts, Clinical Reporting, and CDB, if applicable. Note that the LBFAST column and Timezone column will be available in the SYS_LABRANGES and SYS_LABLOC SDE datasets, respectively, in a future release.
Analytes per Form Limit: You can only have a maximum of 25 Analytes per Lab Form. If necessary, you can contact Veeva Support to raise this to 35.
Defining Casebook Variables
To complete Studio configuration of Labs, you must define Casebook Variables for Sex and Birth Date or Birth Year. When a Site enters the sex and date of birth for a subject, the Labs module will pull the correct normals associated with that subject based on the defined Casebook Variables. For studies that don’t collect birth date or birth year information, sites can complete Labs forms by manually entering the subject’s age.
To define Casebook Variables:
- Navigate to Studio > Casebook Variables.
- Configure the Data Type and Study Reference for Sex and Birth Date or Birth Year. This configuration will show Vault where the items are located for sex and birth year/date. Vault will also display the age and sex on the Lab form in Data Entry based on the Casebook Variable.