Comparison Rules (V1)
20R2 & Later
Studio includes a date comparison configurator that you can use to build simple date comparison rules without writing the rule expression in the Rules Editor. The date comparison configurator is a tree view of all date and datetime Items in your study.
Rules created in the comparison configurator all use the Query action. There are standard query messages available for each operator type, or you can provide custom text for the query message. See the Available Operators table for details.
Don’t use the comparison configurator to write rules that compare two dates that are both repeating (Items within a repeating Item Group, Form, or Event Group). If you need to compare two such dates, write a rule in the Rule Editor.
Comparison Rules Version: The content on this page refers to the original Comparison Rules feature before the 25R1 release in April 2025. If your Study was created after the 25R1 release, see Comparison Rules (V2).
Prerequisites
The Comparison Rule Configurator is only available in Studies created after the 20R2 (August 2020) release. These studies use version 2 of the CDMS data model. Contact your Veeva Services representative for details.
Users with the CDMS Study Designer standard role can perform the actions described below. If your organization uses custom Study Roles, your role must grant the following permissions:
| Type | Permission Label | Controls |
|---|---|---|
| Standard Tab | Studio Tab | Ability to access the Studio tab |
| Functional Permission | Design Study | Ability to create study design definitions and a study schedule from Studio |
If your Study contains restricted data, you must have the Restricted Data Access permission to view it.
Learn more about Study Roles.
Accessing the Date Comparison Configurator
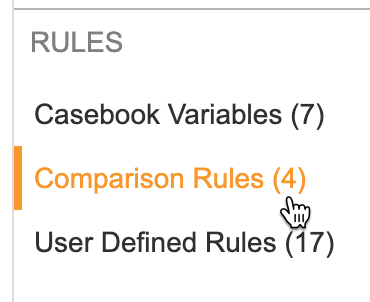
To access the date comparison configurator, navigate to your Study in Studio. Then, in the Navigation panel, click Comparison Rules.
Viewing Comparison Rules
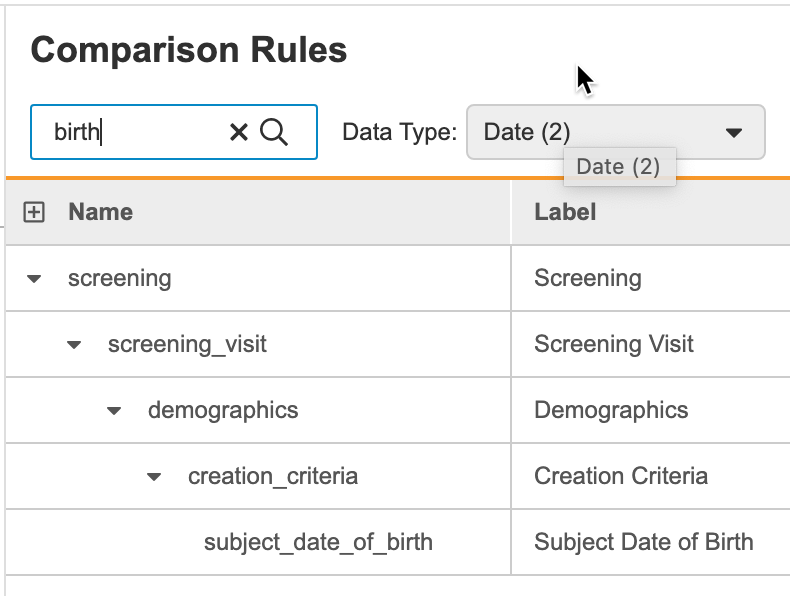
The date comparison configurator lists all date and datetime Items in your study as a tree. You can expand and collapse this tree to locate specific components.
To expand or collapse a component, click the Caret ( and ). You can also expand and collapse the entire tree by clicking Expand () and Collapse () in the header.
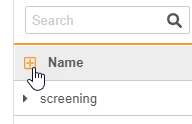
You can search for a specific comparison in the tree. Enter your search term in the Search bar. Vault searches as you type, once you’ve entered at least two (2) characters. To clear your search and return to viewing the entire tree, click Clear () in the Search bar.
You can filter the tree to show only Items with or without a specified comparison.
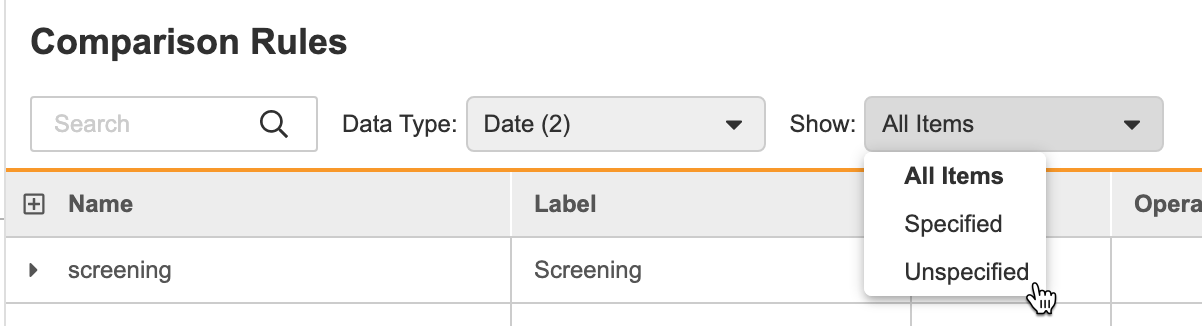
By default, Vault shows all date-type Items. To view datetime-type Items, select DateTime for data type. To return to the list of date-type Items, choose Date. Vault shows the number of rows for each type alongside the filter option.

How to Create a Comparison Rule
To create a comparison rule:
- Navigate to Studio > Comparison Rules for your Study.
-
Optional: If you want to create a rule on a datetime-type Item, select DateTime for Data Type. Otherwise, leave this set to Date.
- In the tree view, expand components until you can view the Item you want to compare.
- If the component already has a comparison rule:
- Hover over the Name to show the Actions menu.
-
From the Actions menu, select New Comparison. This adds another row to the component.
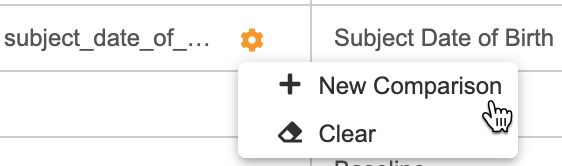
- Continue with these instructions in the newly added row.
- Select an Operator. See a list of operators below.
- To add a Study Reference for Compare To:
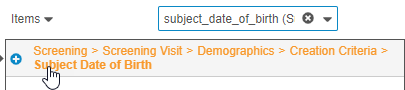
- In the Study References panel, begin typing the Name or Label of the Item or Event. Note that you must type at least two (2) characters for Vault to begin searching. Vault returns all matching Items in all locations that an Item is used throughout the casebook schedule.
-
Select the Item or the Event from the results.

- To add the reference to the Compare To field, click the Study Reference.
You can also use a casebook variable, instead of choosing study reference. Skip to Step 7 to do so.
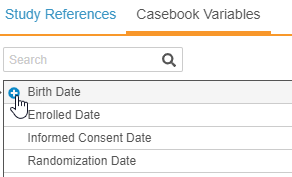
- To add a Casebook Variable for Compare To:
- Click Casebook Variables to open that panel.
- Optional: Search for a Casebook Variable.
- Click a Casebook Variable to add it. Note that you can only add variables with an assigned value.
- Optional: Once you’ve chosen an Item, Event, or Casebook Variable for Compare To, you can replace it by clicking Remove () and then selecting a new one.
- Optional: To use your own text for the query message, enter it for Query Text Override. Otherwise, leave this blank to use the standard query message, based on the chosen operator (listed in the Availble Operators) table below).
- Click out of the component row. This prompts Vault to save your changes. When saving, Vault generates a Rule Name.
Unknown Dates & Times: Vault automatically applies the MinDate() and MinDateTime() functions to any dates or datetimes that allow unknowns.
How to Remove a Comparison Rule
Each Item has one comparison row by default. If there are multiple rules for that Item, the Item will have multiple rows. For the first row, you can clear the existing comparison to remove it or replace it with another. If you have created multiple comparison rows for that Item, you can delete the rows after the first row. You can clear the content of any row to replace that rule with another.
To remove a comparison rule:
- Navigate to Studio > Comparison Rules for your Study.
- Locate the rule you want to remove in the tree.
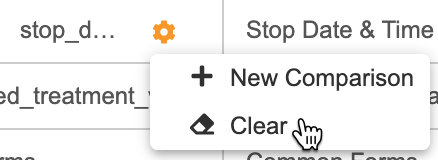
- Hover over the Item to show the Actions menu.
-
From the Actions menu, select Clear.
- In the confirmation dialog, click Clear.
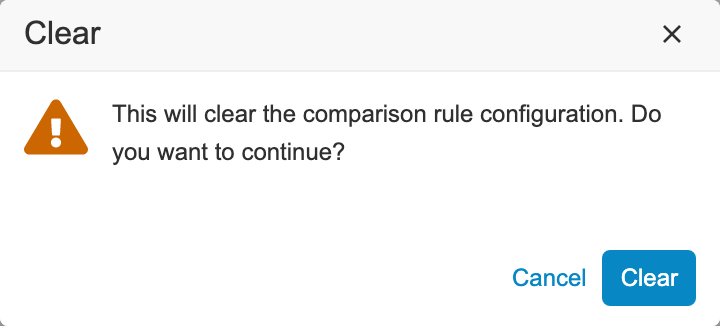
Vault removes your rule configuration. This change applies immediately in development environments and will take effect with the next deployment in all other environment types.
To delete a comparison from a row with multiple rules:
- Navigate to Studio > Comparison Rules for your Study.
- Locate the rule you want to delete in the tree.
- Hover over the Item to show the Actions menu.
-
From the Actions menu, select Delete.

- In the confirmation dialog, click Delete.
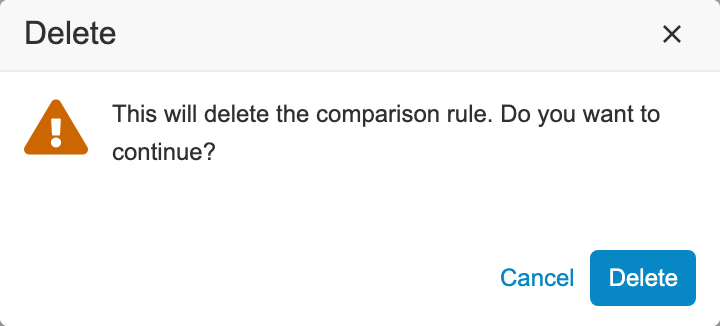
Vault removes your rule configuration. This change applies immediately in development environments and will take effect with the next deployment in all other environment types.
Available Operators
The table below lists the operators available for use. Each operator has a standard query message. You can use a custom query message instead by entering the query text in the Query Text Override field when creating your comparison rule.
| Operator | Query Message |
|---|---|
| cannot be after | Item Label cannot be after Compare To Label. |
| cannot be after or equal to | Item Label cannot be after or equal to Compare To Label. |
| cannot be before | Item Label cannot be before Compare To Label. |
| cannot be before or equal to | Item Label cannot be before or equal to Compare To Label. |
| cannot be equal | Item Label cannot be equal Compare To Label. |
| must be equal to | Item Label must be equal to Compare To Label. |