Creating a New Study
Before your organization can begin building your Study, you must first create a Study Master and the appropriate Study Environments. The Study Master is an object record tracking everything related to your Study. It exists in your primary development environment’s vault. Then, Study Environments exist within your Study Master. These environments represent your Study across different phases and through data collection.
Before your organization can perform the steps in this help topic, Veeva Services must perform some configuration tasks in your vault. Contact your Veeva Services representative for details.
Create a Study
You can create a new Study Master from Studio. You must create a Study Master before you can create Study Environments for your study and before study designers can begin designing your study.
To create a new Study Master:
- Open Studio.
-
Click + New Study.
-
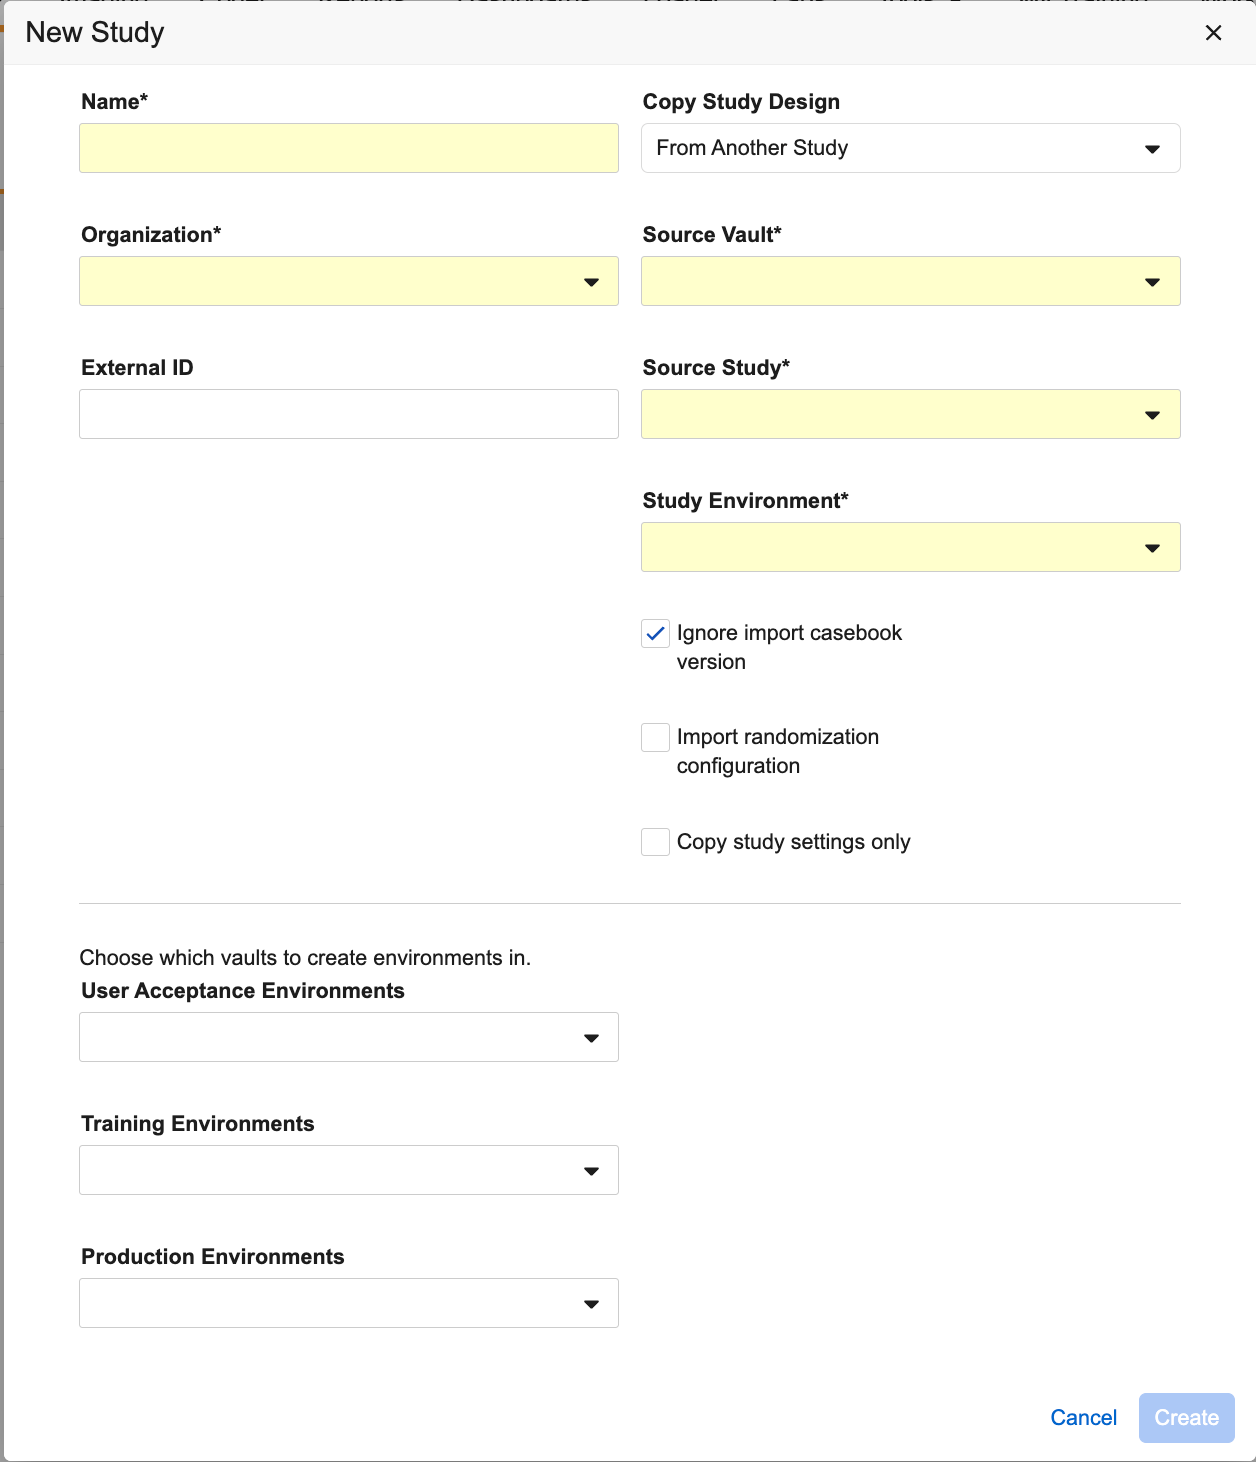
Enter a Name for your Study. Vault uses the value you enter here for your Study Master and then names your Study Instances with this name and the environment type appended to it (for example, VEEOFEN_DEV for the Development environment of the Veeofen study).
-
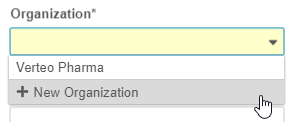
Choose an Organization to associate your Study with. You can click + New Organization to create a new Organization as needed.
- Optional: Enter an External ID.
- Select a Study Type.
- For an EDC study, select Veeva.
- If your organization is using CDB with a third-party EDC system, select External.
- Optional: To create this Study as a copy of another Study:
- Select From Another Study or From Library for Copy Study Design. Selecting From Another Study allows you to choose a Study to copy, and selecting From Library allows you to select a Collection to copy. Make sure that the source study has been validated or the selected study will fail to copy.
- Select the Source Vault.
- Select the Source Study.
- Select the Study Environment.
- Optional: Select the Ignore import casebook version checkbox to ignore the version of the source study and import the copy as version 1. Note that if you selected a template-type vault as the Source Vault, this option is unavailable.
- Optional: Select the Import Randomization Configuration checkbox to import the randomization configuration from the source study. Note that you must have randomization enabled to select this option.
- Optional: Choose which environments to create Study Environments in. These are vaults or sandboxes where you’re housing your user acceptance testing, training, and production environments for your Study. Note that study vault types should match study environment types in order to avoid creating a Production environment in a non-Production vault.
- Click Create.
- In the New Study confirmation dialog, click Create. Vault begins a job to create your Study Master, your development Study Environment, and additional Study Environments for all environments that you selected. Depending on your selections, this job may take a few minutes.
Cross Vault Copying: To copy from another vault when creating a new Study, the vault containing the Study you are copying from must be linked to the vault containing your current Study, and you must be a cross-domain user with study design permissions in the target linked vault.
Copy Study Settings Only: The Copy Study Settings Only option copies any visible settings that are defined in Studio or in the Labs settings of the source Study. For Studio or Labs settings for new features that are available for new Studies and are not configured in the source study settings, the default settings will apply for the new Study.
Copying from an Invalid Study: If the source study you are copying from is invalid, Vault will create the empty target study master but will not copy the source study into it. If this happens, you can validate the source study and resolve any errors, then perform the copy operation again. In this situation you can create a new study with the same name used in the previous attempt to create a study, which is the name of the empty target study master.
Editing an Organization
Once you save your Study Master, there isn’t a way to update the Organization from within Studio. If you need to edit the Organization, for example, due to a typographical error when creating the Organization, contact your Veeva Services representative. They can edit the Organization record from Admin > Business Admin.
Related Permissions
Study Designers, Librarians, and Vault Owners can create a new Study.