Configuring Randomization in Studio
Before you can start randomizing subjects in the Data Entry tab, you must configure Randomization settings in Studio.
Ready to Randomize Rule
To randomize, you must have the fields of your choice (e.g. Informed Consent, Sex) configured in your Item Groups, Items, Forms, and Codelists tabs.
Once these are configured, you can create the Set as Ready to Randomize rule, which allows you to Randomize a subject in the Data Entry tab.
To create the Set as Ready to Randomize rule:
- Navigate to Studio > User Defined Rules.
- Click + New Rule.
- Name your rule and select your form from the Form dropdown menu.
-
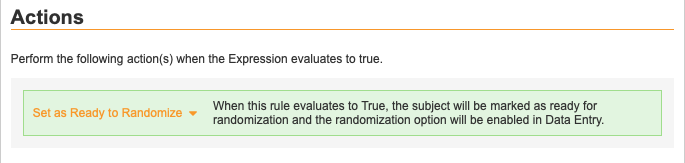
In the Actions section at the bottom of the page, click Query to view the dropdown menu and select Set as Ready to Randomize.
- Add your configured Items from the panel on the right to the Expression box. For example, if your chosen fields are Informed Consent and Sex, you would select and add those Items from the panel.
- Click Save.
Setting Subject Status to Randomize Date
In the rule editor, you can configure the Subject Status Date of when a subject was enrolled or randomized to reflect the date of Randomization.
To set a Subject Status to the Randomized Date:
- Navigate to Studio > User Defined Rules.
- Select an already existing rule or click + New Rule to create a rule.
- Set the Evaluate Rule When field to Randomized.
- In the Actions section at the bottom of the page, click Query to view the dropdown menu and select Set Subject Status. Click Select Status and choose Randomized from the Select Subject Status dialog. Save.
- Click the dropdown menu next to “Set Status Change Date To” and select Randomize Date.
- Complete all other necessary fields in the rule editor if you’re creating a new rule.
- Click Save.