Sharing, Exporting, & Copying Reports
With reports, you can organize and analyze data related to data and processes in your vault. This article teaches you how to export, share, and copy reports.
Learn more about Vault’s reporting functionality in Reporting Overview. For a list of standard template reports available with the Veeva EDC application, see Standard Veeva CDMS Report Templates.
Exporting Reports
If you need to conduct further analysis and processing on your data outside of Vault, you can always export a report. Vault supports four formats for export: PDF, CSV (comma-separated), text (TXT) and Excel ™ (XLSX).
How to Export Reports
- From the Reports page or report viewer, choose either Export to CSV, Export to Text, Export to Excel, or Export to PDF from the report’s Actions menu.
- A dialog opens while Vault processes your request. You can choose to cancel the request from this dialog. The dialog closes automatically when the file is ready.
- Depending on your computer’s configuration, the file may download automatically or you may have to choose to save it.
Limits
The following limitations apply to exporting reports:
- CSV is only available if your vault does not use localization settings, and TXT is only available if it does.
- PDF is only available for tabular reports.
- Excel ™ will not open files containing more than 65,000 hyperlinks. To open the file, Excel ™ will remove all hyperlinks.
- Exporting to PDF removes all hyperlinks.
- Vault only exports 100,000 records to PDF and Excel ™. If your report contains over 100,000 records, you must export to CSV or TXT.
- You cannot export reports with multiple down objects to CSV.
Groups & Summary Calculations
Vault only includes individual records in your export, and does not export groups or summary calculations (count, average, etc.).
PDF Exports
When you export as PDF, Vault adds page numbers and a cover page. All reports use the Report Export Cover Page template. Additionally, users can modify column widths for PDFs in Edit mode in the report builder.
Copying Reports
You can use the Copy Record option to create a new report based on an existing report.
How to Copy Reports
- From the report’s Actions menu, choose Copy Record.
- The Make a Copy dialog opens. Enter a Name and (optional) Description for the new report.
- Click Continue.
- The report editing page opens. From here, you can make changes to the new report.
- When you finish editing, click Run or Save. Note that if you click Run, you have the option to Continue Editing or to Save.
Sharing Reports
When sharing a report, you can assign users to Editor or Viewer roles. Editors can modify, share, and delete the report. They have all the same rights as the user who created the report. Viewers can only run and view the report, or make a copy of it. If the report has run-time input filters, viewers can enter filter criteria. When viewers want to make changes to a report, they can copy it and make their edits in the duplicate version. Note that you must have an Editor or Owner role to assign users to roles for a given Report object record. Only Owners can assign other users or roles to be Owners.
How to Share Reports
- From the report’s Actions menu, click Sharing Settings.
- On the Sharing Settings page, click Add.
-
- In the Add Manual Assignment dialog, select the desired role and the user or groups to add to it.
-
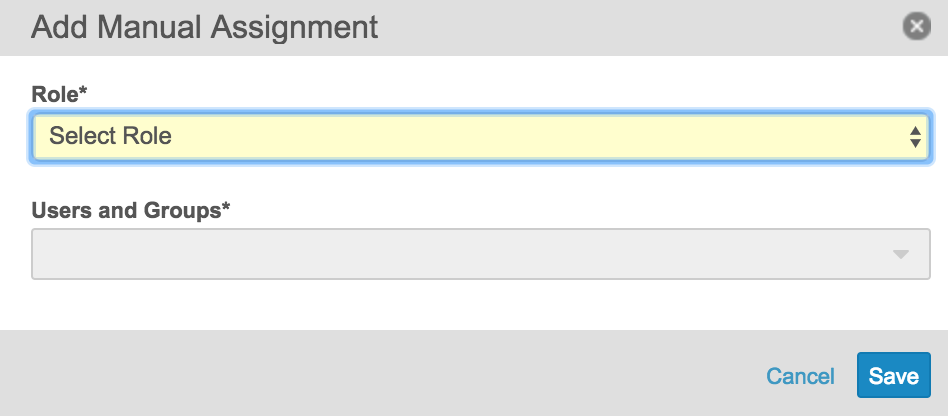
- Click Save. Assigned users or groups can immediately access the report.
To remove a user or group from a role, click Remove from the Actions menu for that user or group in the Access via Manual Assignment section. Note that Read-only users will never appear in the Users and Groups drop-down.
How to Deploy Report Sharing Settings
You can deploy Report Sharing Settings to other environments in System Tools.
Selecting Groups in Report Sharing Settings: Veeva EDC only supports report sharing configuration for groups of the User Managed Group type. Report sharing using Auto Managed Groups for User Role Setup is not supported.
To deploy Report Sharing Settings:
- Navigate to System Tools > User Defined Reports.
- Click Manage User Defined Reports.
- Select which reports you’d like to share settings from in the Available User Defined Reports column. Click Save.
- Navigate to the Deployment tab.
- Choose a Source Vault and Destination Vault and check the Reports and Dashboards checkbox under Deploy Data.
- Click Deploy.