Randomizing in Data Entry
You can randomize Subjects, assign Kits and Devices, and, if needed, reveal treatment or perform an emergency unmasking in the Data Entry tab.
How to Randomize
A Randomization list must be uploaded in the Randomization module in order to randomize a subject.
To randomize a subject in Data Entry:
- Navigate to the Subject you want to randomize in the Data Entry tab.
- Locate your randomization form in the Casebook Schedule.
- Click the Form to open it.
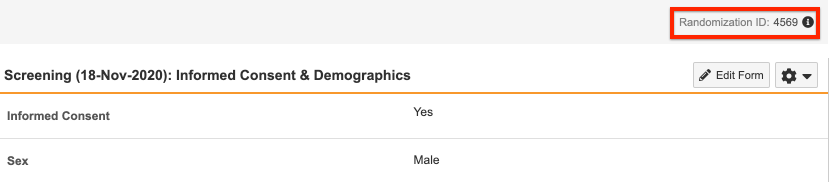
- Fill the required fields. For example, if your Ready to Randomize rule is configured with the Informed Consent and Sex fields as shown below, those fields must be populated to trigger randomization.
- Click Complete.
- In the Randomize Subject dialog, click Randomize Now.
Once the subject is randomized, Vault displays the Randomization ID at the top right of the page.
When configured by a study designer, Vault sends defined user groups an email when a subject is randomized. A lead data manager can assign users to receive these emails.
Adding Kits
If Use Kit ID is set to Manually Entered in your study’s Randomization Settings, you can add the Kit ID in the Data Entry tab.
To add a Kit:
- Navigate to the Subject in the Data Entry tab.
-
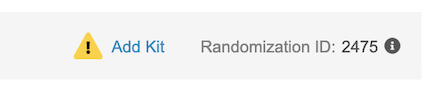
Click Add Kit.
-
Enter the Kit ID.
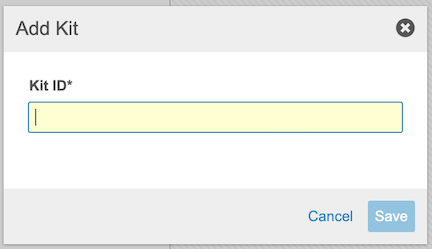
- Click Save.
Edit a Kit ID
To edit a Kit ID:
- Navigate to the Subject in the Data Entry tab.
-
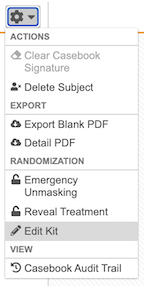
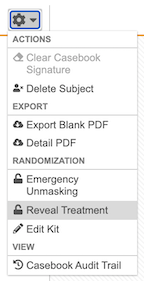
From the subject-level Actions menu, select Edit Kit.
- Enter the new Kit ID.
- Click Save.
Adding Devices
If Use Device ID is set to Manually Entered in your study’s Randomization Settings, you can add the Device ID in the Data Entry tab.
To add a Device:
- Navigate to the Subject in the Data Entry tab.
- Click Add Device.
- Enter the Device ID.
- Click Save.
Edit a Device ID
To edit a Device ID:
- Navigate to the Subject in the Data Entry tab.
- From the subject-level Actions menu, select Edit Device.
- Enter the new Device ID.
- Click Save.
Emergency Unmasking
Unmasking: Unmasking (blinding) is no longer supported for any studies.
If an adverse event occurs, users with the CDMS Principal Investigator study role can use the Emergency Unmasking action in Data Entry to view a subject’s treatment. Vault will send notifications (if configured) when emergency unmasking occurs.
To use emergency unmasking:
- Navigate to the Subject in the Data Entry tab.
-
From the subject-level Actions menu, select Emergency Unmasking

-
Enter a Reason for Unmasking Data.

- Enter your User Name and Password.
- Click Unmask.
Reveal Treatment
Users with a Study Role that grants the Reveal Treatment permission can reveal the treatment of a Subject without the action being considered an emergency unmasking.
To reveal treatment:
- Navigate to the Subject in the Data Entry tab.
-
From the subject-level Actions menu, select Reveal Treatment.
-
Enter your User Name and Password in the Reveal Treatment dialog. If the Reveal Treatment requires Sign in Credentials is set to “No” in Randomization Settings, you won’t be required to enter your User Name and Password.
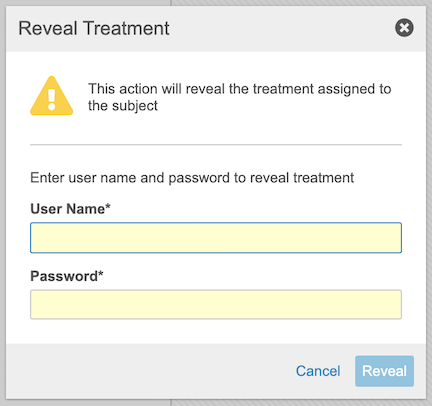
- Click Reveal.