Creating an Unmasking Report in Randomization
Vault Owners can create Unmasking Reports for Randomization from the Administrative side of Vault in order to view details of an Unmasking when it occurs. This report will also include instances of Emergency Unmasking performed by Principal Investigators. If you’re not a Vault Owner, you must contact Services to create reports for Randomization.
How to Create an Unmasking Report for Randomization
- Navigate to Admin > Business Admin > Configuration > Report Types.
- Click + Create in the top right corner of the page.
- In the Report Configuration section, select the “Randomization Action History” as your Primary Reporting Object. The Details fields will automatically populate once a Reporting Object has been selected.
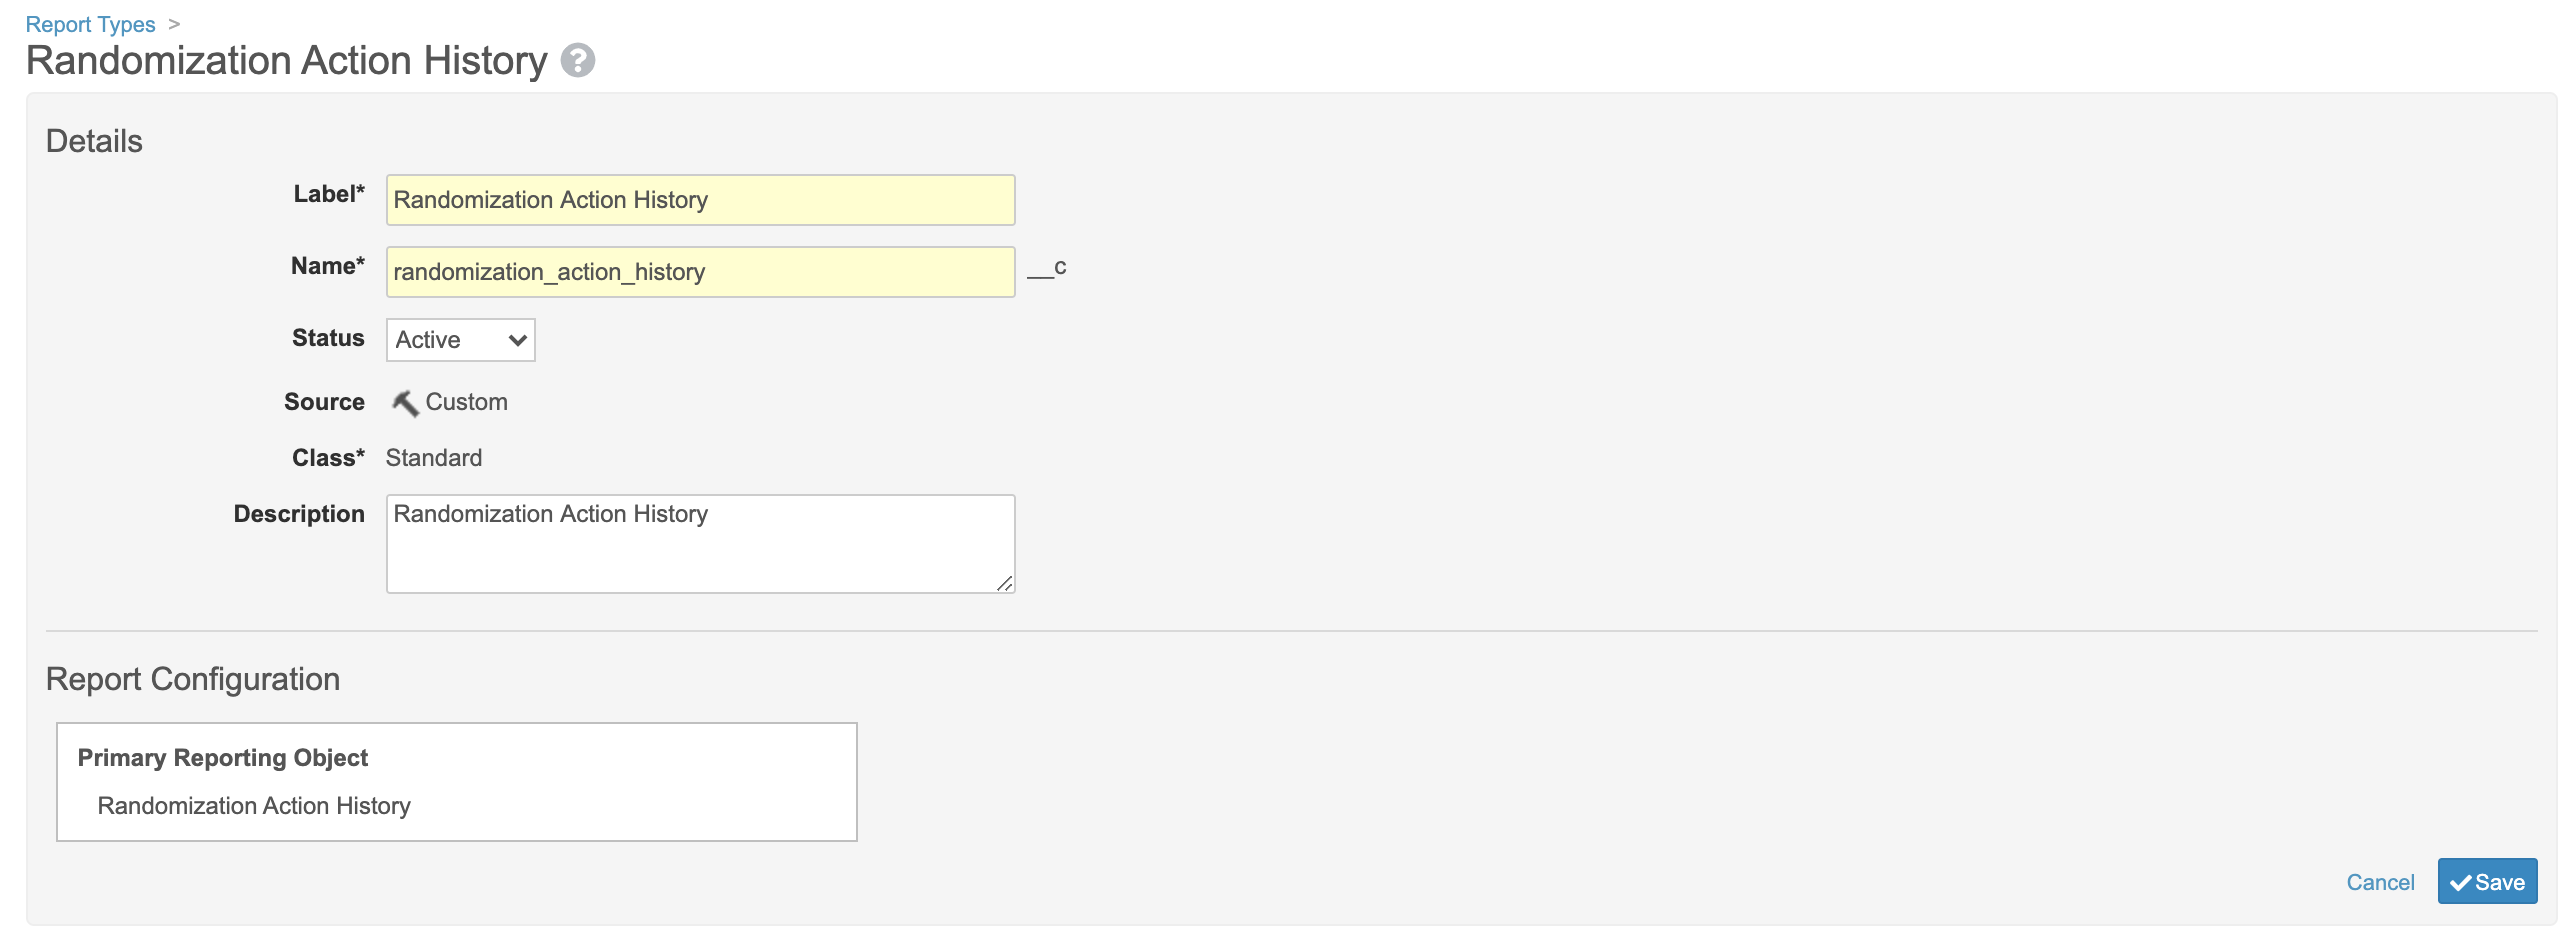
- Click Save.
Once the report has been configured in Business Admin, you can finish creating your report in the Reports tab.
- Navigate to Reports and click the + Create button below the All Reports heading.
- From the Report Type menu, select Randomization Action History.
- Name your report and check the “Enable filter and column Aliases” checkbox. This checkbox allows you to edit column names in your report.
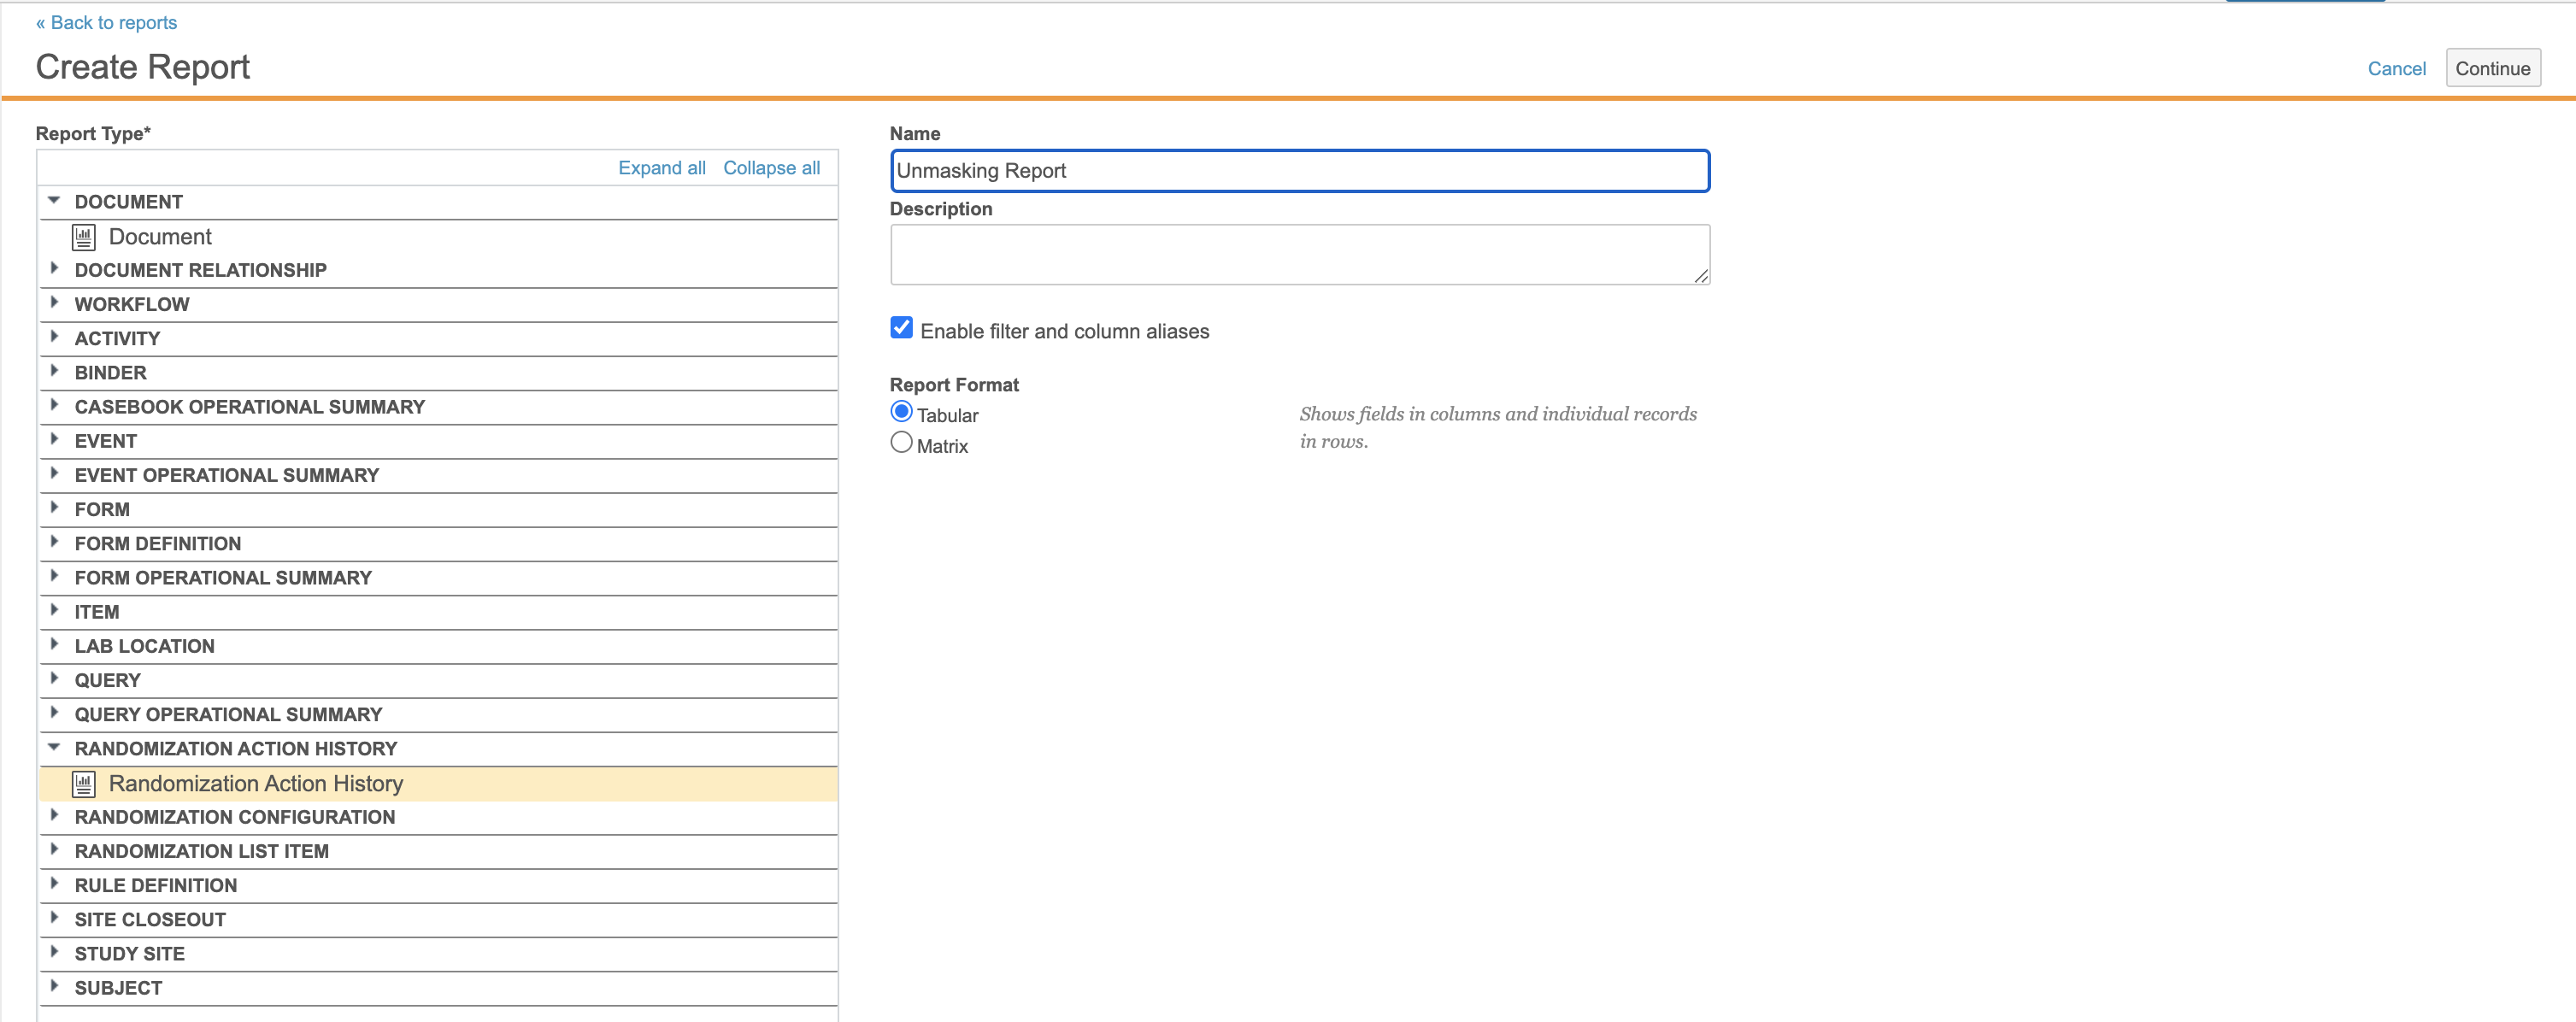
- Click Continue.
- In the Filters subsection, click into the dropdown menu and select Action. In the “Condition” dropdown, select “Is”, and in the final box, select Unmask.

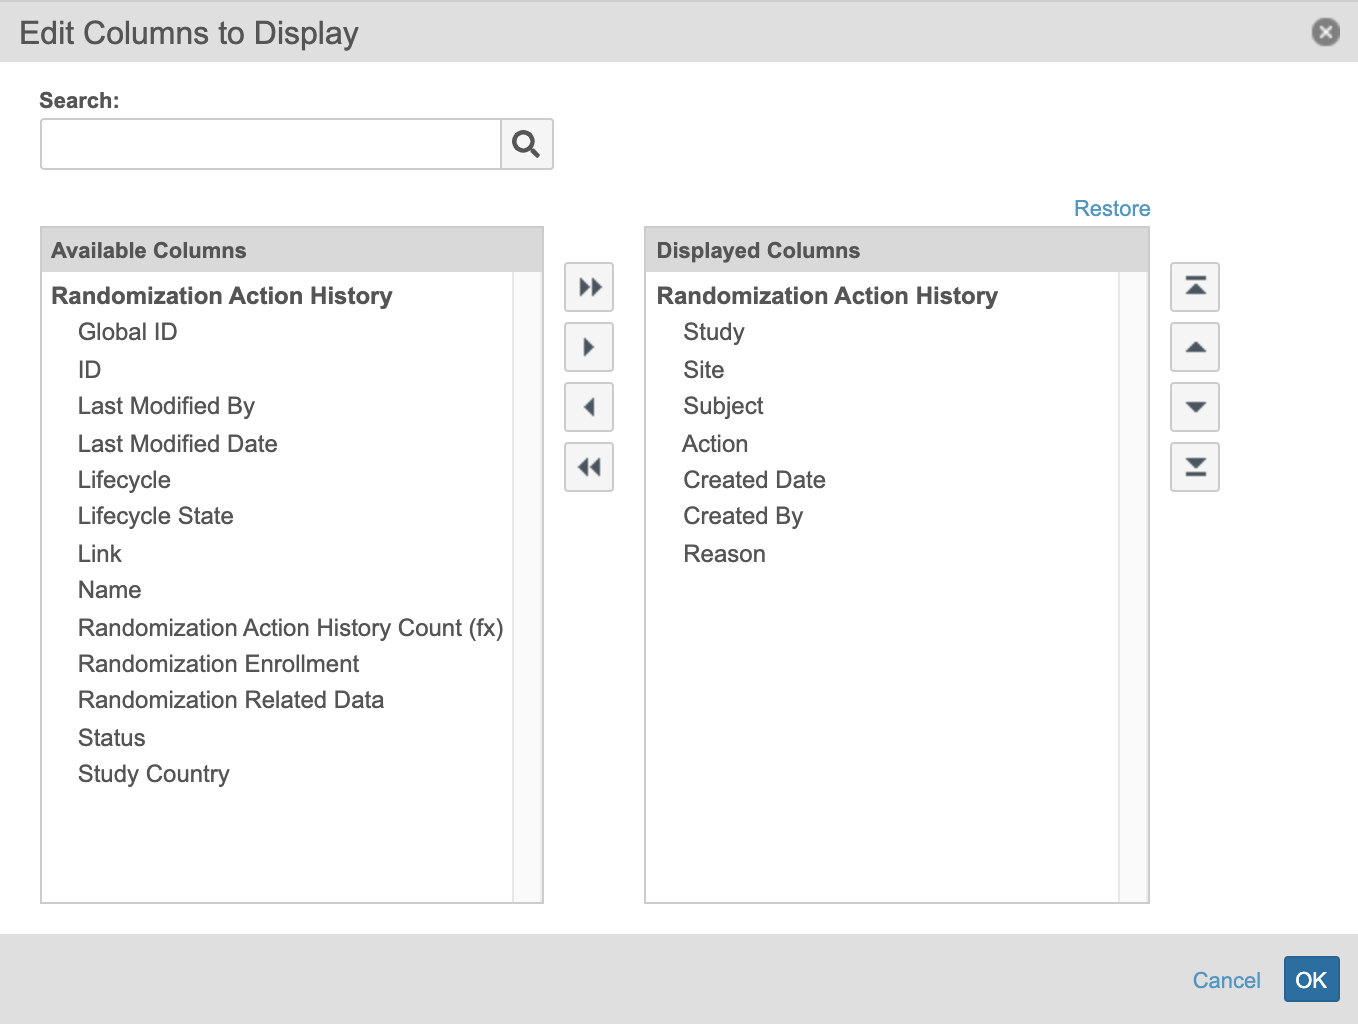
- Select Edit Columns to the bottom right of your filter and add Study, Site, Subject, Action, Created Date, Created By, and Reason to the Displayed Columns box. You can rename these columns later by selecting the pencil icon next to the column name.
- Click Ok.
- Click Save at the top right of the page. To run your report, click Run.
For more information on reports, See Creating & Editing Reports.