Managing Principal Investigators
We’re enabling this feature in phases across customer vaults. Customers will receive notification prior to enablement.
Administrators can manage principal investigator (PI) records independently of User accounts in System Tools > Principal Investigators. This area centralizes PI contact details, including name, email, timezone, language, and locale, using the person_sys object. Administrators can designate a PI for a site even if they lack an active VeevaID account.
Prerequisites
Users with the standard CDMS Lead Data Manager and CDMS User Administrator application roles can perform the actions described above by default. If your vault uses custom Application Roles, your role must have the following permissions:
| Type | Permission Label | Controls |
|---|---|---|
| Standard Tab | System Tools Tab | Ability to access the Tools > System Tools tab |
| Functional Permission | View Study Sites | Ability to view Sites in EDC Tools |
| Functional Permission | Edit Study Sites | Ability to create and edit Sites from EDC Tools |
| Functional Permission | View Users | Ability to view Users and their access |
| Functional Permission | Edit Users | Ability to create and edit Users and their access |
If your Study contains restricted data, you must have the Restricted Data Access permission to view it.
Learn more about Study Roles.
Custom Reports: If you have custom reports that use the Principal Investigator field on the Study Site (site_v) object, update them to reference the Primary Contact field instead. We are deprecating the Principal Investigator field as of the 26R1 general release.
Accessing Principal Investigators
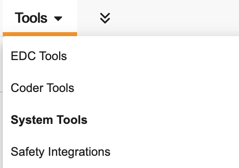
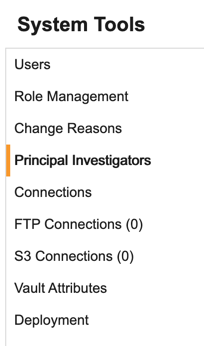
To access Principal Investigators, navigate to Tools > System Tools and select the Principal Investigators menu option.
|
|
Creating a Principal Investigator
You can create a PI record to store investigator details without granting system access.
To create a PI record:
- Navigate to System Tools > Principal Investigators.
- Click + New Principal Investigator.
-
Enter the principal investigator’s First Name, Last Name, and Email.
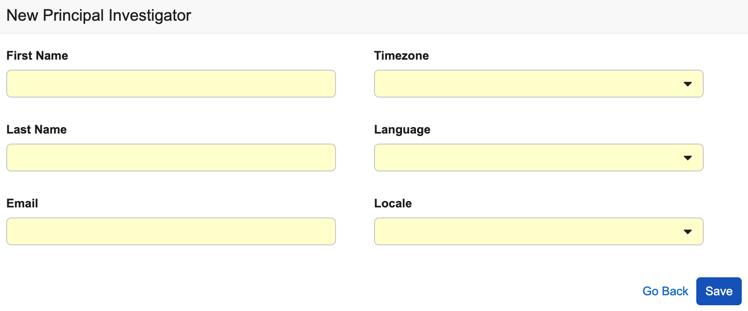
- Select the appropriate Time Zone, Language, and Locale.
- Click Save.
Editing a Principal Investigator
You can edit any PI record that is not currently linked to a system User account.
To edit a PI record:
- Navigate to System Tools > Principal Investigators.
- Locate the PI in the list.
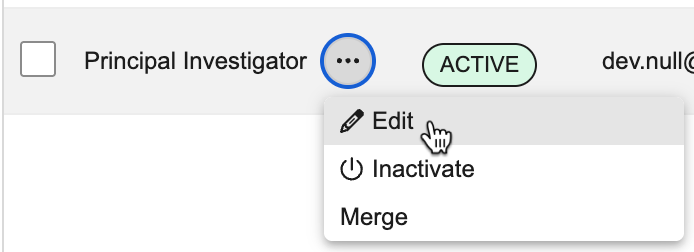
- Hover over the Full Name to show the Actions menu.
-
Click Edit.
- Update the fields in the dialog.
- Click Save.
Bulk Import of Principal Investigators
You can create or update multiple PI records at once using a CSV file.
To import records using a CSV file:
- Navigate to System Tools > Principal Investigators.
-
Click Import From File.
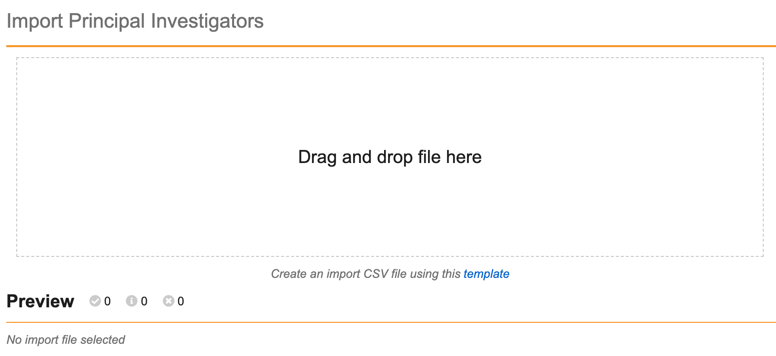
- Drag your import CSV file to the Drag and drop file here area, or click the area to browse and upload the file.
- Click Import.
- The system sends you an email when the import is complete.
- Drag your import CSV file to the Drag and drop file here area, or click the area to browse and upload the file.
- Click Import. The system sends you an email when the import is complete.
PI Import Template
Use the template below as your import file.
Download the PI Import Template
The template contains the following columns:
| Column | Description |
|---|---|
| First Name | The user’s first name. |
| Last Name | The user’s last name. |
| The user’s email address. This is used as a unique identifier. | |
| Timezone | The user’s geographic offset and region used to align timestamps. For example, (GMT-05:00) Eastern Standard Time (America/New_York). |
| Language | The user’s preferred UI language, entered as a specific entry format code for user import (e.g., en for English, zh for Chinese). |
| Locale | The regional setting that determines data formatting. This is entered as a country code in the import CSV (e.g., en_US or fr_CA). |
Duplicate Email Addresses
During the initial migration from person__v to person__sys, the system assigns “dev.null@veeva.com” to any original person__v record that lacks an associated email. This can result in duplicate email addresses. To resolve this, merge duplicate records into a single record.
Before merging you must either edit each record to include a unique email address or inactivate them.
Merging Principal Investigators
Use the merge tool to consolidate duplicate PI records into a single record.
To merge PI records:
- Navigate to System Tools > Principal Investigators.
- Locate the duplicate PI that you want to consolidate.
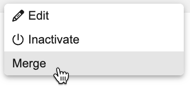
- Hover over the Full Name to show the Actions menu.
-
Click Merge.
- In the Merge Principal Investigator dialog, search for and select the target PI record you want to keep.

Inactivating Principal Investigators
You cannot permanently delete a PI record if it is referenced by a study site, but you can inactivate it.
To inactivate a PI record:
- Navigate to System Tools > Principal Investigators.
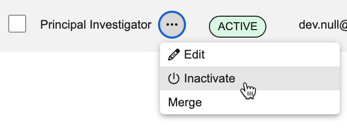
- Hover over the Full Name to show the Actions menu.
-
Click Inactivate.
- In the Inactivating Principal Investigators dialog, click Inactivate to confirm.
Inactivating a PI makes the record unavailable for PI selections. However, the system does not automatically update existing sites that reference the inactivated PI. Inactivation also does not impact the User or their study access. You must update the User account separately.