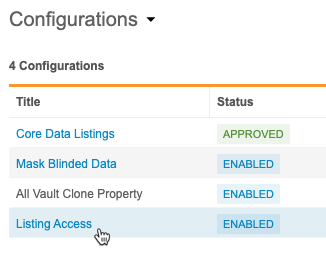
Listing Access & Category Configuration
You can manage listing permissions and categories globally from CDB Configurations. You can assign which granular actions (View, Set Review Status, Create, Modify, etc.) are available to a given Study Role for listings in a Category. This enables your users to focus exclusively on their relevant data by restricting their listing access to specific categories, ensuring a more efficient review process.
From this area of Workbench, you can also manage the Categories available for your listings, checks, and views.
To access this area of the application, navigate to Configurations > Listing Access in Workbench, from either the Navigation Drawer or the Study menu.
Prerequisites
By default, users with the standard CDMS Super User study role or the Vault Owner security profile are able to perform the actions described below. If your organization uses custom roles, then your role must grant the following permissions:
| Type | Permission Label | Controls |
|---|---|---|
| Standard Tab | Workbench Tab | Ability to access and use the Data Workbench application, via the Workbench tab |
| Functional Permission | Configure CDB | Ability to perform configurations in Workbench that apply to all studies from the Configurations area |
Learn more about Study Roles.
Managing Categories
To restrict access by Category, you must create Categories. In addition to their use in access control, Categories also display in various areas of the Workbench UI.
Create a Category
To create a Category:
-
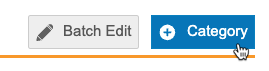
Click + New Category.
-
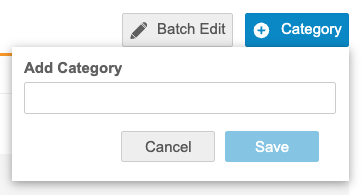
Enter a Name for the category in the text entry field.
-
Click Save.
Category names are limited to 30 characters.
The following strings are unavailable for use in category names:
- Core Listing
- Core Queries
- Core Observations
- Core Protocol Deviations
- Review Listing
- Custom Listing
- View
- Set
- Check
- Start with “WB_Export$”
Inactivate a Category
When a category is no longer in active use, you can inactivate it. This prevents the category from being selected during listing creation or modification. Note that you can’t inactivate system-managed Categories.
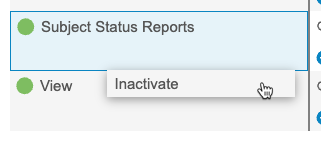
When a Category is inactive, Workbench displays an open circle next to the Name instead of a green circle.
To inactivate a Category:
- Navigate to the Category in Configurations > Listing Access.
- Hover over the Category to show the Category menu ().
- Select Inactivate from the Category menu.
Activate a Category
To activate a Category:
- Navigate to the Category in Configurations > Listing Access.
- Hover over the Category to show the Category menu ().
- Select Activate from the Category menu.

Once a Category is activated, it becomes available for selection when creating or modifying listings.
Available Actions
You can control the access to the following actions by category:
- View
- Set Review Status
- Create
- Modify
- CQL Editor
- Publish
- Delete
In the Access Grid, Workbench displays an icon for each permission that is available to that user for the category. This legend (also in the application’s header) lists those actions with their icons.

Inherited Permissions
It is not possible to provide listing access rights to a role that does not have the permission for that action. For example, a role can’t have access rights to modify a listing if the role does not have the Modify Listing permission.
You are able to remove an inherited permission for a specific category in Listing Access.
This table lists the inherited permissions for standard Study Roles.
| Standard Study Role | Inherited Permissions |
| CDMS Lead Data Manager | View, Set Review Status, Create, Modify, CQL Editor, Publish |
| CDMS Data Manager | View, Set Review Status, Create, Modify, CQL Editor, Publish |
| CDMS CDB Programmer | View, Create, Modify, CQL Editor, Delete |
| CDMS CDB Read Only | View |
Assigning Access
You can assign access by role and category.
To assign access for a single role and category:
- Locate the Role and Category that you want to assign access to in the grid.
- Click into the Role/Category Cell in the table grid for the role and category you want to edit.
-
Select and clear permission checkboxes to add and remove the permission from the role and category.
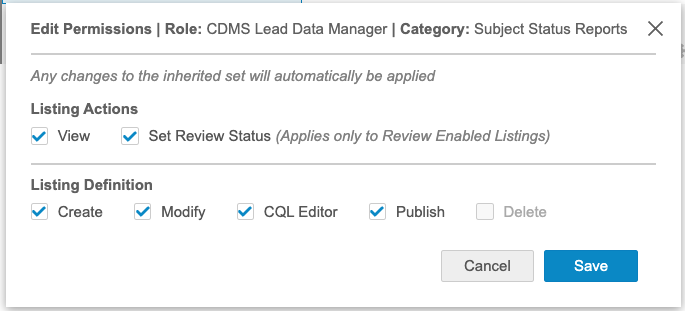
- When finished, click Save.
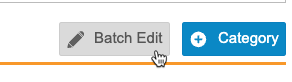
You can also assign the same permissions to a Study Role for every category in a single batch action. To edit the access for a Study Role across all Categories in batch:
-
Click Batch Edit.
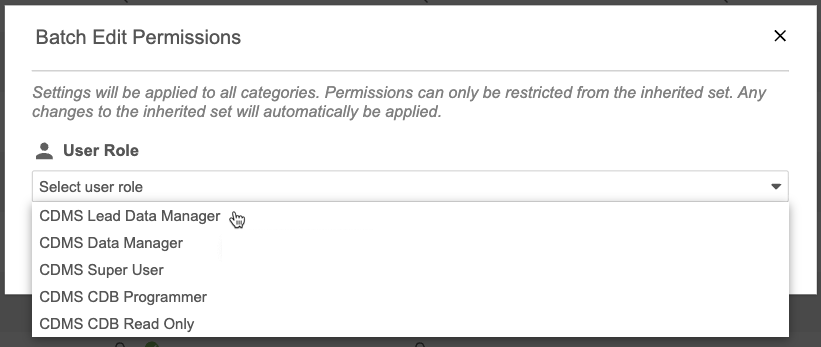
-
Select a User Role to edit.
-
Select and clear permission checkboxes to add and remove the permission from the role and category.
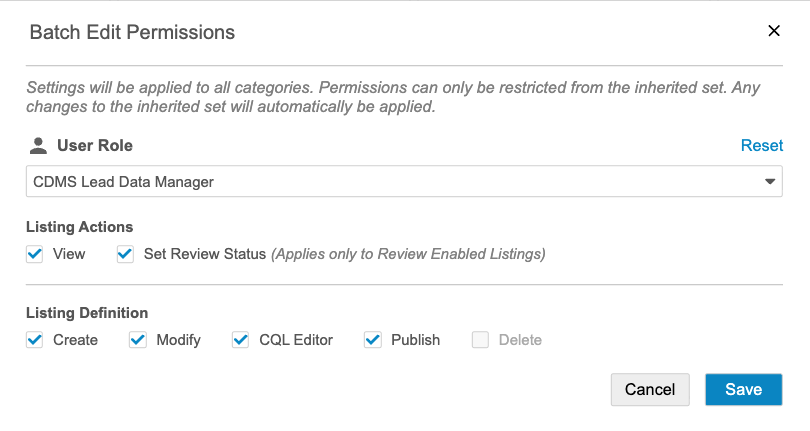
-
When finished, click Save.
Review & Approve Configurations
Once your categories and access assignments are completed, then you or another person in your organization may review and approve them.
Mark Configuration as Ready for Review
Marking your configuration as Ready for Review applies it to your TST study and indicates that your configuration is ready for testing in the TST environment.
To mark the configuration as Ready:
- From the Status menu, select Ready for Review.
- Optional: Enter a Reason.
- Click Save.
Return from Ready for Review to Draft
To return to the Draft status:
- From the Status menu, select Draft.
- Optional: Enter a Reason.
- Click Save.
Approve Configuration
To approve the configuration:
- From the Status menu, select Approve.
- Optional: Enter a Reason.
- Click Save.
CDB moves the configuration into the Approved status.
Deploy the Configuration to Production
When your configuration is approved, you can deploy it to your study’s production environment for full use.
To deploy your configuration:
- From the Status menu, select Deploy.
- Optional: Enter a Reason.
- Click Save.
Unrecognized Roles
When a Study Role doesn’t exist in the production environment, CDB will mark it with a warning icon in the access grid to indicate that it is an unrecognized role. This can occur when the Study Role was created in EDC in the TST environment, but the role was not yet deployed to the production environment. Once the Study Role is deployed to production in EDC, this warning will clear.
Permission Removal
If an EDC user administrator removes a permission from a Study Role that was previously configured in Listing Access, Workbench will mark that permission as disabled.
Any changes to the inherited set of permissions will be automatically applied.
Download Categories
You can download a CSV file of your Categories for record keeping and offline review.
To download categories:
- Navigate to Listing Access.
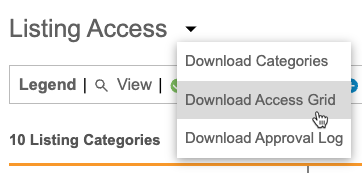
-
From the Listing Access menu, select Download Access Grid.

- Save the CSV file.
- Review the CSV file in your preferred application.
Download Access Grid
You can download a CSV file of the access grid for record keeping and offline review.
To download the access grid:
- Navigate to Listing Access.
-
From the Listing Access menu, select Download Access Grid.
- Save the CSV file.
- Review the CSV file in your preferred application.
Download Approval Log
You can download a CSV file of the approval log for record keeping and offline review.
To download the approval log:
- Navigate to Listing Access.
-
From the Listing Access menu, select Download Approval Log.

- Save the CSV file.
- Review the CSV file in your preferred application.