Managing Do Not Autocode Lists
When you want to prevent a certain Verbatim from being autocoded, you can add that Verbatim to a Do Not Autocode List (formerly known as a Stop List). When a Verbatim is on a Do Not Autocode List, Veeva Coder does not include any Code Requests that match that Verbatim in autocoding.
By default, Veeva Coder applies Do Not Autocode Lists to Synonym Lists. If your study has the Autocode from Dictionary feature enabled (see details here), Veeva EDC also applies Do Not Autocode Lists to the coding dictionary.
Prerequisites
By default, users with the CDMS Clinical Coder Administrator study role can perform the actions below. If your organization uses custom roles, your role must grant the following permissions:
| Type | Permission Label | Controls |
|---|---|---|
| Standard Tab | Coder Tools Tab | Ability to access the Coder Tools tab |
| Functional Permission | Manage Coding Lists | Ability to create, edit, import, and export Synonym Lists and Do Not Autocode Lists in Coder Tools |
If your Study contains restricted data, you must have the Restricted Data Access permission to view it.
Learn more about Study Roles.
Accessing Coder Tools
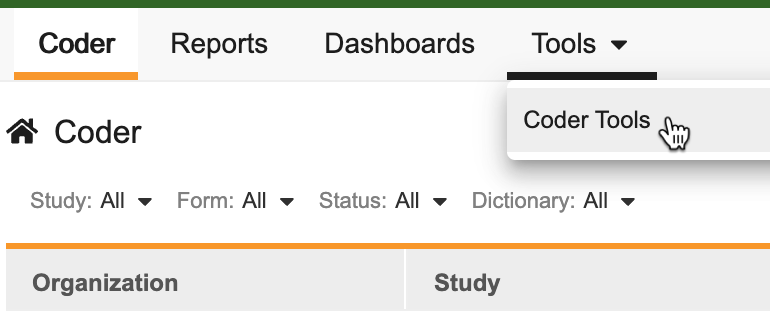
To access the Coder Tools administration area, click the Tools tab in the primary navigation bar, and then click Coder Tools.
Once in Coder Tools, you can click the sub-tabs to navigate to different areas within.
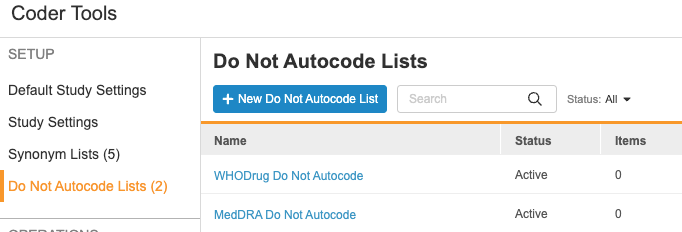
You can access Do Not Autocode Lists in your vault from Coder Tools > Do Not Autocode Lists.
Create a Do Not Autocode List
To create a new Do Not Autocode List:
- Navigate to Coder Tools > Do Not Autocode Lists.
-
Click New Do Not Autocode List. Veeva EDC opens the New Do Not Autocode List dialog.

-
Enter a Name for your Do Not Autocode List.
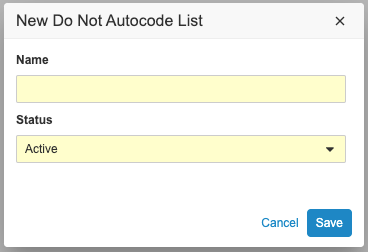
- Optional: Select a Status. Active is the default Status. If you select Inactive, Veeva EDC does not use the Do Not Autocode List to prevent autocoding.
- Click Save. Veeva EDC creates the Do Not Autocode List.
You can now add Verbatims to the Do Not Autocode List and assign the Do Not Autocode List to a Form.
Add a Verbatim
To add a Verbatim to a Do Not Autocode List:
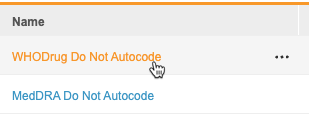
- Locate the Do Not Autocode List you want to add to in Coder Tools > Do Not Autocode Lists.
-
Click the Do Not Autocode List to open it.
- Click + Add.
-
In the Add Item dialog, enter a Verbatim.
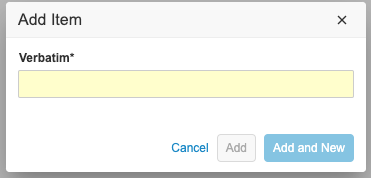
- Click Add to save the current Verbatim, or click Add and New to save the current Verbatim and add another.
Veeva EDC adds the Verbatim to the Do Not Autocode List. Veeva Coder no longer autocodes Code Requests with this Verbatim.
Edit a Verbatim
To edit an existing Verbatim:
- Locate the Do Not Autocode List containing the Verbatim in Coder Tools > Do Not Autocode Lists.
- Click the Do Not Autocode List to open it.
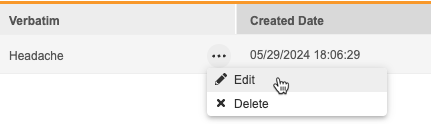
- Hover over the Verbatim you want to edit to display the Actions menu.
-
From the Actions menu, select Edit. Veeva EDC opens the Edit Item dialog.
-
Edit the Verbatim.
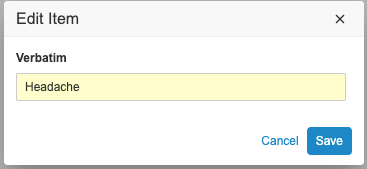
- Click Save.
Delete a Verbatim
To delete an existing Verbatim:
- Locate the Do Not Autocode List containing the Verbatim in Coder Tools > Do Not Autocode Lists.
- Click the Do Not Autocode List to open it.
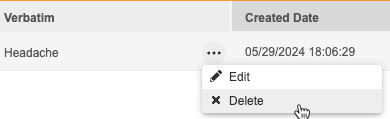
- Hover over the Verbatim you want to delete to display the Actions menu.
-
From the Actions menu, select Delete.
- In the Confirm dialog, click Confirm.
Veeva EDC removes the Verbatim from the Do Not Autocode List. Any Code Requests with that Verbatim are now eligible for autocoding.
Assign a Do Not Autocode List to a Form
Before Vault can use a Do Not Autocode List for autocoding, you must first assign a Do Not Autocode List to a coding Form.
To assign a Do Not Autocode List to a Form:
- Locate the Form you want to edit in Coder Tools > Study Settings > Form Configuration.
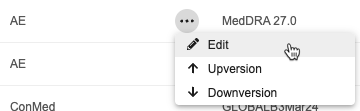
- Hover over the Form to display the Actions menu.
-
From the Actions menu, select Edit.
-
In the Edit Form dialog, select a Do Not Autocode List.
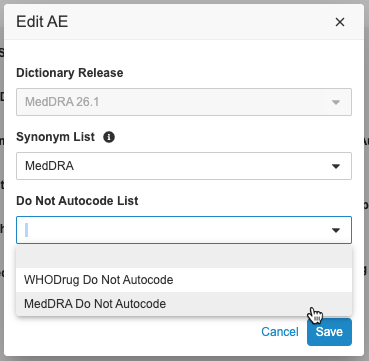
- Click Save.
- Vault assigns the Do Not Autocode List to the Form. Vault now uses this Do Not Autocode List to inform autocoding on this Form.
You can edit the Do Not Autocode List assignment later. Note that if you edit the assigned list, all coded Forms are reset to the Uncoded status.
Batch Assign a Do Not Autocode List to Multiple Forms
You can use the Batch Assign Lists feature to assign the same Do Not Autocode List to multiple Forms.
Batch Assign Lists: Contact Veeva Support to enable Batch Assign Lists in your vault.
To Batch Assign a Do Not Autocode List:
- Navigate to Coder Tools > Batch Assign Lists.
- For List Type, select Do Not Autocode List.
- Select the Do Not Autocode List you want to assign from the Do Not Autocode List dropdown.
- Select the forms that you want to assign the selected Do Not Autocode List to.
-
Optional: To select all Forms at once, select the checkbox in the header. A popup will appear informing you of how many rows are selected. You can select all rows across all the pages by clicking Select all [#] rows.

- Optional: You can use the search box to search for and select the Forms you want to assign the selected Do Not Autocode List to. Forms that are already selected are not un-selected when you perform a search.
-
Click Assign .

- In the Assign Do Not Autocode List dialog, click Assign.

See Form Configuration in Coder Tools for additional details about available form configuration options.
Edit a Do Not Autocode List
To edit a Do Not Autocode List:
- Locate the Do Not Autocode List you want to edit in Coder Tools > Do Not Autocode Lists.
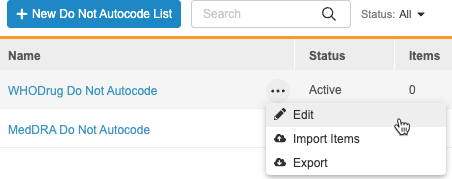
- Hover over the Do Not Autocode List to display the Actions menu.
-
From the Actions menu, select Edit. Veeva EDC opens the Edit Do Not Autocode List dialog.
- Make your changes.
- Click Confirm. Veeva EDC updates the Do Not Autocode List.
Import a Do Not Autocode List
You can add Verbatims to a Do Not Autocode List in bulk by importing them as a CSV (.csv) file.
Excel Localization for .CSV Files: Veeva EDC and CDB use commas as the default separator for .CSV files. If your system is configured in a non-English language, you may encounter errors when attempting to upload .CSV files created or modified in Excel. We recommend that you change the localization of your system to English while working on the .CSV to avoid this issue.
- Download the template and open it in your preferred editor.
- Add a row for each Verbatim you want to add to your Do Not Autocode List.
- Save your file.
The only required column in your import file is Verbatim.
Importing the File
To import the file:
- Locate the Do Not Autocode List you want to import Verbatims into.
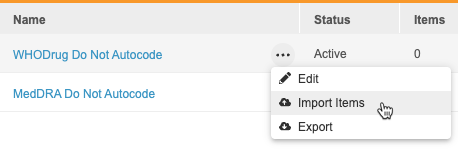
- Hover over the Do Not Autocode List to display the Actions menu.
-
From the Actions menu, select Import Items.
- Either drag and drop your CSV file into the Drag and drop file here area, or click anywhere in the area and browse to and select your import file.
- Veeva EDC uploads the file and validates the Verbatims for the Do Not Autocode List. Validation results display in the Preview area. See possible validation errors below.
- Optional: If your import file contains any validation errors, edit the file to resolve them. Then click Change File to re-upload.
- Once all of your new Verbatims are ready for import, click Import. Veeva EDC begins a job to import and add your Verbatims to the Do Not Autocode List. Veeva EDC sends you an email notification when the job is complete.
Import Statuses
There are three possible statuses for a new Do Not Autocode List record as you prepare it for import:
| Status | Explanation |
|---|---|
| Error | There is at least one error on this row. Errors indicate missing or invalid values. |
| Warning | There is at least one warning on this row. Warnings indicate conflicts with existing Do Not Autocode List records. |
| Ready for Import | This Do Not Autocode List record is complete and can be successfully imported into the vault. |
Validation Errors
| Error | Field or Type | Explanation | Steps to Resolve |
|---|---|---|---|
| {Field} is required | Verbatim | This field is required. | Provide a value for this field and re-upload your import file. |
| Duplicate Entry | Verbatim | Duplicate entry. | Remove the duplicate entry from your file and re-upload your import file. |
| Verbatim Already Exists | User trying to import a verbatim that already exists | The verbatim already exists on the Do Not Autocode List. | No action needed. |
| {Field Name} exceeded allowed character length | Character count exceeds max allowed in database | Number of characters entered by the user is greater than database column length. | Reduce the number of characters in the indicated field and re-upload your import file. |
Export a Do Not Autocode List
You can export a Do Not Autocode List from your Study into a CSV file. This can be useful for record keeping and allows you to use all or a portion of the Verbatims from your Do Not Autocode List for another Do Not Autocode List.
- Locate the Do Not Autocode List you want to export.
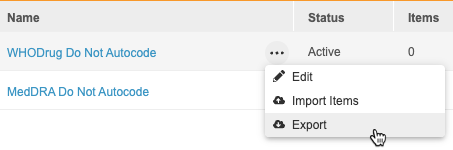
- Hover over the Do Not Autocode List to display the Actions menu.
-
From the Actions menu, select Export.
- Veeva EDC begins a job to create a CSV of your study’s Do Not Autocode List. When finished, Veeva EDC sends you an email notification with a link to download the output file.
The Do Not Autocode List export includes the following (as columns):
- Verbatim
- Created Date
- Last Modified Date