Creating Custom Listings
You can combine data across Forms via Custom Listings, which you can build with a drag and drop listing builder interface. Custom listings can combine or compare data across multiple Forms with comparison filters. You can also copy listings from other Studies in the same vault.
Create a Listing
To create a listing:
- Navigate to the Clinical Reporting tab.
- On the Studies listing, click your Study to open it.
-
From the Create New () menu in the top navigation bar, select Listing.
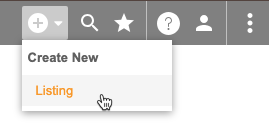
- This opens the Listing Builder. Follow the instructions on this page to select the data to display, define the structure of your listing, and configure your display options.
Select Properties & Items to Display
The first step of listing creation is to select those properties and items to display.
Properties are divided into two groups: Study and Items. Study properties are operational projection elements and form or item group properties. Items are data collection Items from individual Forms.
How to Add Properties
Drag and drop properties from Available Properties to Selected Properties to add them to your listing. You will be able to reorder these properties in a later step. As you add properties, Clinical Reporting will show a count of properties added in the Listing Builder Navigation.
Study properties are grouped by object: Study, Site, Subject, EventGroup, Event, Form, and Item Group. You can drag over an Object to add all of its properties, or you can click to expand the object and drag individual properties.
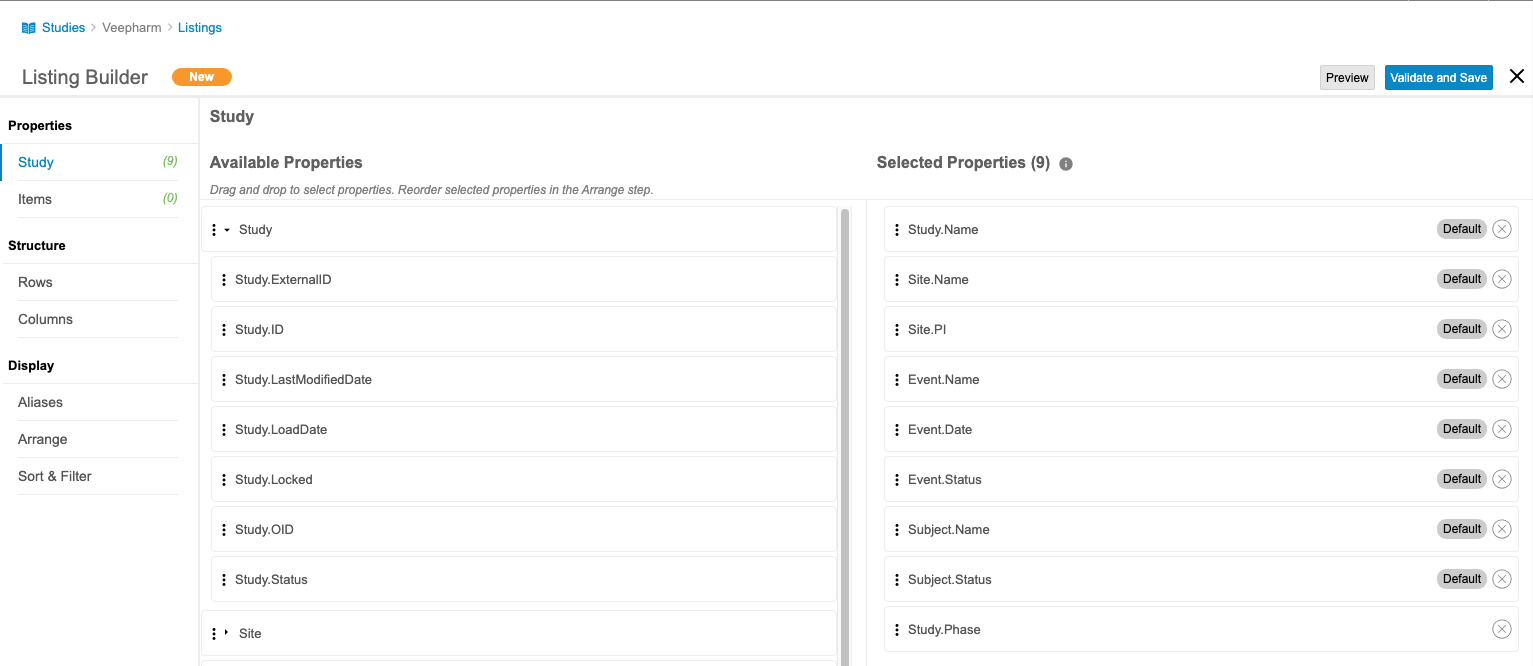
Listings automatically include certain study properties. These defaults are defined by administrators in the Core Data Listings configuration settings.
Item properties are grouped by form and view. You can drag and drop a Form to add all of its items.
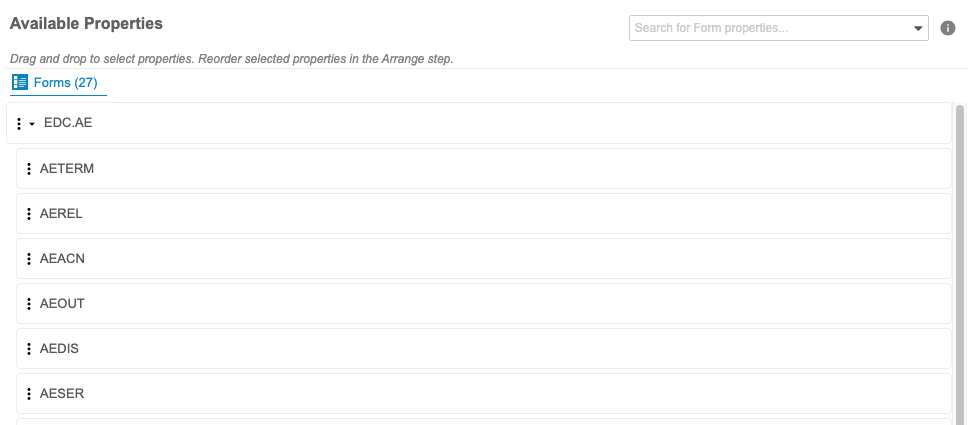
You can also search for and select individual Items using Search for properties. Enter your item’s Name in the Search for properties field. Clinical Reporting searches as you type.
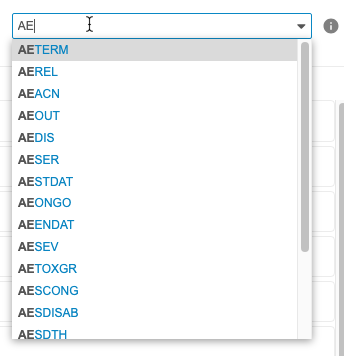
When you search for an Item with Forms selected, Clinical Reporting searches for Items on Forms. If the same Item is used in multiple locations, Clinical Reporting also displays the Item Group for the Item in the search results.
Once you add an Item, you can expand it in the Selected Properties area to show additional options. These add additional columns for the Item based on the item’s data type, such as additional date formats or operational details. Certain columns are included by default. These defaults are defined by administrators in the Core Data Listings configuration settings. In the example below, Clinical Reporting will include a column for both the Imputed Date and the SDTM Date for the aestart item.

How to Remove Properties
You can remove properties by clicking Remove () in the Selected Properties area.

Define the Structure of the Listing
In the Structure step, you can define structural options for your rows and columns.
Row Structure
Selecting the row structure enables you to choose whether or not to align the data dependent or independent of the study schedule. There are two options available:
- By Subject: This option attempts to display data from multiple forms across events in a single row for the subject, independent of the study schedule, and displays all data where subjects match across events. Any selected schedule-related fields, such as Event Date or Event Name are set to null in the listing.
- By Schedule: This option displays form data from different events on separate rows. We recommend this option if schedule-related fields are required. This is the default option for all core listings.
For example, a listing includes Items from two Events: Visit 1 (Gender item) and Visit 2 (Test Result). If you choose By Subject for row structure, the listing will have one row per subject, displaying each Item as a column in the listing with the values from the appropriate event populated. If you choose By Schedule for row structure, Clinical Reporting considers the study schedule having two events, and so creates a row for each Event. For the row where the Event doesn’t include an Item, Clinical Reporting will have a null value (“–”) in that item’s column.

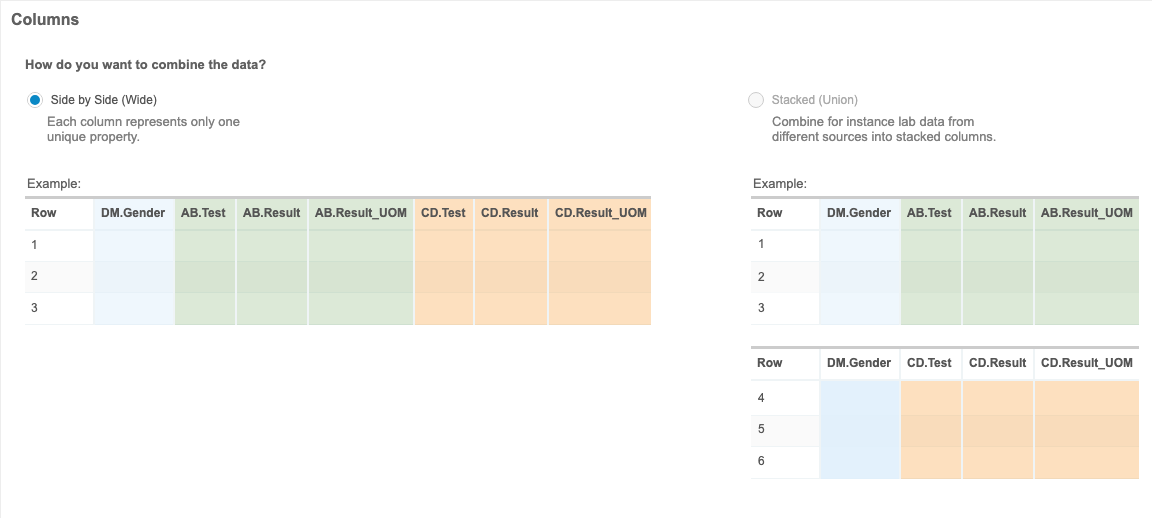
Column Structure
Defining the column structure enables you to combine for instance data from different sources into stacked columns lending to a more narrow readable Listing. There are two options available:
- Wide (Side by Side): With this option, each column represents a single unique item or item property.
- Stacked (Union): With this option, each column can contain multiple items or item properties stacked together, where the user can include up to five (5) items and/or item properties per column. When multiple instances of an item name are shown, the item group name is displayed in parentheses.
Creating Stacks
When you choose Stacked (Union) for column structure, you can stack multiple Items or Item Properties together.
- For Column Structure, select Stacked (Union).
- Select Columns to stack. These columns must use the same data type.
- Optional: To add additional rows to your stacks, click Stack. To remove a row, click Delete. You can include up to five (5) stacks.
Setting the Display Options
There are three configurable display options: Aliases, Arrange, and Sort & Filter.
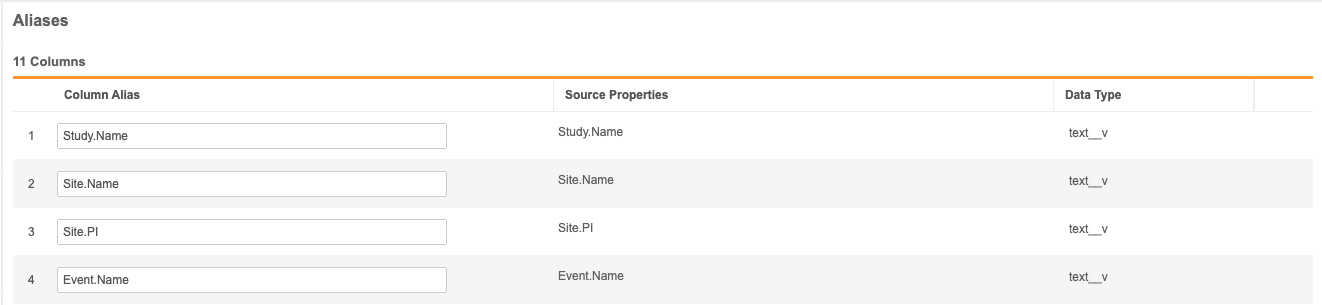
Aliases
You can define aliases (column headers) in the Aliases step. This is the same as using AS in CQL. Enter a value for Column Alias in for each column that you want to rename. By default, stacked columns use the name of the top item, so we recommend using an alias that describes the entire stack.
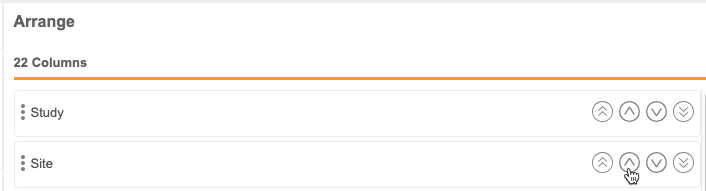
Arrange
In the Arrange step, you can reorder your columns and stacks. Drag and drop columns and stacks into the desired order. You can also use the Move to Top, Move Up, Move Down, and Move to Bottom buttons to move columns and stacks into the desired position.
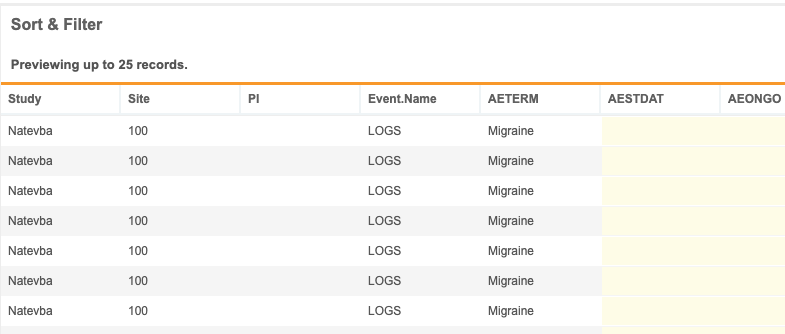
Sort & Filter
When you open the Sort & Filter step, the Listing Builder shows a preview of up to 25 records as your listing is configured so that you may apply sort orders and filters to the columns in your listing.
How to Sort
You can sort your listing by multiple columns.
- Locate the column you want to sort by.
- In that column, hover to show the Sort & Filter button.
- Click Sort & Filter (filter_list).
- Click to expand Sort by.
- Select Ascending or Descending for the sort order.
To reset (remove) a sort order from a column, open the Sort & Filter menu, expand Sort by, and click Reset.

How to Filter
You can apply filters to your columns to limit the data returned. Note that these are AND filters.
- Locate the column you want to sort by.
- In that column, hover to show the Sort & Filter button.
- Click Sort & Filter (filter_list).
- Click to expand Condition.
- Select an Operator. Clinical Reporting uses the entered Value and chosen Operator to compare the values within the column.
-
If required, enter a Value compare values against. Note that you can only use a static value and not a function. For dates, use the YYYY-MM-DD format or select the date with the calendar selector.
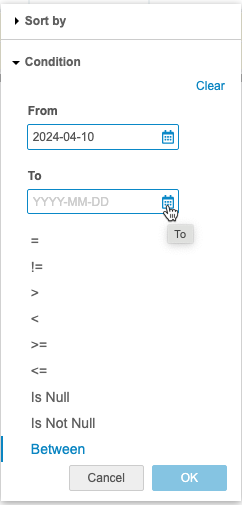
- Click OK.
To reset (remove) a filter from a column, open the Sort & Filter menu, expand Condition, and click Clear.
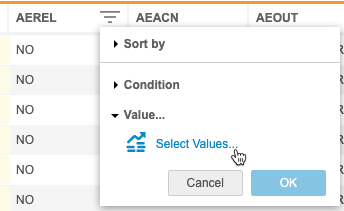
For codelist item columns, you can also filter by selecting a specific value to match against:
- Locate the column you want to sort by.
- In that column, hover to show the Sort & Filter button.
- Click Sort & Filter (filter_list).
- Click to expand Value….
-
Click Select Values.
-
Select Values.
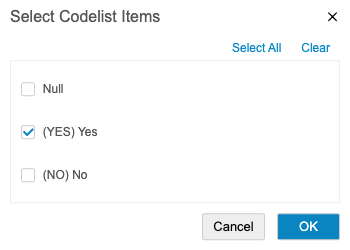
- Optional: Click Select All to select all values.
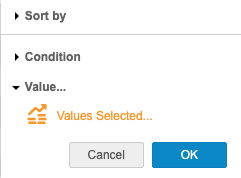
- Click OK. Clinical Reporting shows Values Selected in the Sort & Filter menu.
To clear selected values:
- Open the Sort & Filter menu for the column.
- Click to expand the Value… section.
- Click Values Selected.
-
In the dialog, click Clear.
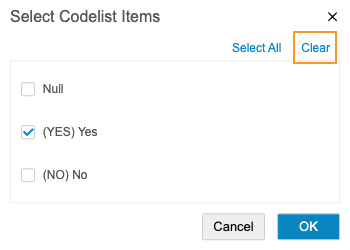
- Click OK.
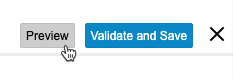
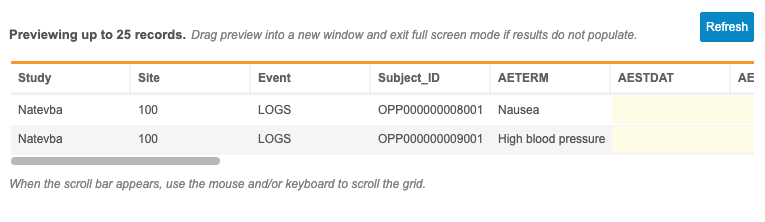
Preview the Listing
You can preview your listing to check your configuration prior to saving. Click Preview. This opens a preview listing in a new window with up to 25 records from your Study.
You can keep this preview window open while making changes to your listing. To update the preview with your changes, click Refresh in the preview window.
Validate & Save
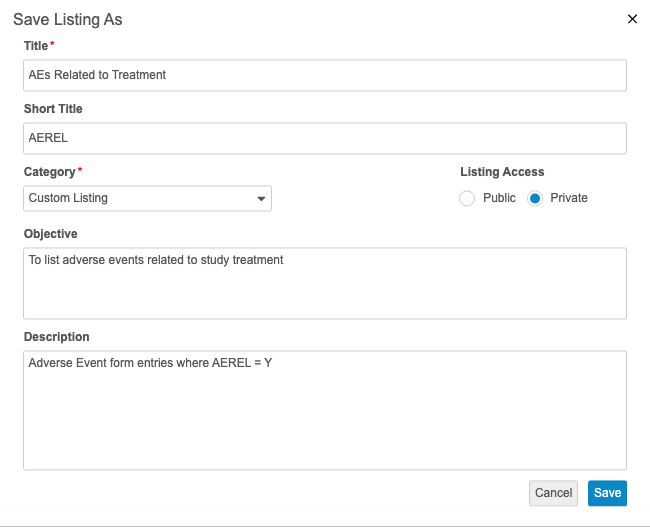
Once you have finished your listing configuration, click Validate and Save. First, Clinical Reporting will check your listing for any errors. If there are no errors, Clinical Reporting will open a dialog for you to define listing properties and save.
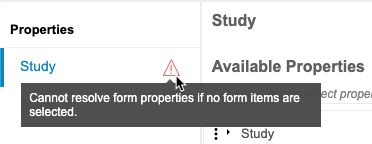
Clinical Reporting will show a Warning icon in the Listing Builder Navigation for each step that contains a validation error. You can hover over the icon to view the error message.
Custom Listing Categories
Any listings that Workbench creates automatically during import from Veeva EDC are assigned the Core Listings category. Any custom listings have a category assigned by the user who created the listing. Your organization can create these categories when creating custom listings.
How to Modify via the Listing Builder
You can use the Listing Builder to modify your listings after saving. To do so, navigate to the listing and click Modify.

Copy a Single Listing into a Study
You can copy a single Listing Definition into another Study.
To copy a Listing:
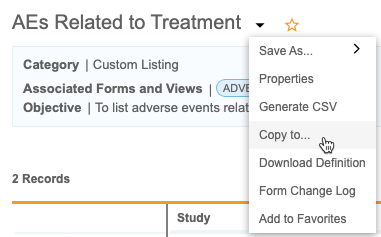
- Open the Listing that you want to copy.
-
From the Listing () menu, select Copy to.
-
In the Copy to Study dialog, select a Study.
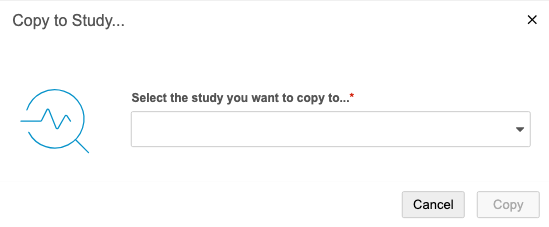
- Click Copy.
- In the Save Listing As dialog, modify the properties as needed.
- Click Save.
If there are any study design differences between the two Studies, Clinical Reporting may mark your listing as invalid. Use the Listing Builder to revise the listing until all errors are resolved and the listing is valid.
Clinical Reporting - Listing Builder
Last Updated: 24R1
This video reviews how to use the Listing Builder in EDC Clinical Reporting.